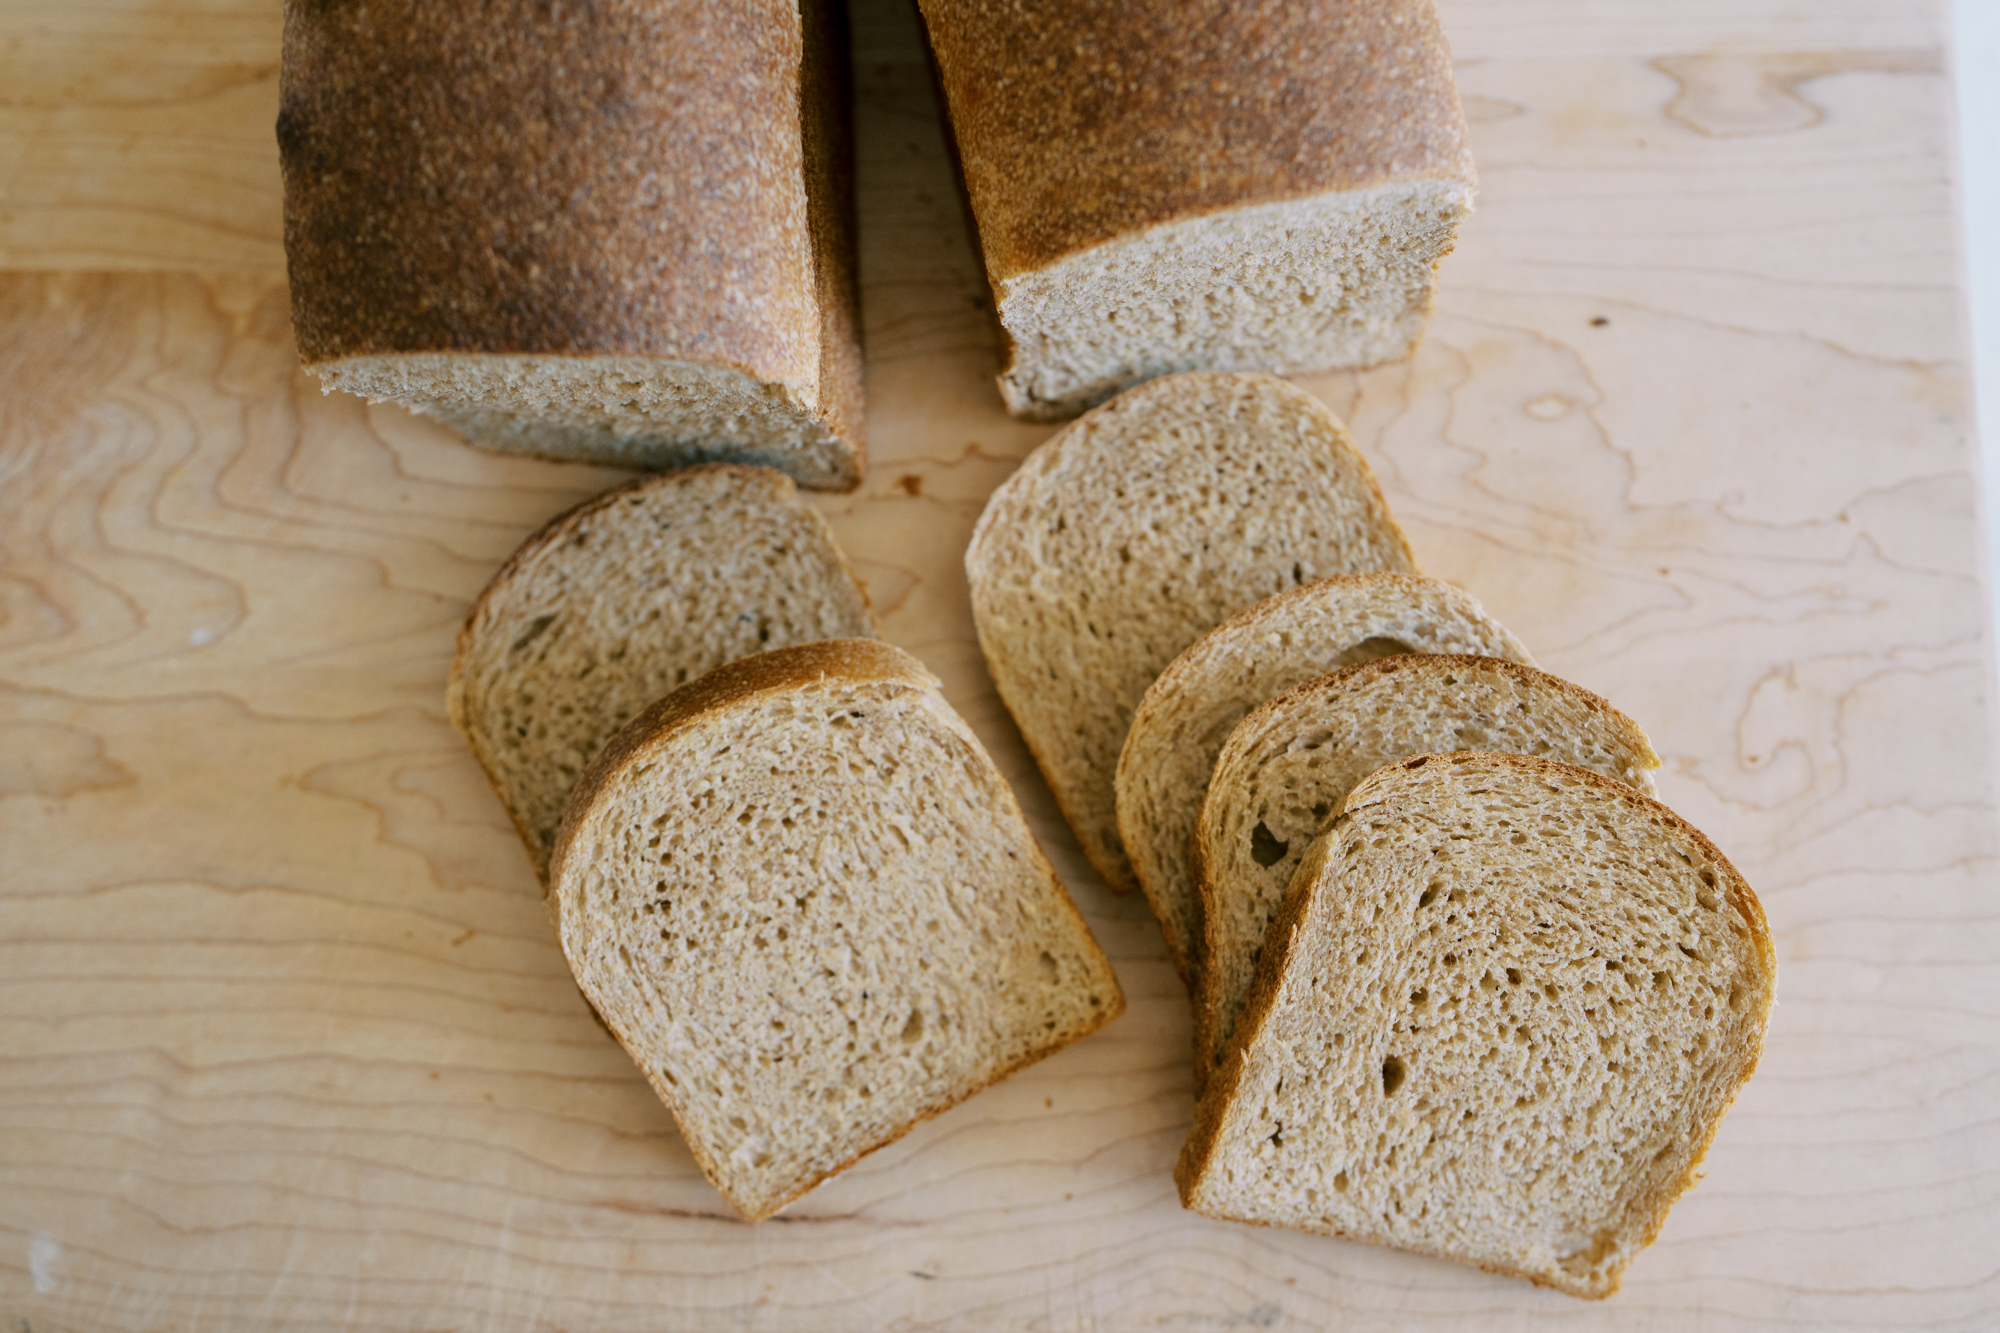
100% Whole Wheat Sourdough Sandwich Bread – Two Easy Methods
If you’re looking for a soft, nutritious, and delicious bread for sandwiches, this whole wheat sourdough sandwich bread is the perfect choice. Made with freshly milled whole wheat flour, naturally leavened with sourdough, and sweetened with honey, this bread is a healthier alternative to store-bought options. Whether you use a bread machine or a KitchenAid mixer, this recipe ensures a soft, fluffy loaf every time.

Why Make Homemade Sourdough Sandwich Bread?
Store-bought sandwich bread can be expensive and often contains processed ingredients. Making your own soft sourdough sandwich bread at home is a great way to control what goes into your food while providing your family with a nutritious and delicious staple.
Not only is this sandwich bread naturally leavened with sourdough, but it also contains honey instead of cane sugar and freshly milled whole wheat flour for an added boost of vitamins, minerals, and protein. I was inspired to start making most of my bread with freshly milled flour after listening to some of Sue Becker’s podcasts. Sue Becker runs the store Bread Beckers, which is a fantastic resource for all things bread baking and freshly milled flours. The actual store is local to me, so I stopped by and stocked up on bulk grains. It’s been so fun scooping up wheat berries, turning them into fresh flour, and making the most beautiful bread.


Two Easy Methods: Bread Machine vs. KitchenAid
In this post, I’ll walk you through two easy methods for making this soft sourdough sandwich bread: the hands-off bread machine method and the KitchenAid mixer method. Both yield fantastic results, and you can choose which works best for your schedule and preferences.


Ingredients:
- 285g water
- 140g active sourdough starter
- ¼ cup melted butter (salted or unsalted)
- 80g honey (about ¼ cup)
- 9g salt (about 1½ teaspoons)
- 450g freshly milled whole wheat flour (or store-bought whole wheat flour)

Bread Machine Method:
- Place the bread machine bowl onto a kitchen scale and ddd the ingredients in this order: water, sourdough starter, melted butter, honey, and salt. Then, add the freshly milled whole wheat flour on top.
- Set the bread machine to the leaven cycle (menu option 12 on the KBS bread machine). This cycle mixes and warms the dough to help it rise but does not bake it.
- Let the dough bulk ferment in the bread machine for 6–7 hours.
- Transfer the dough to a lightly greased Pullman loaf pan, shape it, and cover it for an overnight rise in the fridge.
- The next morning, allow the dough to proof at room temperature for 1–2 hours while the oven preheats to 375°F.
- Bake for 45 minutes. Optionally, brush the top with butter for a softer crust


KitchenAid Mixer Method:
- Place mixing bowl onto a kitchen scale and combine all liquid ingredients first, then add the flour on top.
- Use the dough hook attachment and knead on medium speed for about 10+ minutes, until the dough passes the windowpane test.
- Cover the dough and let it rise at room temperature for 6–8 hours.
- Shape the dough and place it in a greased Pullman loaf pan.
- Cover and refrigerate overnight.
- The next morning, let the dough proof for 1–2 hours before baking at 375°F for 45 minutes.


Tips for Success
Watch the rising time: Dough will rise slower in the winter and faster in the summer, so keep an eye on it and adjust accordingly.
Feed your starter early: For the best results, feed your sourdough starter first thing in the morning and mix the dough by midday. I did a whole post on feeding your sourdough starter here.
Create a warm proofing environment: If your home is cold, cover your KitchenAid mixing bowl with plastic wrap and place it in a warm spot to help the dough rise properly.
Adjust flour for texture: If you prefer a fluffier texture, you can substitute some of the whole wheat flour with white bread flour.
Storage options: Store the baked bread in a bread box or bread bag at room temperature for up to three days. For longer storage, slice and freeze the bread, then toast or warm slices as needed.

Final Thoughts
Both methods produce a soft, fluffy sourdough sandwich bread with the added nutrition of freshly milled whole wheat flour. While the bread machine is a more hands-off approach, the KitchenAid method is a great alternative if you don’t have a bread machine.
I hope you enjoy making this wholesome homemade sandwich bread! If you try this recipe, let me know in the comments how it turns out. Don’t forget to like and subscribe for more homemade bread recipes.
Looking for sourdough discard bread ideas? Try this sandwich bread!
Happy baking!
This post contains affiliate links, which means I make a small commission at no extra cost to you. As an amazon associate, I earn from qualifying purchases.
100% Whole Wheat Sourdough Sandwich Bread
Ingredients
Equipment
Method
- Place the bread machine bowl on a kitchen scale and add all ingredients to the bowl with the flour going in last.
- Set the bread machine to option 12, or the Leaven cycle. This will mix and rise the dough but it will not bake. Let the dough continue to sit in the bread machine for the next 4-8 hours. This goes quickly in the summer and slowly in the winter.
- In the evening, dump the dough onto a clean counter. It helps to slightly wet the counters and your hands to prevent sticking. Spread the dough out into a rectangle shape, fold in the right side a bit, then the bottom, then the left side, then take the top corners and pull them in, crossing them over each other a bit, and tightly start rolling it up towards you. If it's easier, you can also just roll up the dough without all the folding. Place this log shape dough into a slightly greased loaf pan.
- Cover the loaf pans and set them in the fridge overnight.
- In the morning, pull the pans out to proof another 1-2 hours.
- Preheat the oven to 375. Once preheated, bake loaves for 45 minutes. Remove from oven and place on a cooling rack and brush the tops with butter if you would like softer, glossier crust. Let cool completely before cutting.
- Place the mixer bowl on a kitchen scale and add all ingredients to the bowl with the flour going in last.
- With a dough hook, knead the dough for 10-15 minutes until it passes the window pane test.
- Cover the dough with plastic wrap and let it rest in a warm spot for 6-8 hours.
- Follow the same instructions listed above for shaping, overnight cold ferment, and baking.
Would you be willing to make this bread sometime but substitute a dairy free option (like coconut oil) for the butter and then update the recipe to show how much coconut oil to use as a substitution? If not, no biggie! I love your YouTube channel!
I would be willing! i’ll give it a try : )
If I don’t have access to a kitchen aid or mixer, could I just use my hands?
yes I would use a heavy spoon to mix the dough and then knead knead knead knead until it’s smooth and elastic : )
Melted (this is key) butter can often be substituted 1:1 with oil. If the amount of fat is important (such as with some yeast breads), you can be a little safer and substitute 75% of the butter with oil, and then 25% with water. In this case, the amount of butter is so small that the extra 1 tbsp water is negligible. My freshly ground wheat is high moisture and does better with less water to begin with, so I use 33g of avocado oil in place of the butter for financial and convenience reasons.
I loved making this bread; it was super soft and full of flavor. Could you teach us how to make dinner rolls? I recently discovered your channel and love it! Thanks for sharing
So glad you like it! Yes I’ll def be making dinner rolls in future videos and will try to post the full recipe here as well : )
Hi, does the recipe make two sandwich loaves? Getting a grain mill soon and looking forward to experimenting with freshly milled grains!
hey there! This makes one loaf : ) Sorry I forgot to mention that!
Hi! I’ve been wanting to make sandwich bread so used your link for the KBS machine to hopefully fast track this process. Do you have a recipe for 1) honey wheat bread 2) using yeast (or yeast and sourdough) and 3) fully baking in the KBS machine? Your recipes/youtube is so inspiring!! 🙂 Thank you!
Hi!! So excited for you! I don’t typically bake in the bread machine because I like the shape of a loaf pan better. Here is my honey wheat bread recipe: https://christinesnotebook.com/fluffy-whole-wheat-honey-bread-recipe/
So delicious, Christine! I love everything you do with sourdough! Thank you! 🙂
Oh my goodness! I’ve pretty much given up trying to find a sandwich loaf, yeasted or sourdough, that actually felt like sandwich bread! I read the instructions wrong and skipped the bulk rise by accident so I had to do it the next day after the fridge, but it’s soft and spongy and so good! This one’s a keeper!
so happy to hear this!!
I am very new to sourdough but have been making my own home milled whole wheat bread for years. I can’t wait to try this sourdough sandwich bread.
I do have two questions; first, is your sourdough starter a whole wheat starter (do you feed it with only whole wheat), or does that even matter? Second, what grain mill are you using? I have a very old discontinued Whisper Mill and every time I use it I’m certain it will be the last.
Hi Tammy! I feed my starter an organic all purpose flour and I always feed it the same kind of flour. I don’t recommend using whole wheat for your starter. This is the mill I have: https://rstyle.me/+LFfctN00_XQs57X_LZxaYw
Thanks so much!
Hi Christine, I tried this recipe last night because I have been experimenting on my Sourdough recipes and also watching lots of your videos (it’s my me-time).
The recipe I specifically saw from one of your videos on YT was that you added a tsp of yeast. In that case do I still need to follow the whole process like letting it sit for 6-8hrs and place in the fridge overnight? Or I can just bake it the same day since it has yeast in it? If it’s the latter how long would you let it sit before baking? Thank you.
Hi Kat, so for the true sourdough recipe you do not add yeast and yes you need to let it sit overnight like in the video. The recipe you are commenting on is a different one. I also make another version (the one you probably saw with the 1 tsp of yeast added) of this bread and I call it “quick” sourdough where I do add yeast and i don’t let it sit for hours and hours, just long enough for it to rise and still make it the same day. It all depends on what your goals here. Here is the quick sourdough, and it’s my favorite, this one does not need to sit overnight and can be made same day: https://christinesnotebook.com/quick-sourdough-sandwich-loaf-with-freshly-milled-grains/
This has become my weekly sandwich bread recipe! So delicious, easy, and I can make it in my struggling/dying KitchenAid bc of the hydration level 😅
Does this bread get a real strong sour taste after sitting in the refrigerator over night? I like sour dough, but not a strong sour dough. Thank you 🙂
It all depends on your timing and temperature of the kitchen! If the kitchen is warm, things move faster and it gets more sour. To avoid this, start it later in the day. The overnight fridge ferment won’t be a problem as long as it’s not sitting on the counter too long for the first initial rise.
Can I substitute the whole wheat flour with all bread flour?
Yes you can but you will need more bread flour than my recipe calls for, I would add 1/4 cup more flour and then if needed keep adding a little bit more at a time until the dough looks right! It should turn out delicious!