Boys Bedroom Makeover on a Budget (DIY Closet + Ikea Hacks)
I recently renovated my son’s bedroom, so I thought I’d recap the project and share all the details with you. You can watch the full renovation of this DIY boys’ bedroom makeover over on YouTube—here is part 1 and here is part 2.
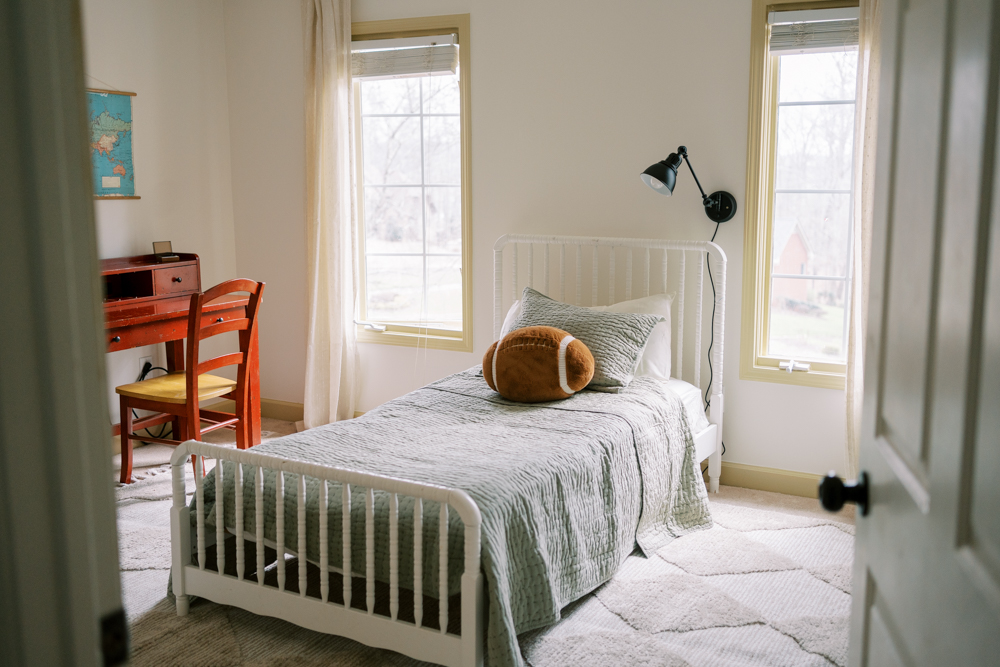
There’s something so amazing to me about dreaming something up in your head, then putting in the hard work to make it happen, and finally getting to sit back and see it come to life. Every time I pass by my son’s room, I give myself a little pat on the back and breathe a small sigh of relief. It’s just so nice to see this space come together—beautiful and functional.
Where We Started
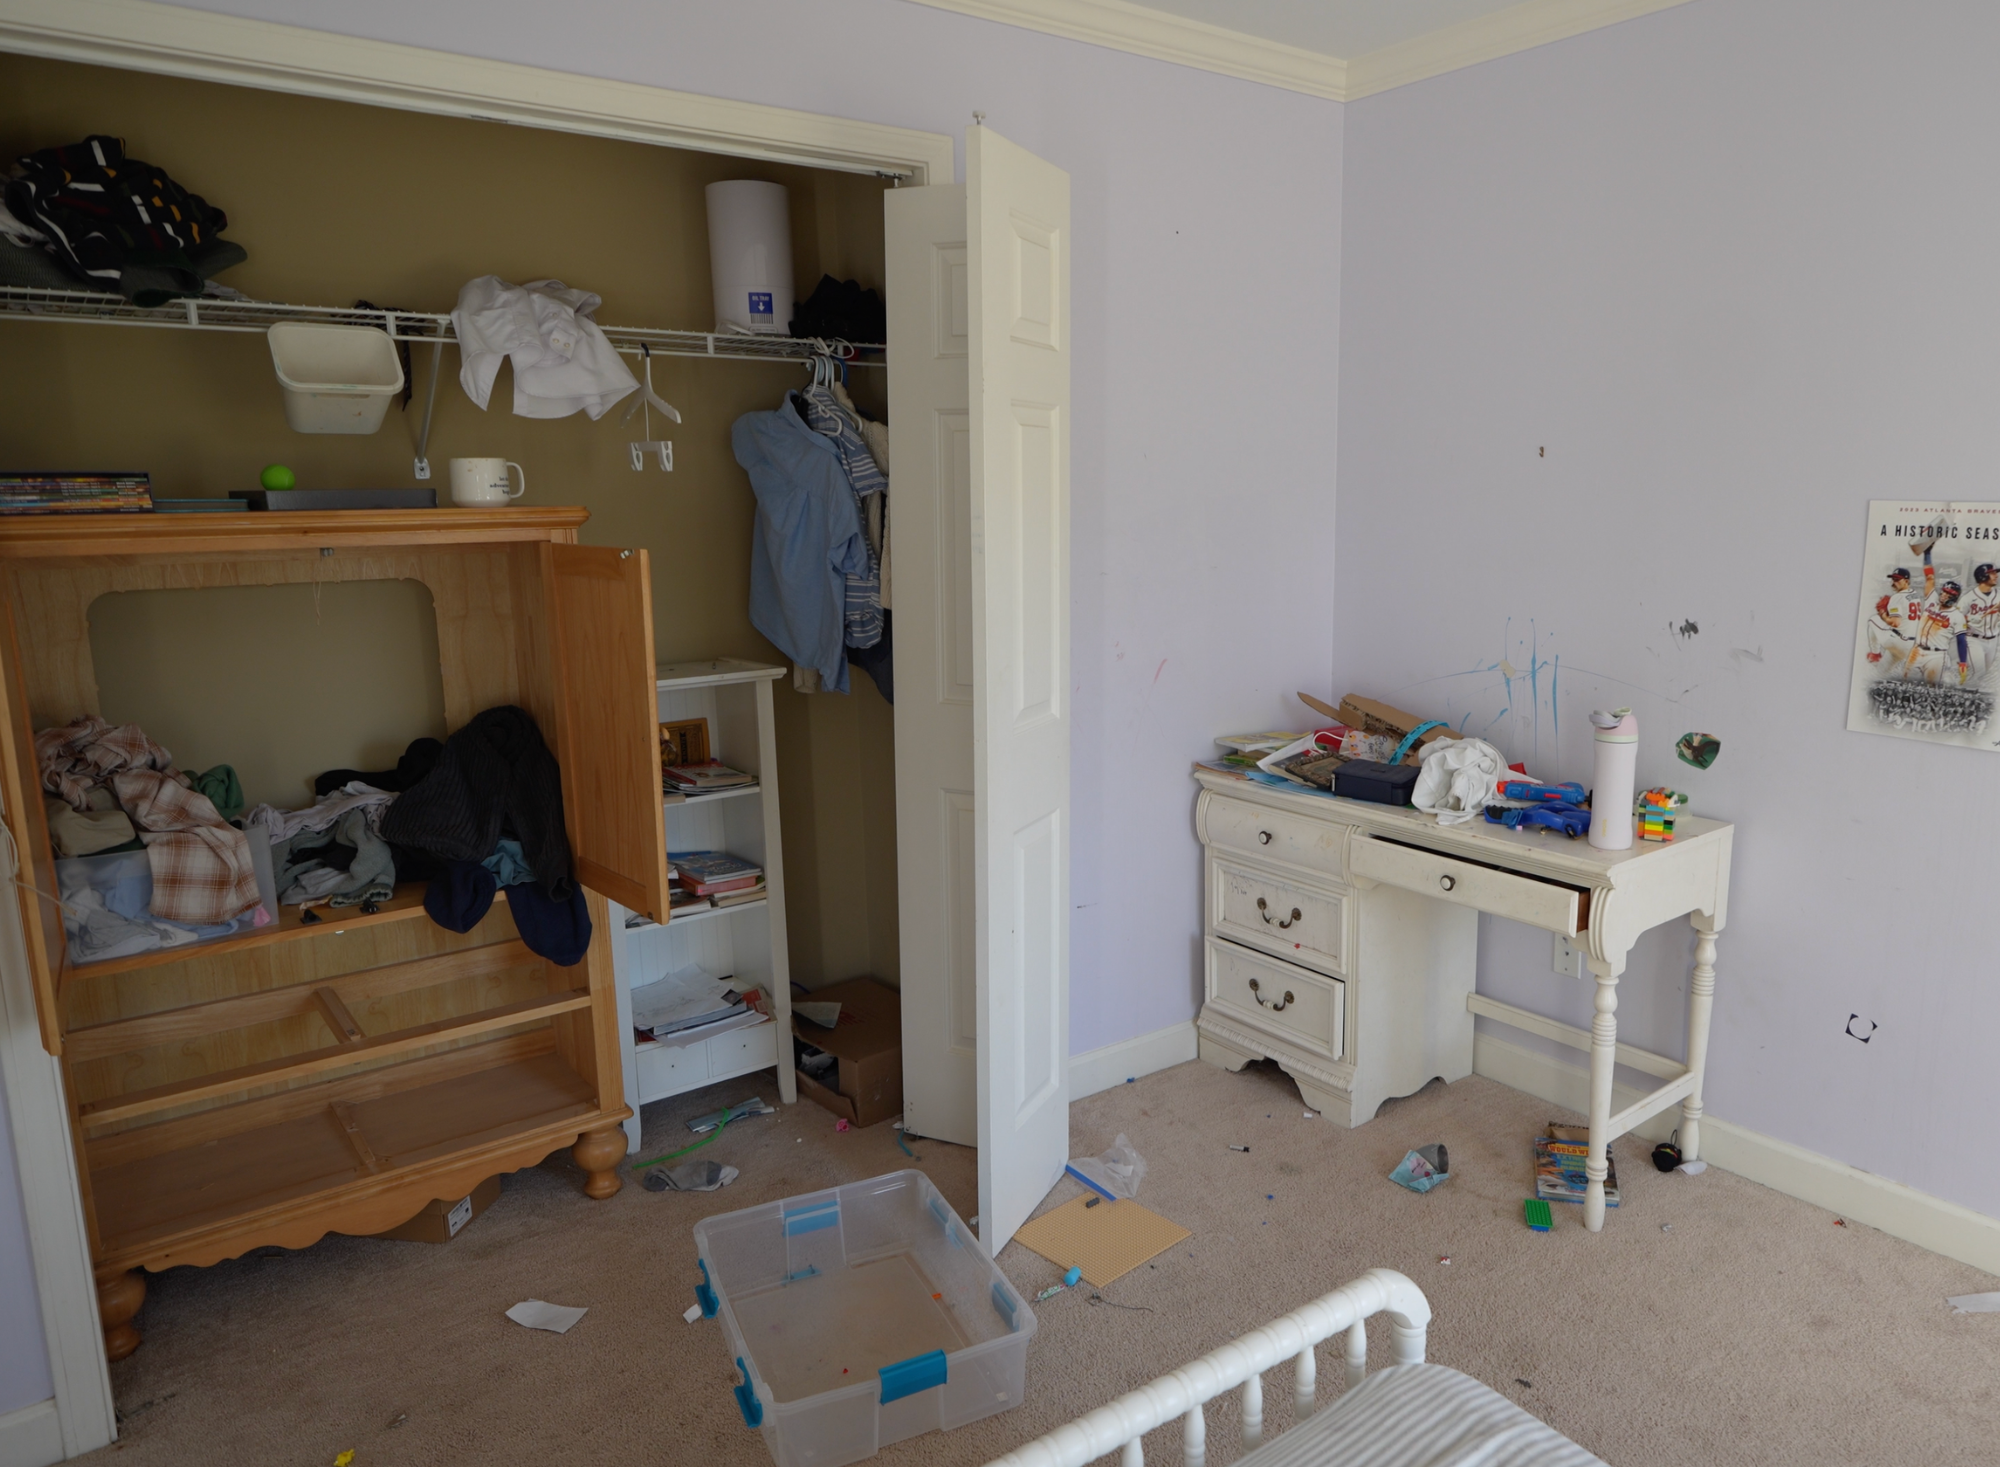
When we first moved into this home, this room was painted a lilac color. Pretty on its own, but not exactly thrilling for a 9-year-old boy. I also had a different vision for this space. I’ve been wanting to experiment more with color, and this felt like the perfect place to start. It was time to start this DIY boys’ bedroom makeover.
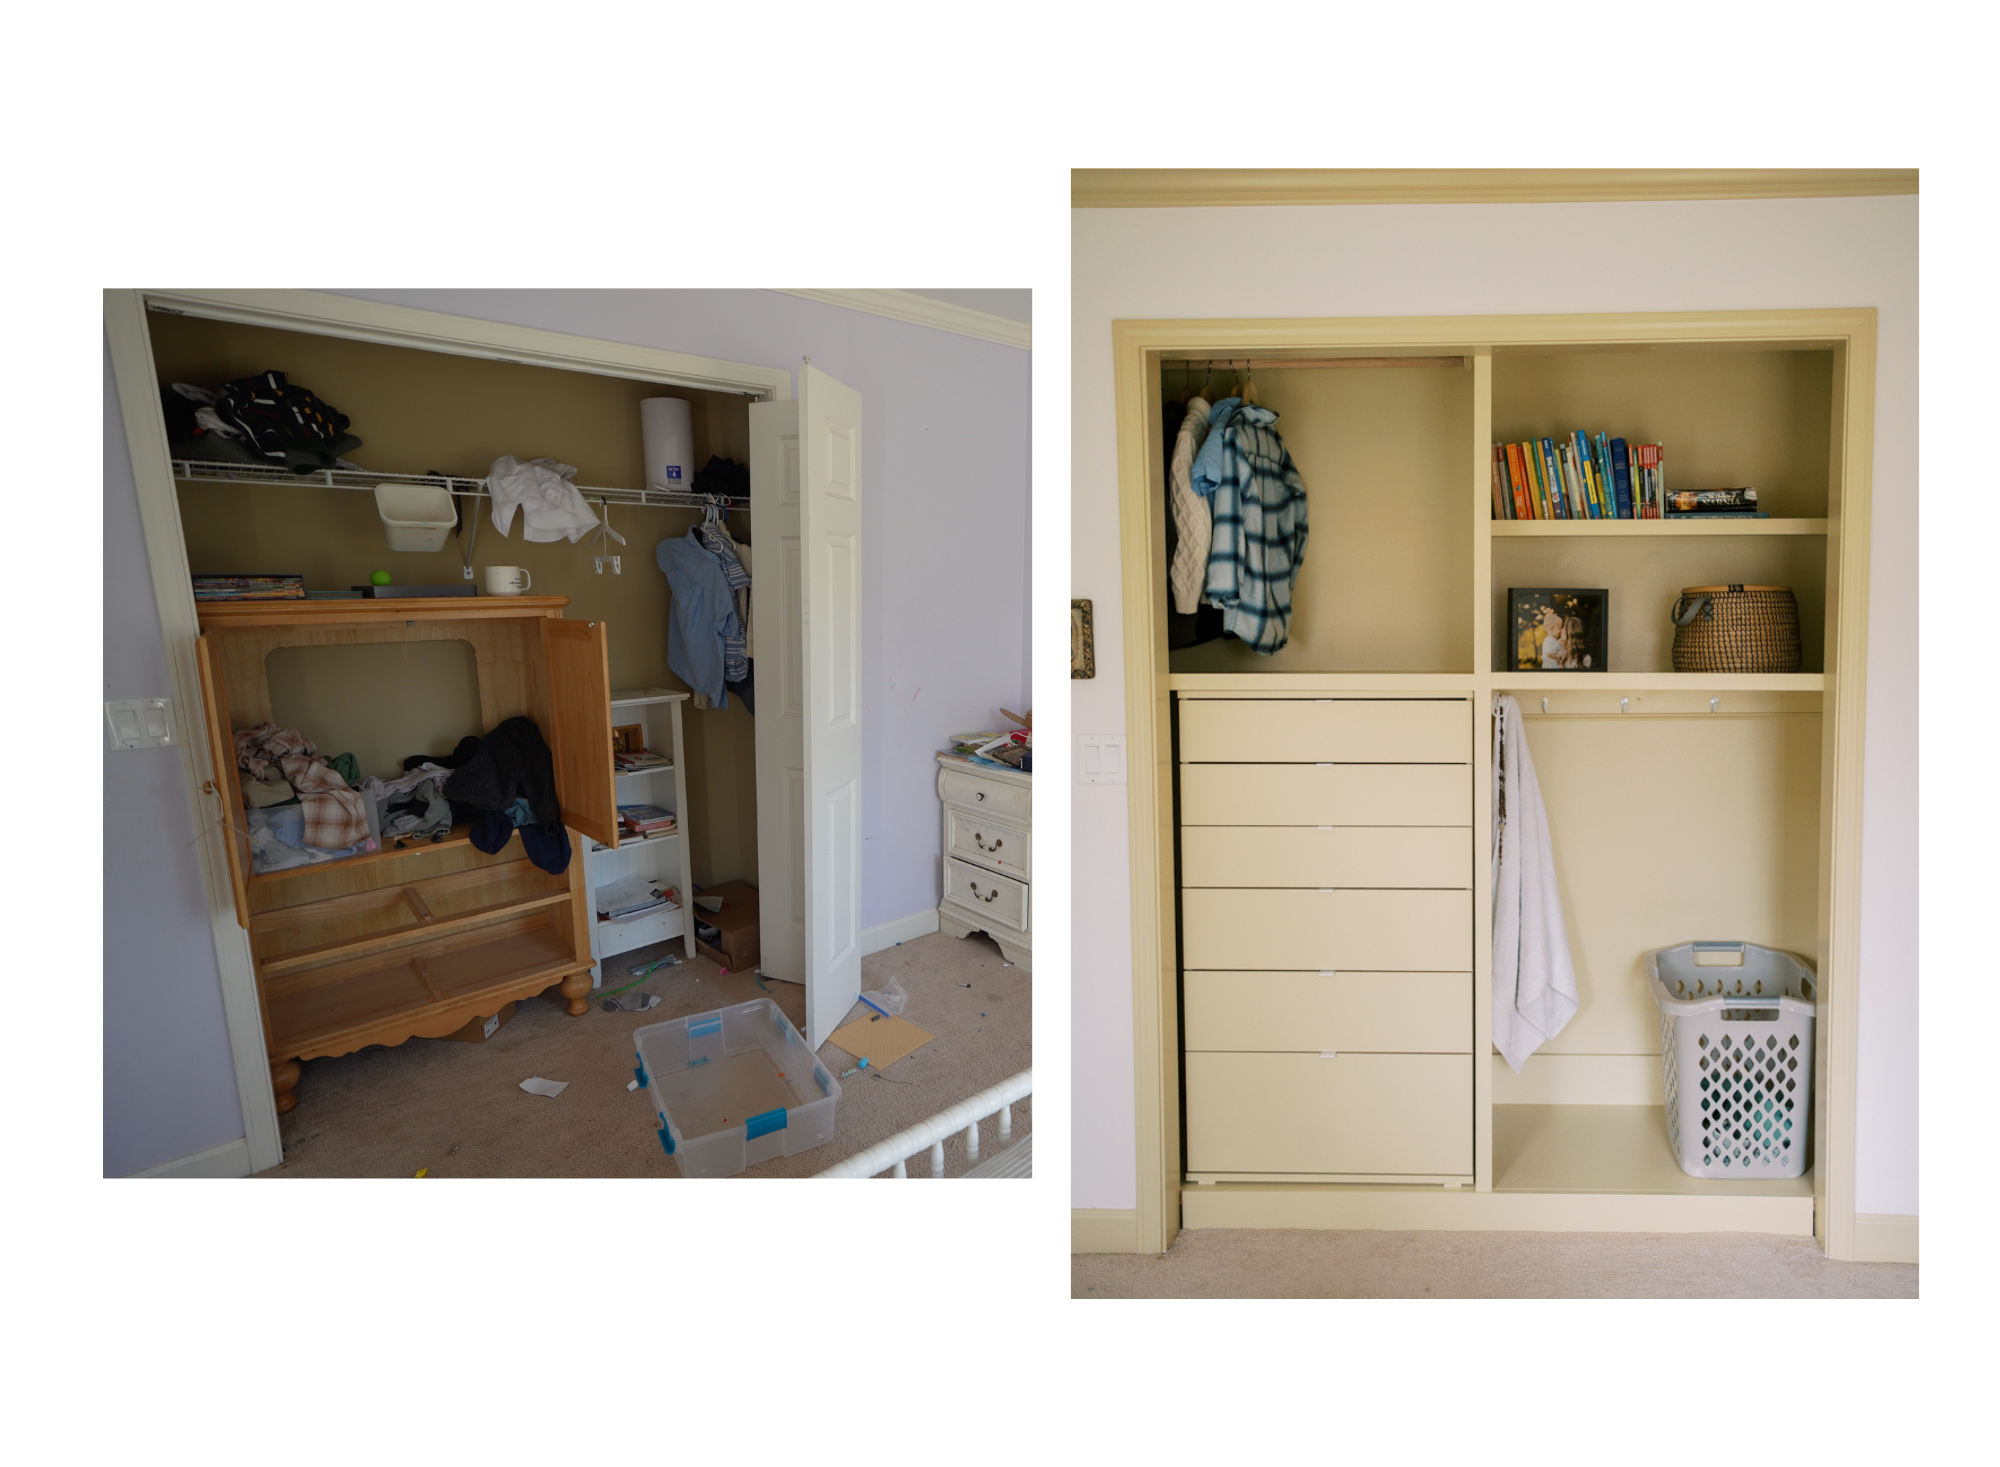
The closet was also… a situation. The doors were broken and constantly in the way. I finally ripped those out (long overdue) and started fresh with a new coat of paint.
THE BEFORE
Paint Colors for The Walls and Trim
For the walls, I chose the color Whitetail by Sherwin-Williams, a lovely creamy white that we have throughout our entire home, so there was no sense in making any big changes there.
Where I really wanted to have fun with color was the trim and woodwork. A bold trim color just speaks to me. I debated using a muted blue called Hazy by Farrow & Ball, but ultimately went with my heart and painted the trim a cozy yellow called Hay by Farrow & Ball. I have no regrets—it’s just as lovely as I imagined. I ended up still using that Hazy blue on some cabinets that I painted for another color pop.
I color-matched those Farrow and Ball colors to Benjamin Moore paint since I trust their color-matching abilities, and I can get those colors at a lower price point with Benjamin Moore.
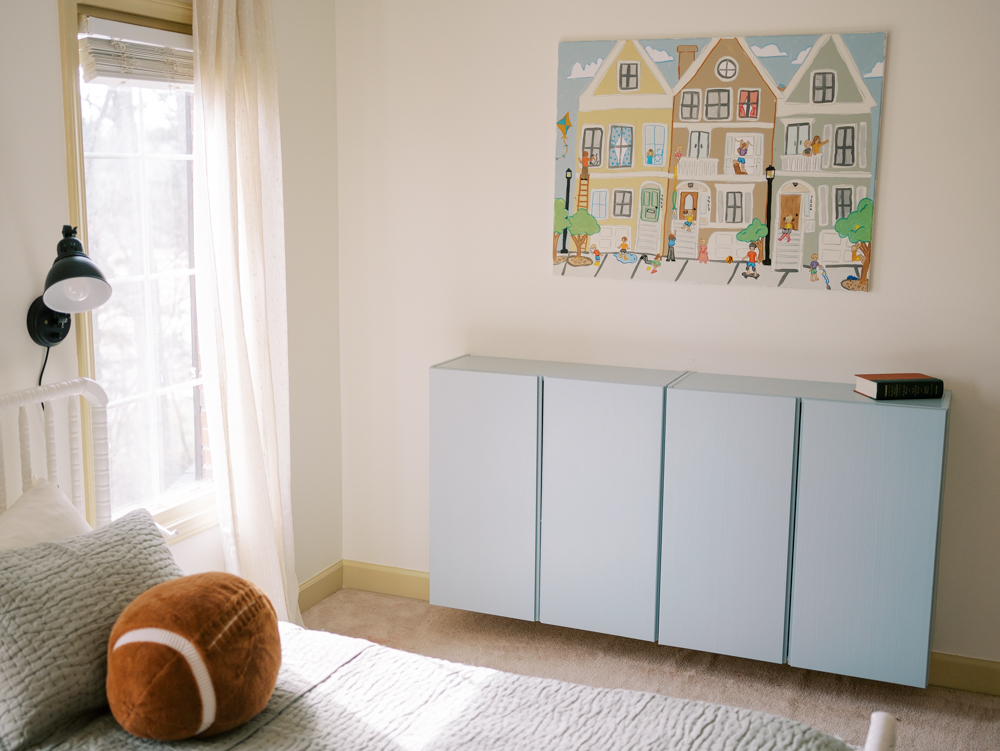
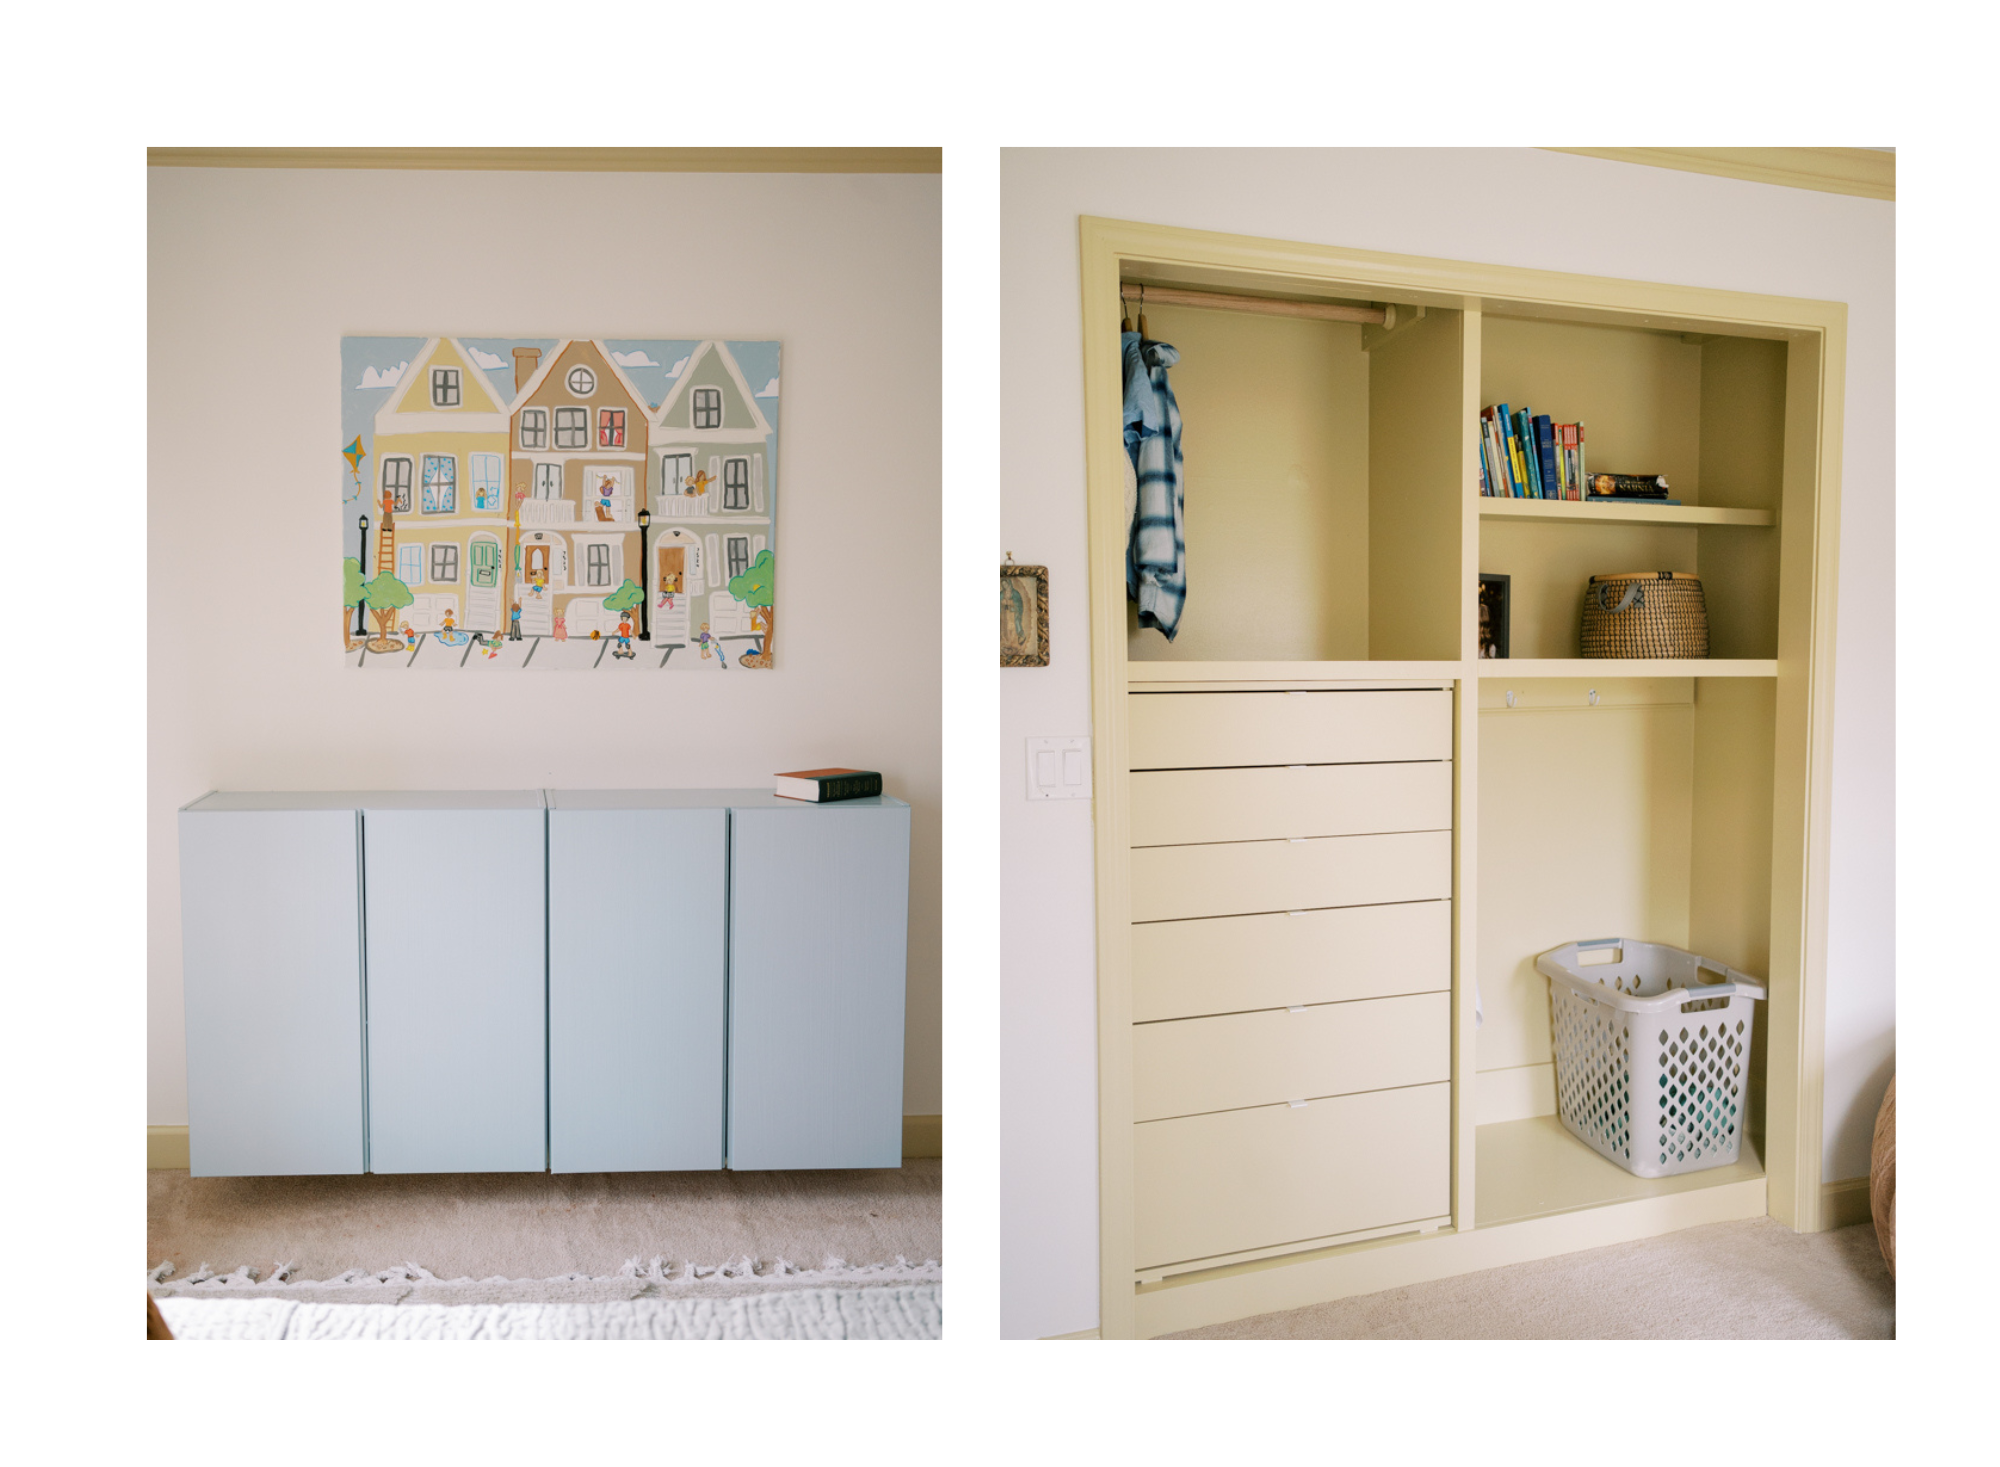
Ikea Pieces
Ikea comes in handy any time you want to do a budget-friendly DIY project. For storage, I ordered two unfinished Ivar cabinets from Ikea and mounted them to the wall for a more seamless solution for toys and general clutter. I painted these cabinets that same soft blue for a cohesive look.
I also picked up a tall dresser with the plan to paint it and build a DIY custom closet around it.
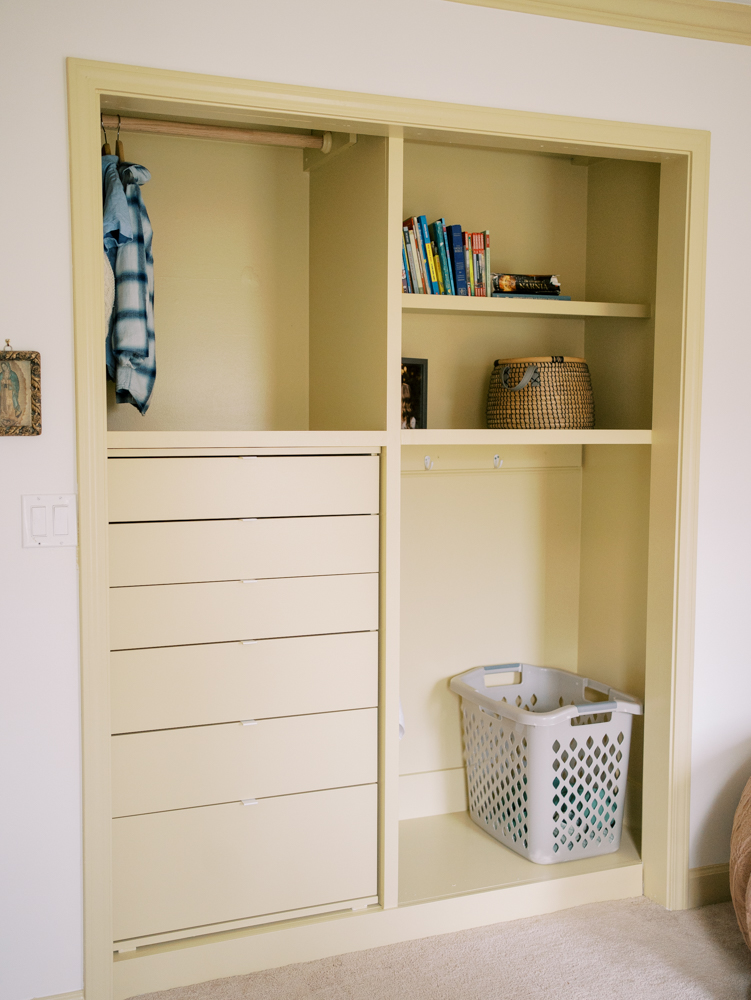
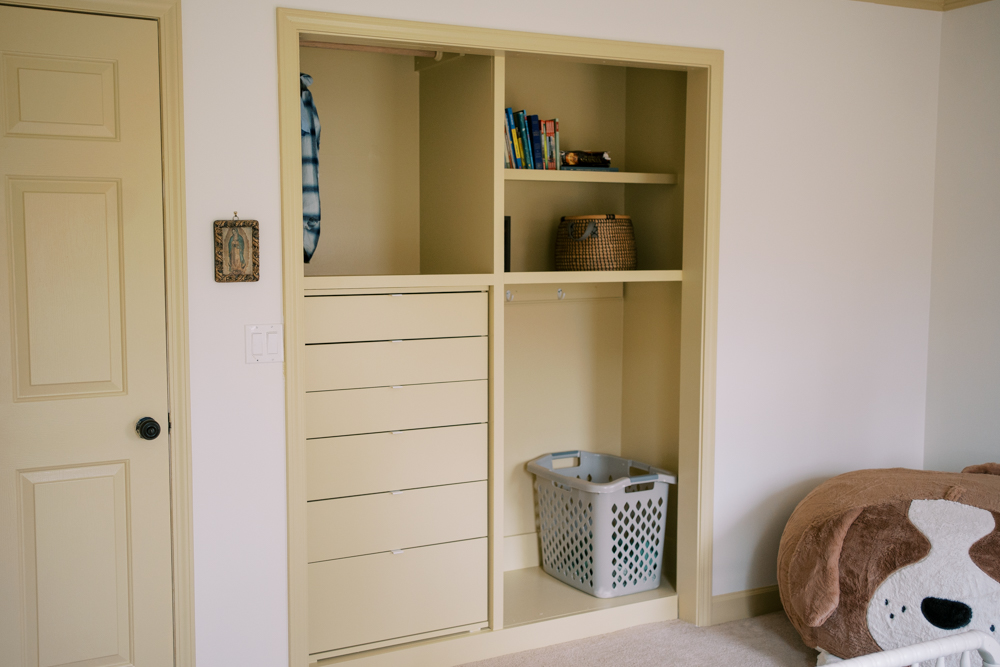
The DIY Custom Closet
After all the painting, I was tired. After chatting with my husband and garnering some support and encouragement, I decided overcome my mid-project slump and dive head first into building a diy custom closet to really add some wow factor to this room. For me… trim, wood work, and built-ins add so much timeless character to a home. I knew it would be worth it in the end. I also had a feeling if I didn’t just go for it, it might never happen.
For the closet, I started by removing that section of carpet and trim. Then I built a base using 2x4s and worked my way up from there.
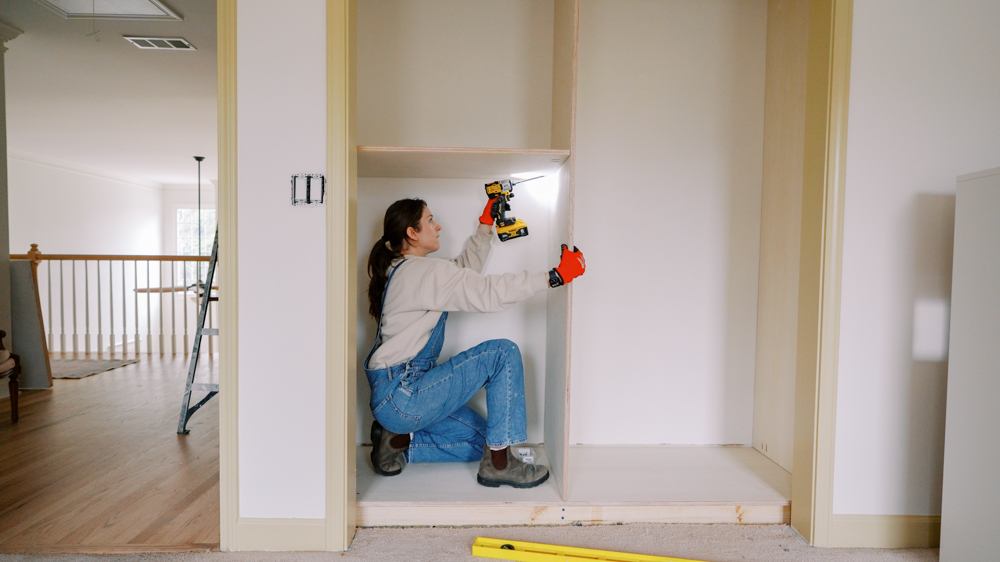
I used about three sheets of plywood, a few 1x2s for trim, a circular saw, and a pocket hole jig to bring everything together (plus a handful of other tools I’ve collected over the years). You can view my DIY toolkit here.
I built the shelves directly into the nook and skipped adding plywood to the back to save on cost—the wall itself acts as the backing. I painted the whole unitl that same lovely Hay color for a seamless look and pop of color. I added some hooks, a wooden clothing rod, and the VIHAL Ikea Dresser for drawers to save myself some time and energy building actual drawers (which I’ve done in the past). I’m so happy with the end result, it makes a major difference in this room.
The Final Details
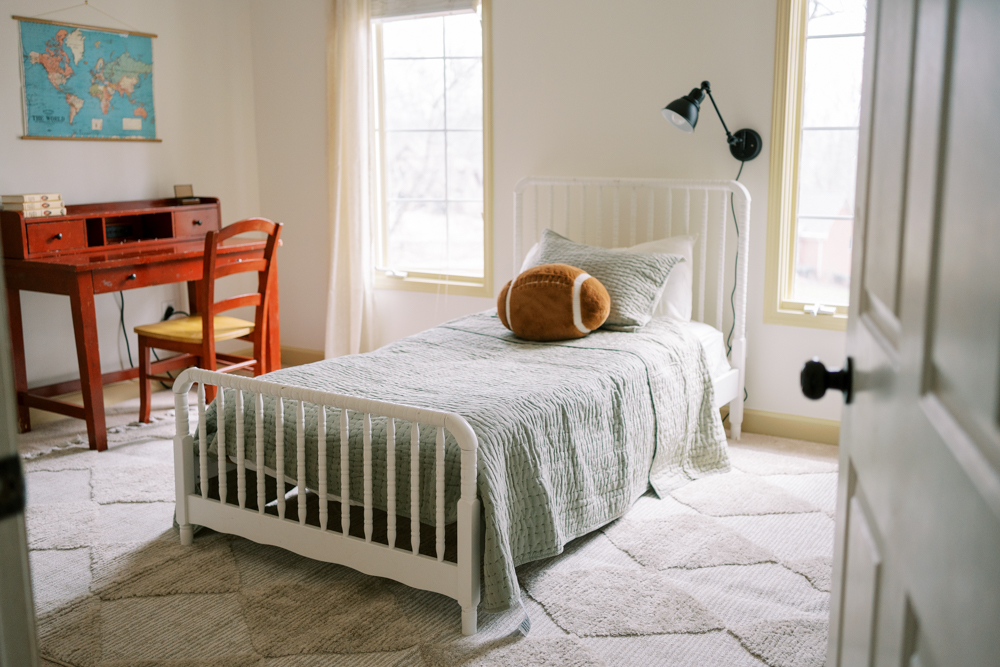
The room still needed some finishing touches and I loved what I was able to pull together. I found the cutest little red desk on Facebook Marketplace just down the road for super cheap, and it felt like such a little blessing from God. I really didn’t want to repaint his old desk, and I love the charming pop of red it brings to the room. It’s also incredibly functional, with built-in outlets and shelves—perfect for him.
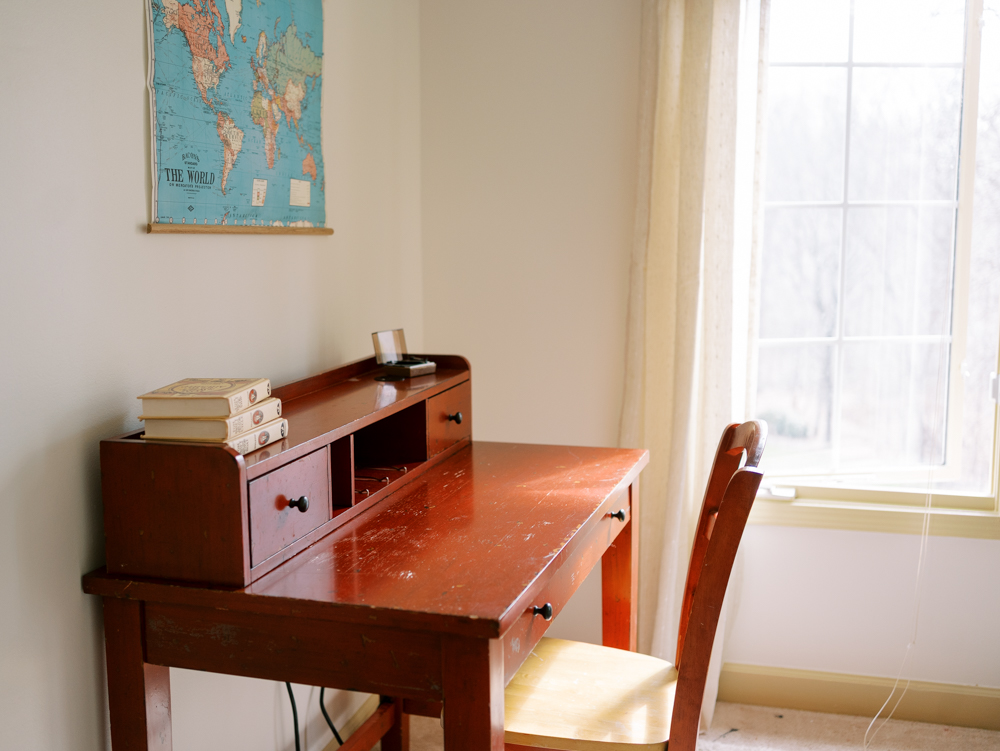
I added a large rug to cover the stained carpet, and I love how much it warms up the space. I also finally hung a set of curtains I picked up from HomeGoods years ago—they feel right at home in this room.
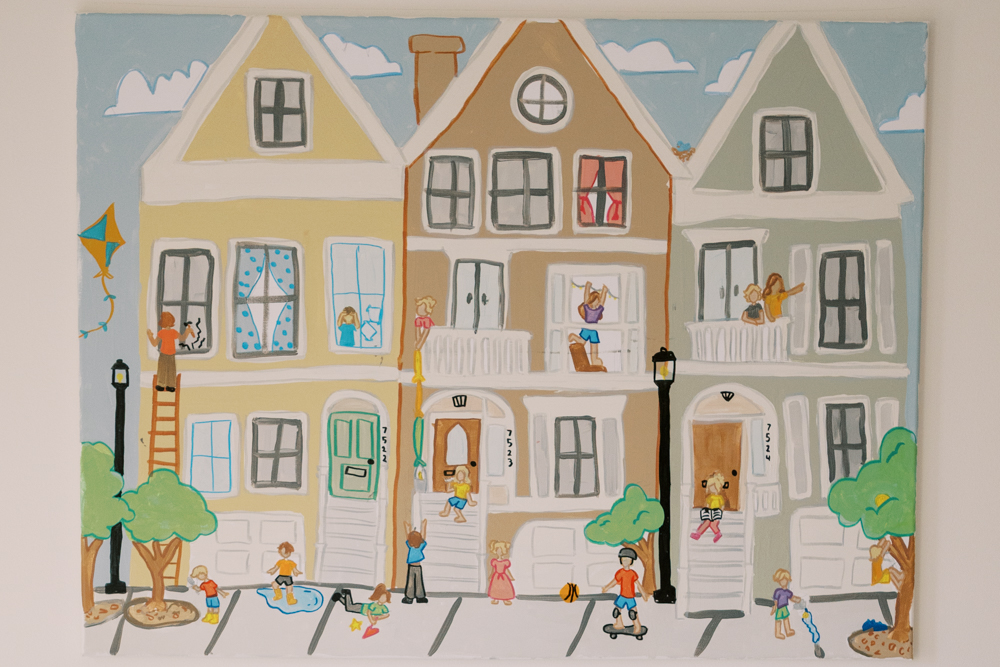
Above his bed, I mounted a sweet little wall sconce that he can dim, and my daughter painted the most charming artwork using some of the same colors from the room, which makes it feel extra special.
I’ve put together a shoppable post with links to all the room details here.
And my son’s favorite part of the room? That ridiculously large dog-shaped bean bag. Honestly, I wouldn’t expect anything else. 😉

That’s the full recap of this DIY Boys Bedroom Makeover! Thanks for stopping by!
This post may contain affiliate links. If you purchase through these links, I may earn a small commission at no extra cost to you. I only share products I personally use and love.