Sourdough Brioche Burger Buns with Fresh Milled Flour
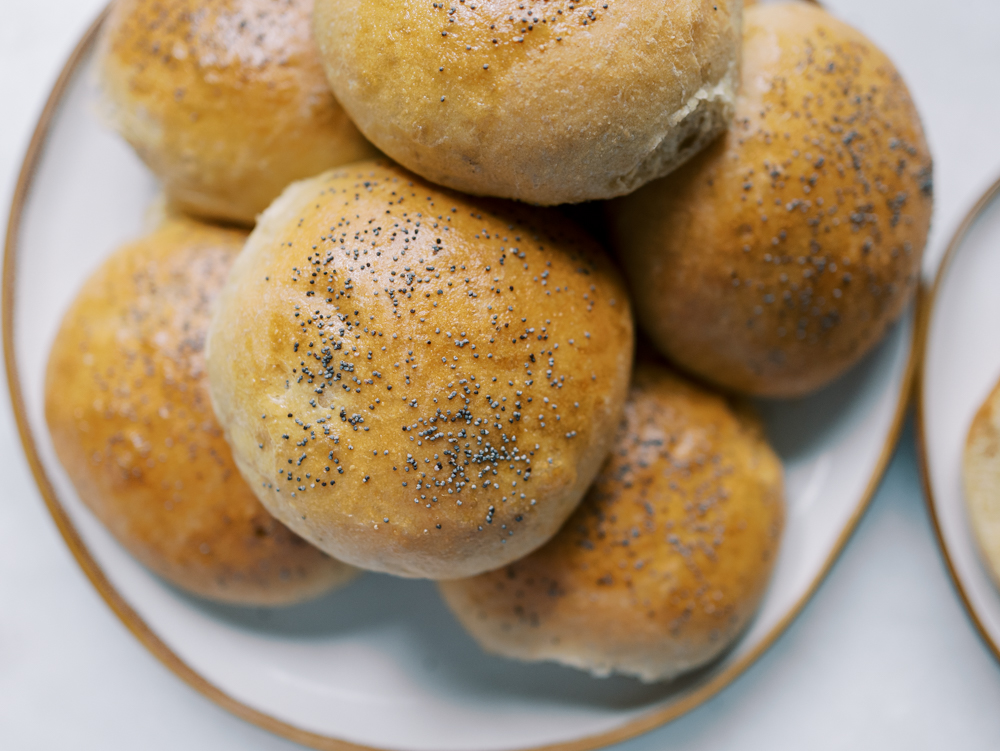
These sourdough brioche burger buns are soft, buttery, beautifully golden, and sturdy enough to hold every last burger topping without falling apart. And this detailed guide will step you through exactly how to recreate these buns at home.
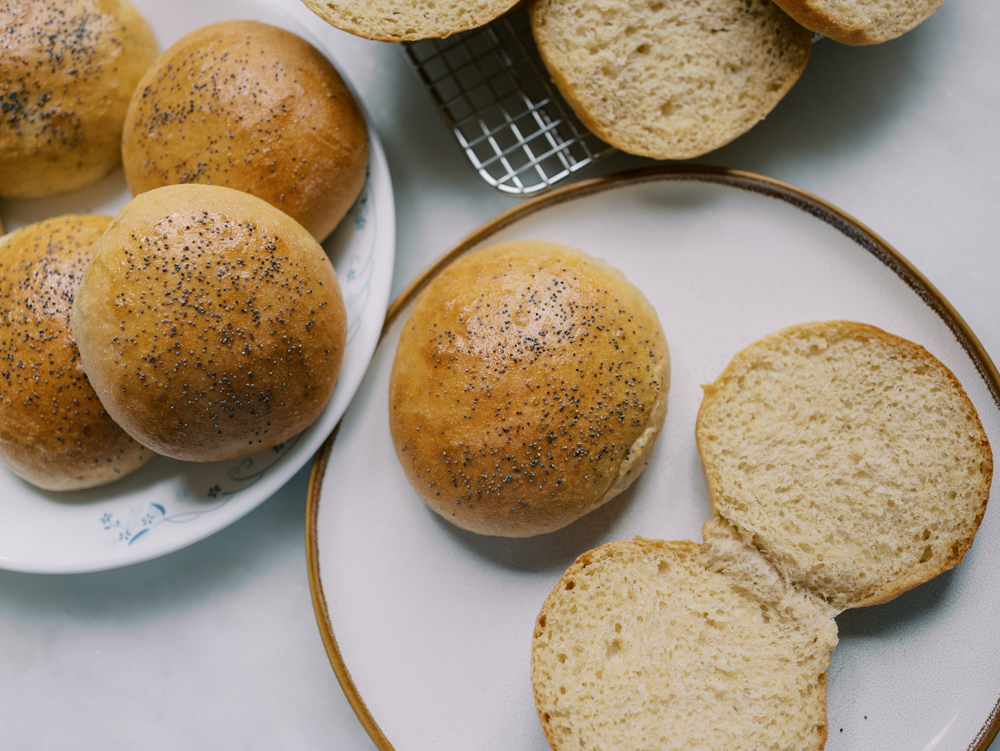
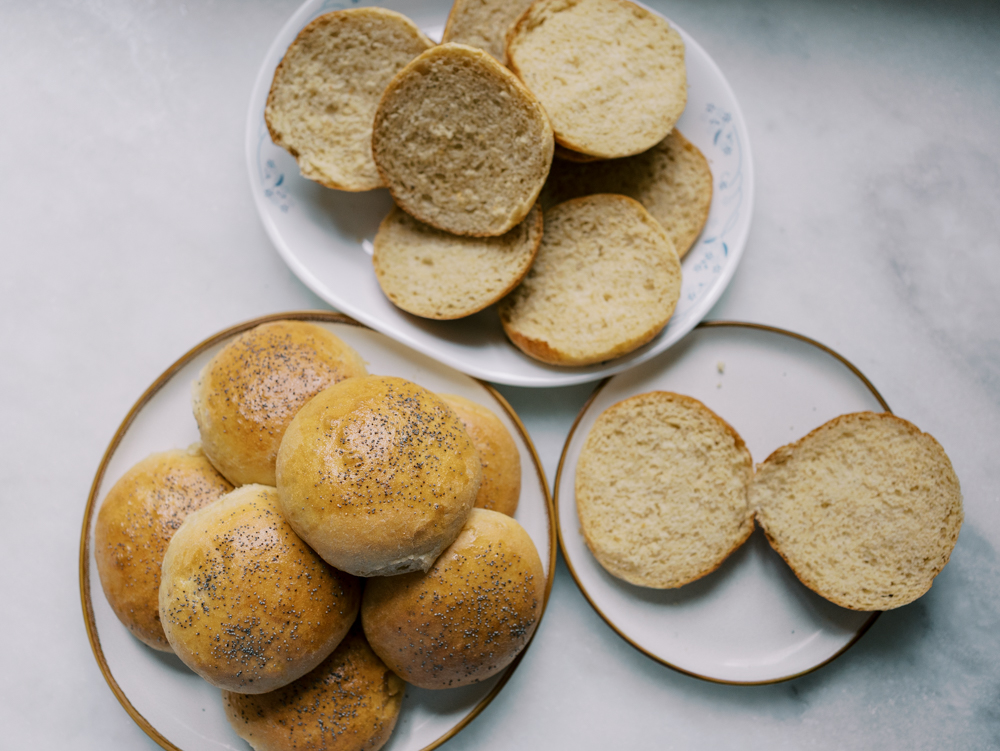
I have had so many people ask me for this recipe, and I am very happy to say that it is finally tested, finalized, and ready to share. These buns have that rich, tender brioche texture while still being strong enough for burgers, pulled pork, fried chicken sandwiches, or anything else you want to pile onto them.
This recipe combines an active sourdough starter, a simple poolish, freshly milled flour, eggs, milk, and plenty of butter. The sourdough and poolish work together to create incredible flavor and a lighter texture, while the eggs and butter give the buns their soft, rich crumb.
They do require a little planning, but most of the time is hands off. You can prepare the poolish and feed your starter the night before, mix and shape the buns the following day, or refrigerate the finished dough overnight and shape it in the morning. I took photos of the entire process so you can see exactly how the dough changes along the way.
Main Ingredients and Swaps
- Freshly milled flour: I use 400 grams hard white wheat and 100 grams Kamut. Hard white wheat provides the structure the buns need, while Kamut adds a slightly sweet, buttery flavor and beautiful golden color. You can experiment with other freshly milled wheat varieties, but the dough texture may change depending on the protein content and how finely your flour is milled.
- Sourdough starter: Your starter should be active, bubbly, and near its peak when you begin mixing the dough. The starter contributes flavor and helps create a softer, more developed crumb.
- Poolish: A poolish is a simple mixture of equal parts flour and water with a small amount of yeast. It gives the buns additional flavor, improves their texture, and helps them stay soft.
- Instant yeast: This recipe uses a small amount of instant yeast along with the sourdough starter. The yeast gives the dough a more predictable rise, especially since brioche dough contains a large amount of butter, eggs, and sugar.
- Whole milk: Whole milk adds richness and moisture. You could use two percent milk, but whole milk will give you the softest result.
- Eggs: Five eggs create the rich texture and golden interior you expect from brioche.
- Butter: The butter should be softened enough to bend without breaking, but it should still feel cool. Butter that becomes warm or greasy can cause the dough to lose structure.
Equipment I Use
A few tools make this recipe much easier.
- Grain mill: I mill the wheat shortly before mixing the dough so the flour is fresh and full of flavor.
- Digital kitchen scale: Measuring by weight is especially important for enriched doughs like brioche. Small differences in flour, starter, or liquids can noticeably change the dough.
- Stand mixer: This dough requires a long kneading time and gradually incorporating the butter. A stand mixer makes the process much more manageable.
- Dough scraper: A dough scraper is helpful when dividing and shaping the buns.
- Large mixing bowl: You will need enough room for the dough to rise without overflowing.
- Two sheet pans: The buns need plenty of space so they rise outward instead of crowding together.
Make the Poolish
- Begin by preparing the poolish about 2 to 3 hours before you plan to mix the dough.
- Combine 100 grams all purpose flour, 100 grams water, and 2 grams yeast in a small bowl. Stir until the mixture is smooth and no dry flour remains.
- Cover the bowl and let the poolish rest at room temperature for 2 to 3 hours. It should become bubbly and slightly domed.
- You can also prepare the poolish the night before and place it directly into the refrigerator. Allow it to sit at room temperature for a little while before mixing if it is extremely cold.
Feed your Starter
- Feed your sourdough starter so it is active and bubbly when you are ready to mix the dough. This can usually be done 4 to 6 hours beforehand or the night before, depending on the temperature of your kitchen and the strength of your starter.
- For my starter, I typically discard all but 2 tablespoons, then feed it with 1 cup all purpose flour and 1 cup filtered water.
Prepare the Ingredients
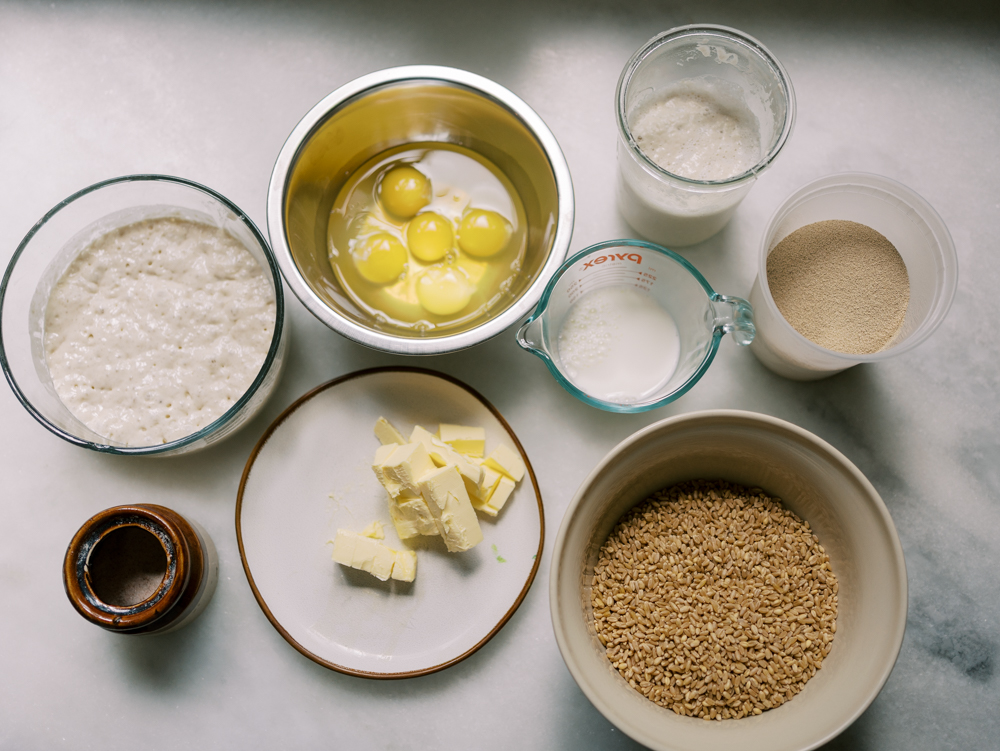
- Cut the butter into approximately one half inch pats. The butter should be soft and pliable but still cool. When pressed, it should give slightly without becoming greasy.
- If your butter is refrigerated, remove it about 30 minutes before you plan to mix the dough.
- Weigh the active sourdough starter into the same bowl as the poolish since they will be added to the dough together. Measure the milk into a separate bowl.
- In the bowl of a stand mixer, combine the freshly milled flour, sugar, salt, and instant yeast.
Mix the Dough
- Fit the stand mixer with the dough hook.
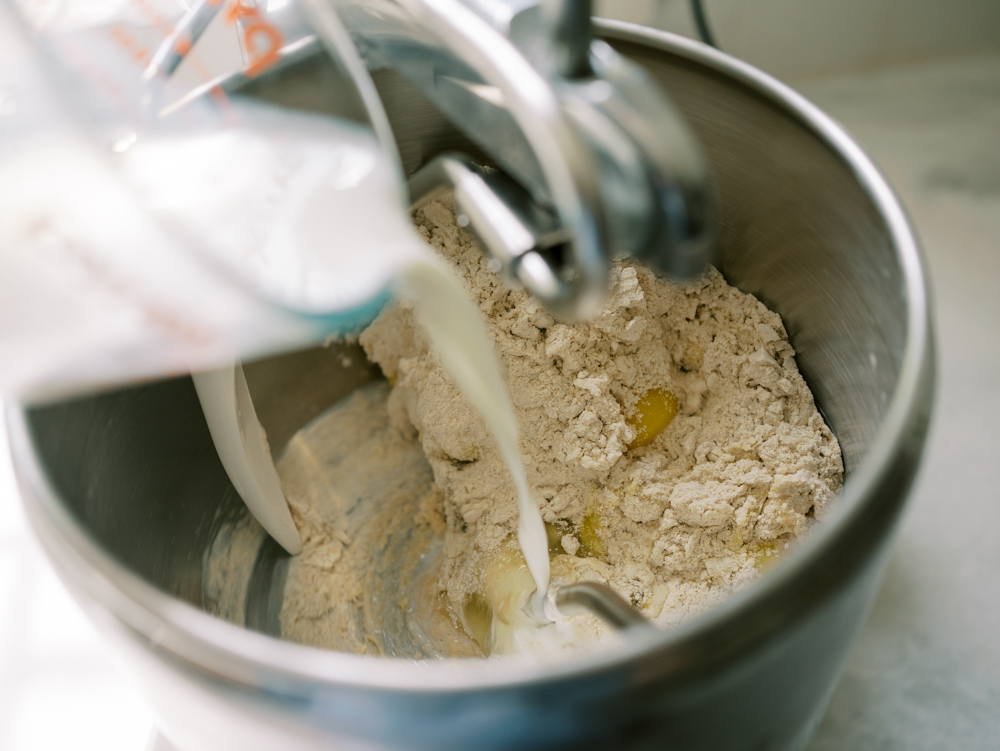
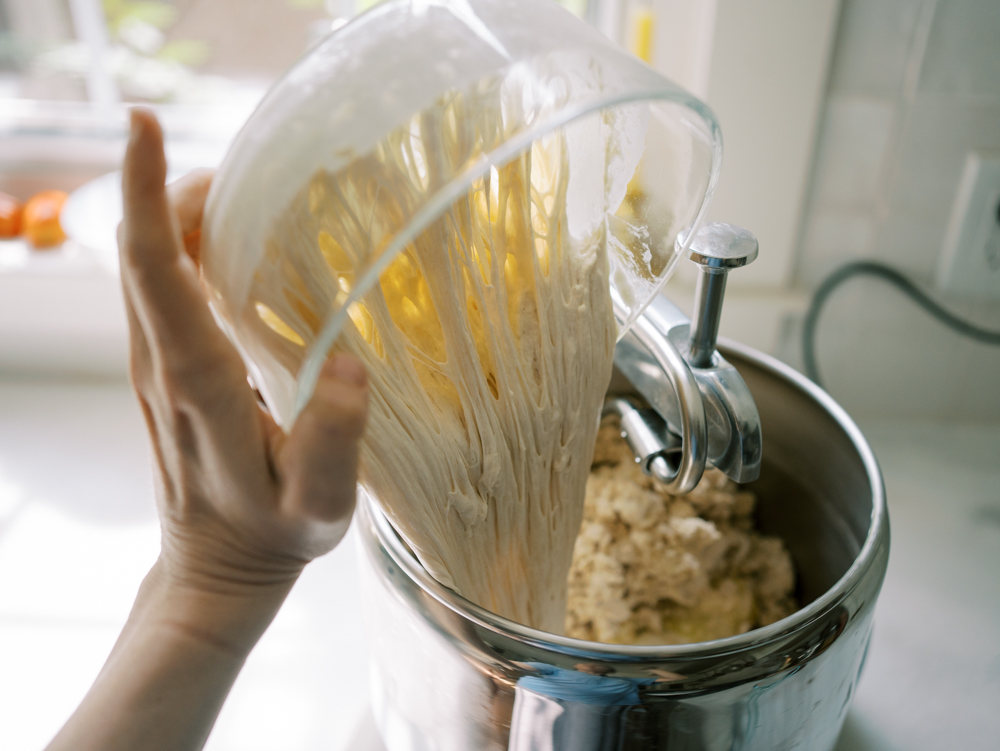
- With the mixer running on medium low speed, add the eggs and milk. Add the poolish and active sourdough starter.
- Mix just until the ingredients are combined and no large pockets of dry flour remain. The dough will look rough and sticky at this stage. This is normal.
- Cover the mixing bowl and allow the dough to rest for 20 minutes. This rest gives the flour time to absorb the liquid and makes the dough easier to knead.
Knead the Dough
- Knead the dough for 5 to 10 minutes, or until it begins to look smoother and more elastic.
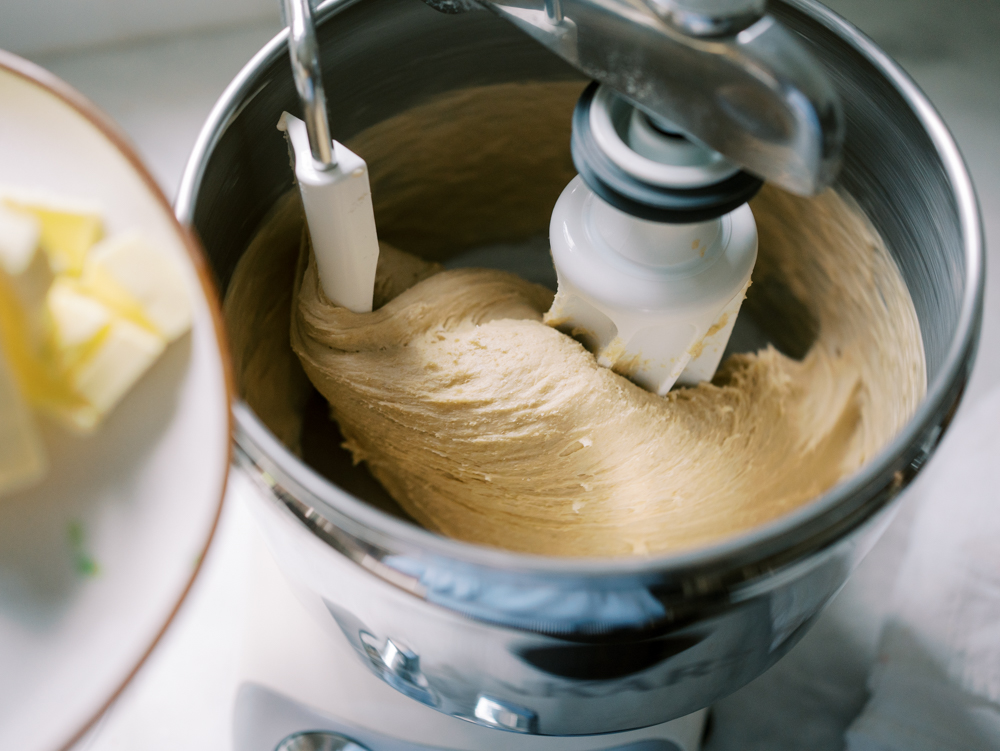
- With the mixer running on medium speed, add the butter one piece at a time. Allow each piece to become mostly incorporated before adding the next.
- Do not rush this step. Adding the butter gradually helps it blend into the dough instead of separating or making the dough greasy.
- Once all the butter has been added, continue kneading for another 6 to 7 minutes.
- The finished dough should be glossy, stretchy, and smooth. It will still feel soft and slightly tacky, but it should begin pulling away from the sides of the bowl.
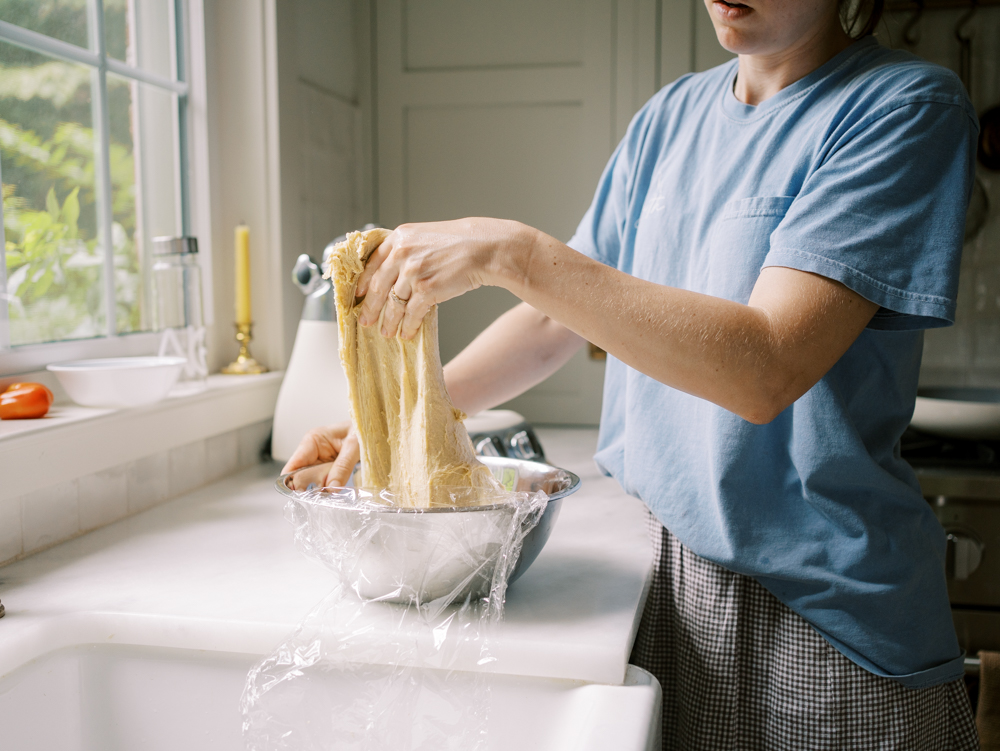
- You can test the dough by carefully stretching a small piece between your fingers. It should stretch thin enough for light to pass through without immediately tearing.
First Rise
- Transfer the dough to a large covered bowl.
- Allow it to rise in a cool area of your kitchen. Avoid placing the dough somewhere overly warm. Brioche contains a large amount of butter, and too much heat can cause the butter to melt out of the dough.
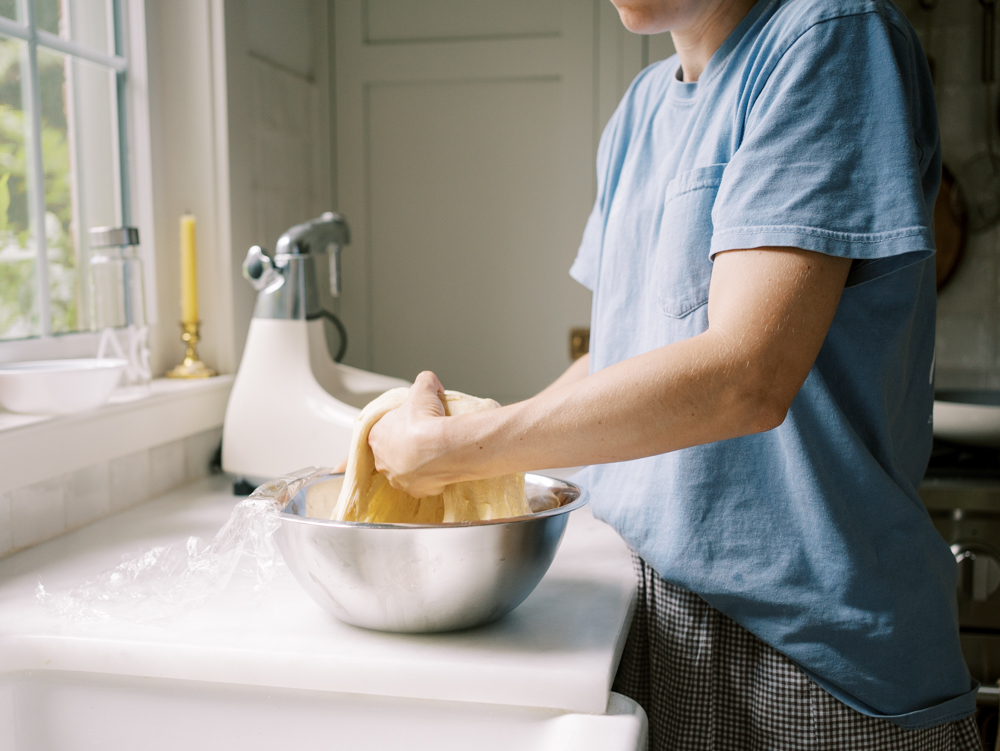
- During the first hour, perform two sets of stretch and folds. To do this, gently lift one side of the dough, stretch it upward, and fold it toward the center. Turn the bowl and repeat around all four sides.
- During the second hour, perform one additional set of stretch and folds.
- After approximately 2 and one half hours at room temperature, place the dough in the refrigerator for 30 minutes. Chilling the dough slightly firms the butter and makes shaping much easier.
- You can also cover the dough and refrigerate it overnight. Shape the buns directly from the chilled dough the following day.
Divide and Shape the Buns
- Turn the chilled dough onto a lightly floured work surface.
- Divide it into 14 to 16 portions, depending on how large you want the buns. I like to make mine about 100 grams each, which gives me approximately 14 large burger buns.
- Use a kitchen scale to weigh each portion so the buns bake evenly.
- To shape the buns, pull the edges of each piece toward the center to create tension on the opposite side. Turn the dough over so the smooth side is facing upward.
- Cup your hand around the dough and gently roll it against the counter until it forms a tight, smooth ball.
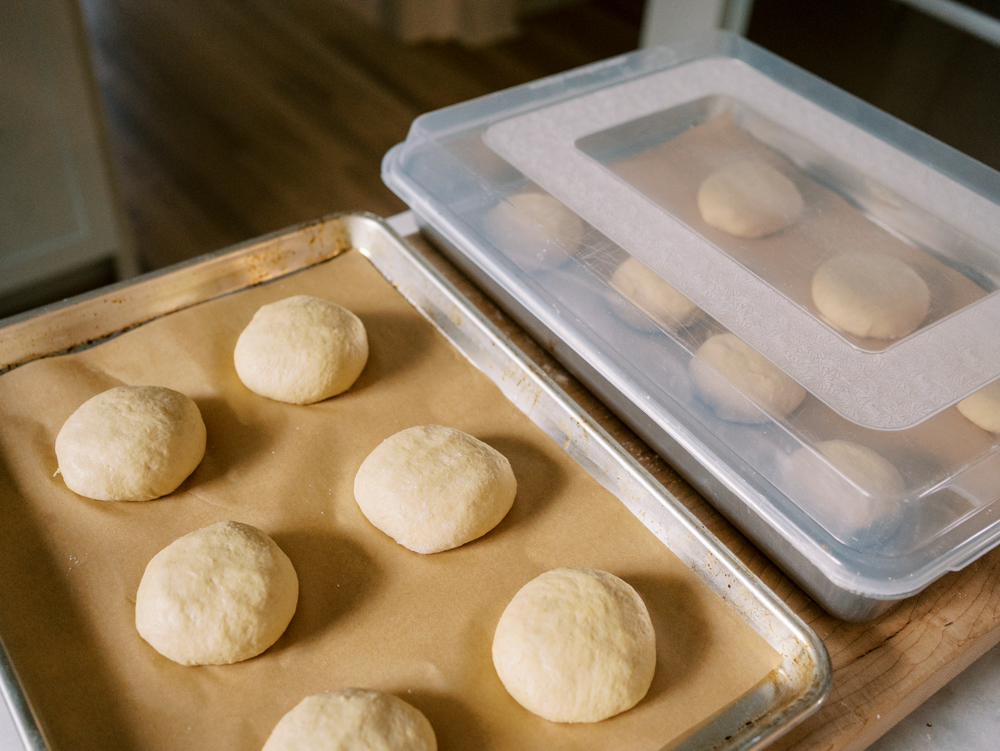
- Place the shaped buns on parchment lined sheet pans and gently press down on each one. Flattening them slightly encourages them to rise into a wider burger bun shape instead of becoming tall dinner rolls.
- Space the buns approximately 2 to 3 inches apart. You will need at least two sheet pans.
Final Rise
- Cover the shaped buns with a lightweight kitchen towel, reusable baking lid, or another sheet pan.
- Allow the buns to rise for approximately 1 and one half hours.
- The buns should look visibly puffy and feel light when gently touched. The exact timing can vary depending on the temperature of your kitchen and whether the dough was refrigerated overnight.
Add the Egg Wash
- Preheat the oven to 425°F (220°C).
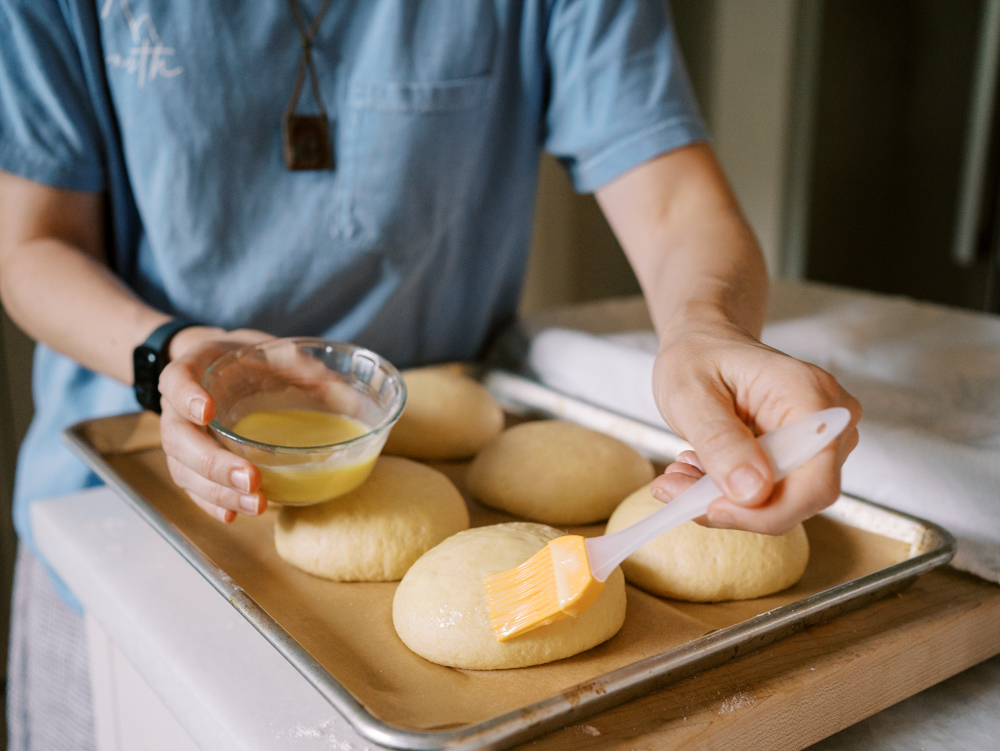
- Whisk together 1 egg and 1 tablespoon cream.
- Gently brush the egg wash over the tops of the risen buns. Try not to press down on the dough or allow too much egg wash to collect around the bottoms.
- Sprinkle the buns with poppy seeds, sesame seeds, or a mixture of both.
Bake
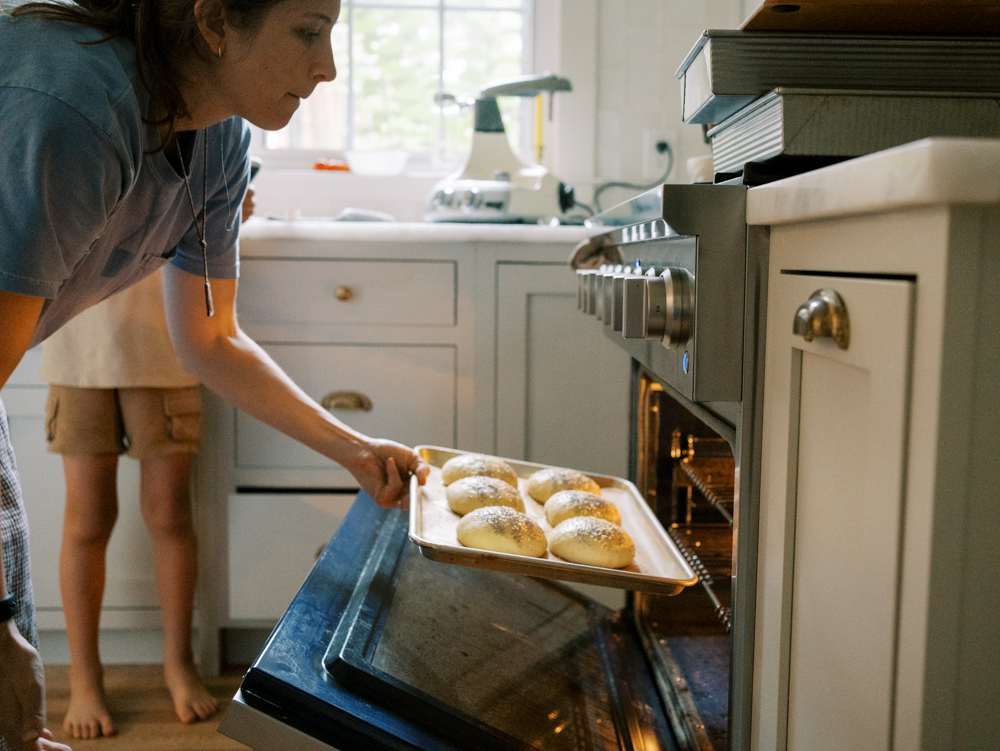
- Bake the buns on the middle rack for approximately 15 minutes, or until they are deeply golden brown.
- If your oven does not heat evenly, rotate the sheet pan partway through baking.
- Transfer the finished buns to a cooling rack and allow them to cool before slicing. The interior will continue setting as the buns cool, so cutting them immediately can make the crumb look gummy.
Serving Ideas
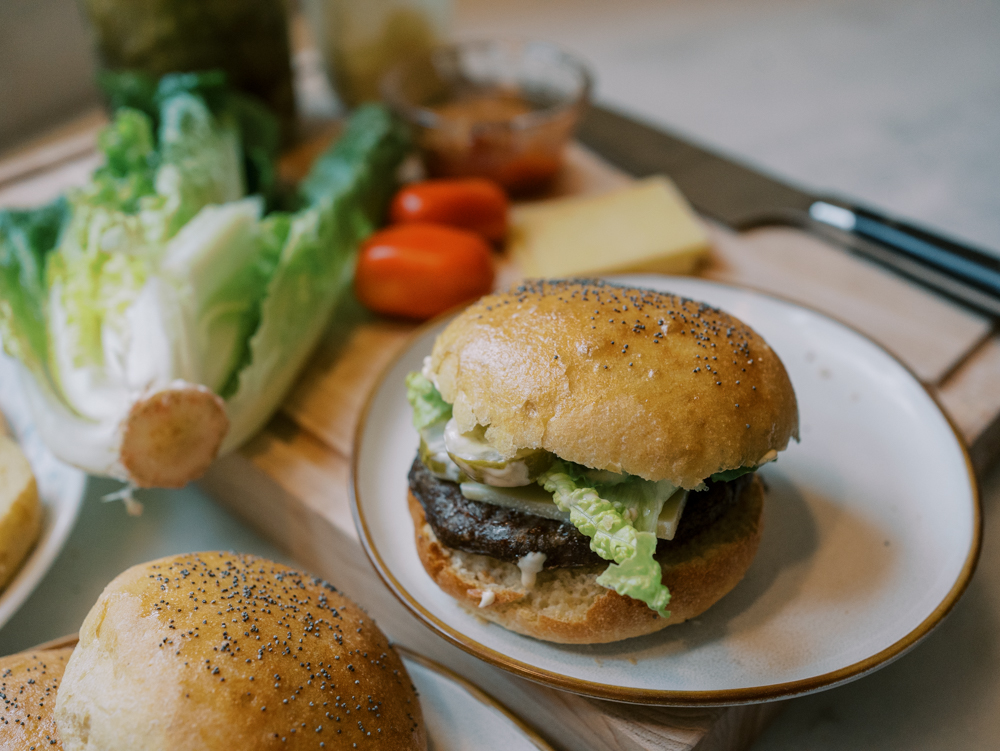
- These buns were made for a big, juicy burger, but they can be used for so much more.
- Serve them with grilled hamburgers, smash burgers, fried chicken sandwiches, barbecue pulled pork, shredded beef, grilled chicken, or crispy fish sandwiches.
- You can also shape the dough into smaller portions for sliders or use the buns for breakfast sandwiches with eggs, bacon, and cheese.
Tips and Storage
- Keep the dough cool. If the butter begins melting, place the dough in the refrigerator for 15 to 20 minutes before continuing.
- Add the butter gradually. Adding it too quickly can make it difficult for the dough to develop properly.
- Use a kitchen scale when dividing the dough so all of the buns are the same size.
- Flatten the shaped dough balls slightly so they bake into wide burger buns.
- Allow the baked buns to cool before slicing so the crumb has time to set.
- Store cooled buns in an airtight container at room temperature for up to 3 days.
- For longer storage, freeze the buns in a freezer safe container or bag for up to 3 months.
- To serve after freezing, allow the buns to thaw at room temperature. Warm them briefly in the oven if desired.
Watch me make them in real time in my latest YouTube video:
Sourdough Brioche Burger Buns
Ingredients
Notes
- Keep the dough cool so the butter does not melt.
- The butter should be soft enough to bend but should not feel warm or greasy.
- For smaller buns or sliders, divide the dough into smaller portions and begin checking them a few minutes earlier.
- Store cooled buns in an airtight container at room temperature for up to 3 days.
- Freeze the buns in a freezer safe container for up to 3 months.
Method
- Mix the all purpose flour, water, and yeast for the poolish until smooth. Cover and let rest at room temperature for 2 to 3 hours, or put it directly in the refrigerate to rise overnight.
- Feed the sourdough starter so it is active and bubbly when you are ready to mix the dough. Mine normally needs 4-6 hours to rise. Do this early in the morning or right before bed.
- Cut the stick of butter into ½ inch pieces. Keep this is the fridge until 30 minutes before mixing, so it can soften while still staying chilled. Also weigh out your 150 grams of sourdough starter right into the poolish bowl so you can add those to the dough together. Weigh out your 125 grams of milk and optionally crack your 5 eggs into another bowl. Now all of your wet ingredients are ready for mixing.
- Add the freshly milled flour, sugar, salt, and 5 grams of instant yeast to the bowl of a stand mixer.
- With the mixer running on medium low speed, add the 5 eggs and 125 grams of milk. Add the poolish and sourdough starter. Mix just until combined. Cover the bowl and let the dough rest for 20 minutes.
- Knead the dough for 5 to 10 minutes, or until it begins to look smooth and elastic.
- With the mixer running on medium speed, add the butter one piece at a time. Let each piece incorporate before adding the next.
- Continue kneading for 6 to 7 minutes, until the dough is smooth, glossy, and stretchy.
- Transfer the dough to a large covered bowl and let it rise in a cool spot.
- During the first hour, complete two sets of stretch and folds. During the second hour, complete one additional set.
- After about 2½ hours at room temperature, refrigerate the dough for 30 minutes before shaping. You can also refrigerate the dough overnight. If you choose the overnight method, it helps to stunt your dough in the freezer for 1 hour before transferring it to the fridge overnight.
- Turn the chilled dough onto a lightly floured surface and divide it into 14 to 16 portions. For large burger buns, make each portion about 100 g.
- Shape each portion into a tight ball and place it on parchment lined sheet pans. Gently flatten each ball to create a wider bun shape.
- Space the buns about 2 to 3 inches apart. Cover and let rise for 1½ hours, or until visibly puffy.
- Preheat the oven to 425°F or 220°C.
- Whisk together the egg and cream. Gently brush the tops of the buns with the egg wash and sprinkle with poppy seeds and sesame seeds.
- Bake on the middle rack for about 15-17 minutes, or until the buns are deeply golden brown.
- Transfer the buns to a cooling rack and let them cool before slicing.
Video
This post may contain affiliate links. If you purchase through these links, I may earn a small commission at no additional cost to you. Thank you for supporting my blog and helping me continue to create recipes and content for your family.


I made a half batch of these buns yesterday and used regular whole wheat flour since I don’t have freshly milled. They turned out absolutely incredible! Thank you so much for this recipe 🙂
Your brioche bread looks absolutely delicious! I hope you make a video showing how to make your brioche bread from scratch.