How to Make Homemade Frozen Pizzas
This guide walks you through exactly how to make homemade frozen pizzas, from parbaking the crust and adding the toppings to wrapping, storing, and baking them straight from the freezer.
When I started working on freezer meals, homemade pizza was one of the recipes I was most excited to try. I wanted something I could pull directly from the freezer, bake without thawing, and still end up with a crisp crust and beautifully melted cheese.
This method turned out even better than I hoped. The crust becomes wonderfully crisp in the oven, the toppings stay fresh, and there is no noticeable loss of flavor or texture after freezing. Everyone in my family loved it, and it may be my favorite freezer meal from the entire batch.
There is some work involved on the day you prepare the pizzas, but you are rewarded later with a completely homemade pizza that can go directly from the freezer to the oven. It is perfect for busy nights when everyone is hungry and I do not want to start dinner from scratch.
Main Ingredients & Swaps
- Sourdough discard pizza crust: I use my freshly milled sourdough discard pizza dough for these pizzas. The discard adds flavor, while a small amount of yeast gives the crust a reliable rise. You can find my complete sourdough discard pizza crust recipe in this post.
- Vodka red sauce: This creamy tomato sauce is based on the vodka sauce from The Food Lab. It is rich, slightly sweet, and absolutely delicious on both pizza and pasta.
- Low moisture mozzarella: I love using a block of fresh tasting, low moisture mozzarella and chopping or tearing it into pieces. Avoid the round balls of fresh mozzarella stored in liquid because they contain too much moisture for frozen pizza.
- Fresh Parmesan: A little freshly grated Parmesan adds salty, nutty flavor and helps the top of the pizza brown beautifully.
- Semolina flour: This helps prevent the dough from sticking to the pizza peel. It also gives the bottom of the crust a little extra texture.
Equipment I Use
- Stand mixer: A stand mixer with a dough hook makes kneading the pizza dough much easier.
- Kitchen scale: Weighing the flour and water gives the most consistent pizza crust.
- Pizza peel: This makes it easier to transfer the shaped dough onto the hot pizza pan.
- Cast iron pizza pan or pizza stone: Preheating the pan or stone gives the crust a crisp bottom and helps it rise quickly.
- Parchment paper: Parchment makes transferring the pizza easier and can be especially helpful if the dough is sticky.
- Sheet pan: You will need a flat surface that fits in your freezer for flash freezing the topped pizza.
- Plastic wrap: Wrapping the frozen pizza tightly protects it from freezer burn.
- Immersion blender: This is the easiest way to blend the vodka red sauce directly in the saucepan.
The Process:
Prepare the Pizza Dough
I start by making one batch of my sourdough discard pizza dough. The recipe makes two large pizzas.
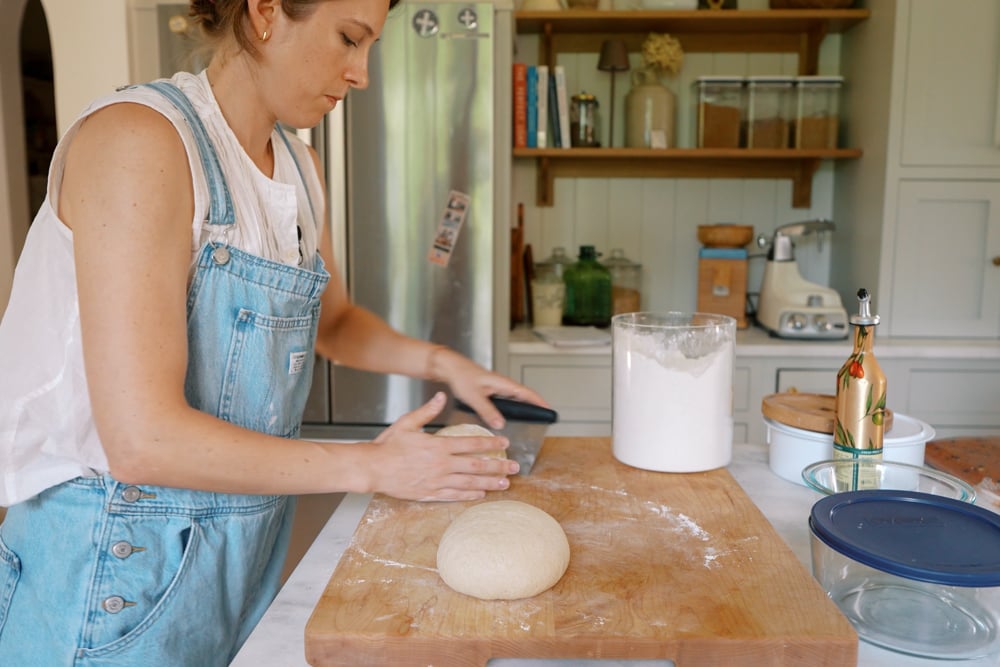
After kneading the dough, I let it rise in the bowl for about 45 minute to an hour, or until doubled in size. Then I dump it onto a floured surface, and divide it into two portions and shape each portion into a ball. Each dough ball goes into its own lightly oiled bowl and I place these directly into refrigerated for 30 minutes to an hour. Cold pizza dough is firmer, less sticky, and much easier to gently stretch out.
Make the Vodka Red Sauce
While the dough rises, I prepare the vodka red sauce so it has time to simmer and cool before it goes onto the pizzas.
This sauce begins with onion cooked gently in butter and olive oil. Garlic, oregano, and red pepper flakes add plenty of flavor before the tomatoes are added.
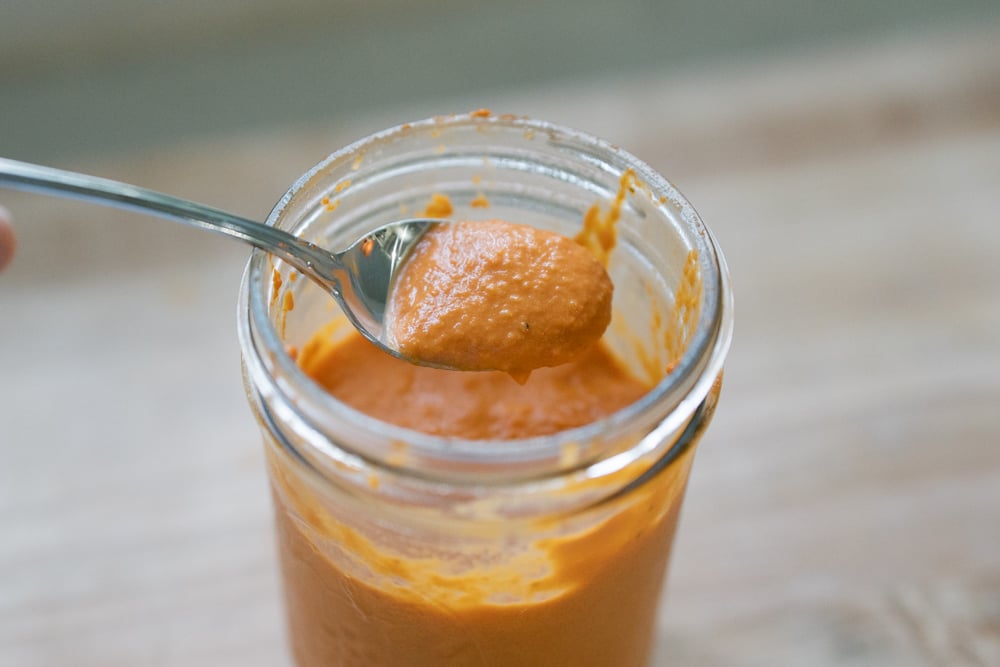
After the tomatoes have simmered and reduced, I blend everything with heavy cream and vodka until creamy. The sauce goes back onto the stove for a final simmer to deepen the flavor.
Make sure the sauce is completely cool before using it on a pizza that will be frozen.
Shape and Parbake the Crust
I preheat my oven to 500°F, or 260°C, with a cast iron pizza pan or pizza stone inside. The baking surface needs to be very hot before the dough goes into the oven.
I sprinkle a pizza peel with semolina flour and sometimes add a sheet of parchment paper for extra protection against sticking.
Working with one cold dough ball at a time, I gently stretch it outward into a large round. I try to preserve as many air bubbles as possible, especially around the edge.
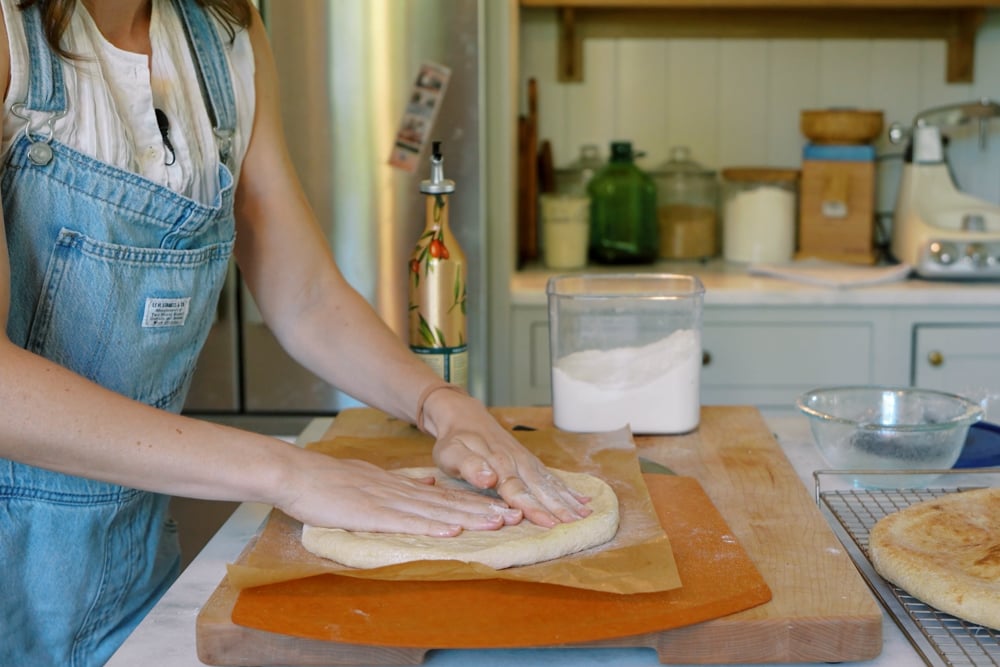
I transfer the dough to the hot pizza pan and bake it for about 5 minutes. The goal is to set the crust without fully browning or baking it.
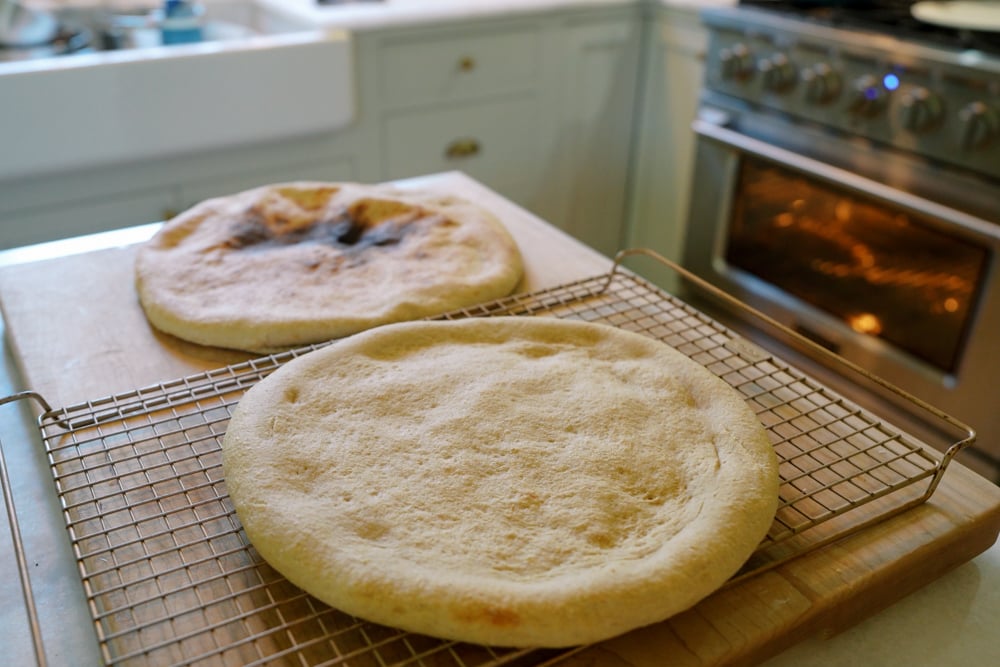
Why Parbake the Pizza Crust?
Parbaking simply means partially baking the pizza crust before adding the sauce and toppings.
The crust goes into a very hot oven for about 5 minutes, which is just enough time to set the dough without fully baking it. This creates a sturdy base that is easy to top, freeze, wrap, and bake later.
It also helps prevent the frozen pizza from becoming soggy. When the pizza goes back into the oven, the crust finishes baking while the cheese melts and the toppings heat through.
Cool and Top the Pizza
After parbaking, I transfer the crust to a cooling rack and let it cool completely. Adding sauce and cheese while the crust is still warm can create condensation and make the pizza soggy.
Once cool, I spread a thin layer of vodka red sauce over the crust. Pizza does not need as much sauce as pasta, so avoid adding a heavy layer.
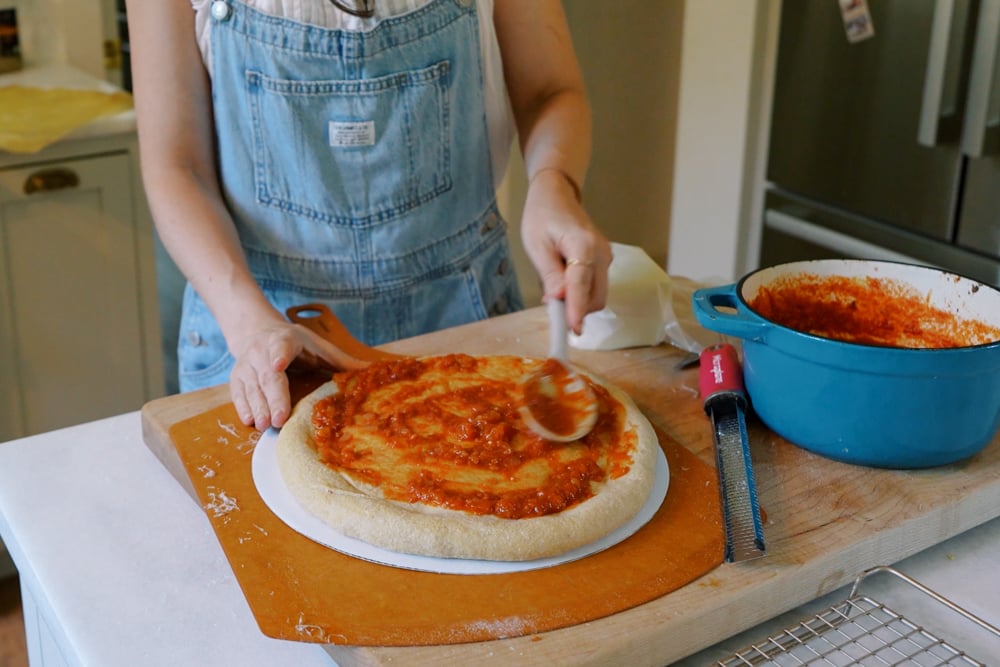
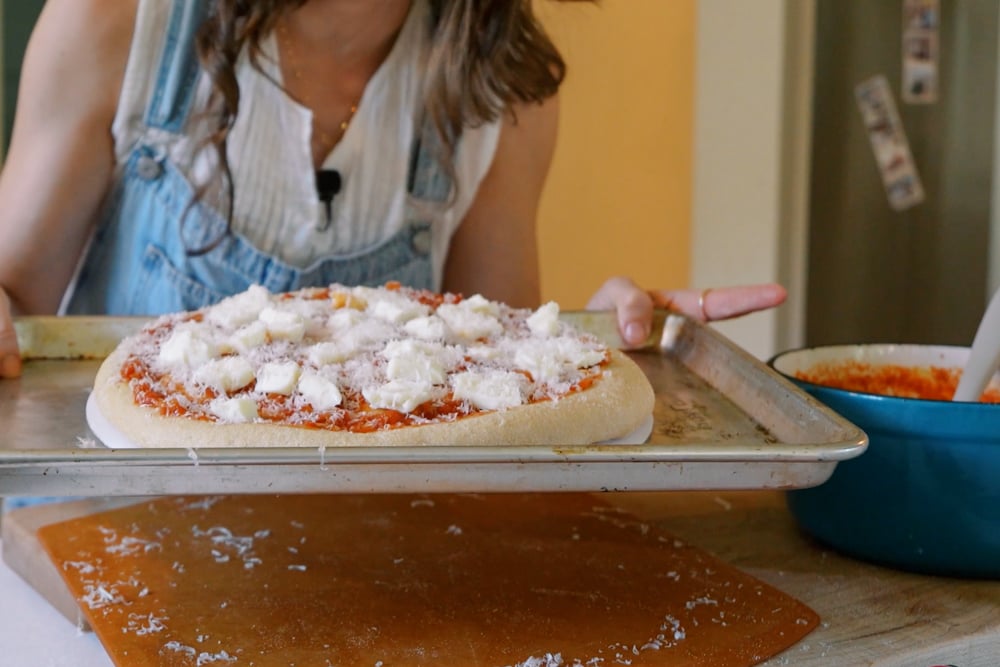
I top the sauce with pieces of low moisture mozzarella and freshly grated Parmesan. You can also add pepperoni, cooked sausage, vegetables, or any other toppings your family enjoys.
Flash Freeze
I place the fully topped pizza on a flat sheet pan and transfer it to the freezer uncovered.
Let the pizza freeze for about 1-2 hour,s or until the toppings are firm and no longer move when touched. This is what I call flash freezing, and it keeps the cheese and toppings in place when the pizza is wrapped.
Wrap and Store
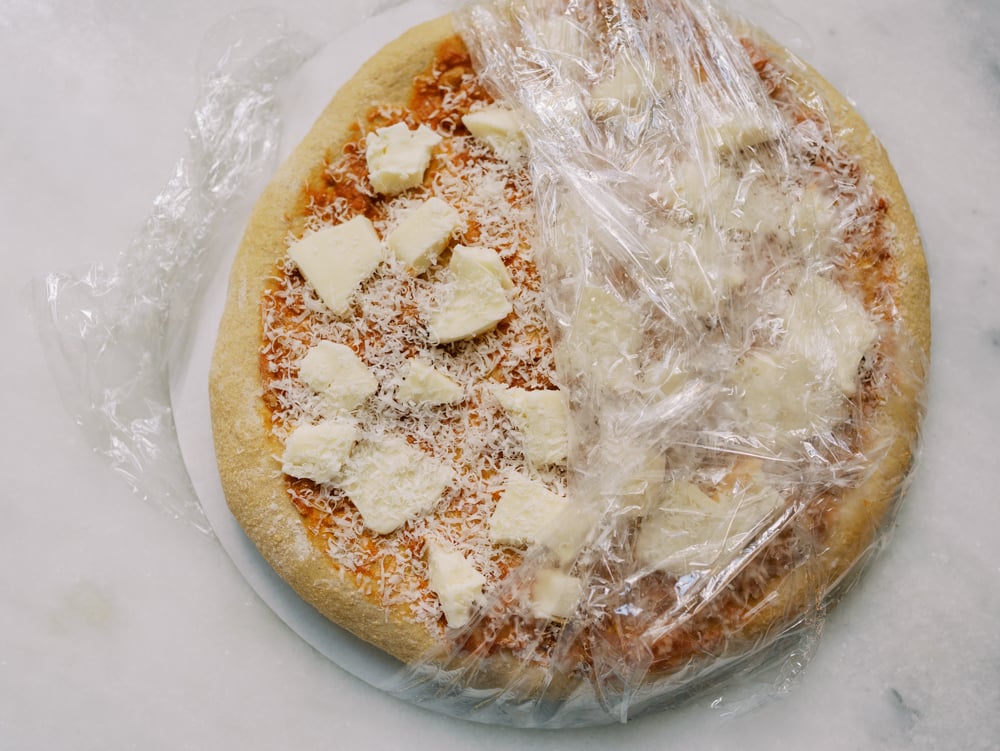
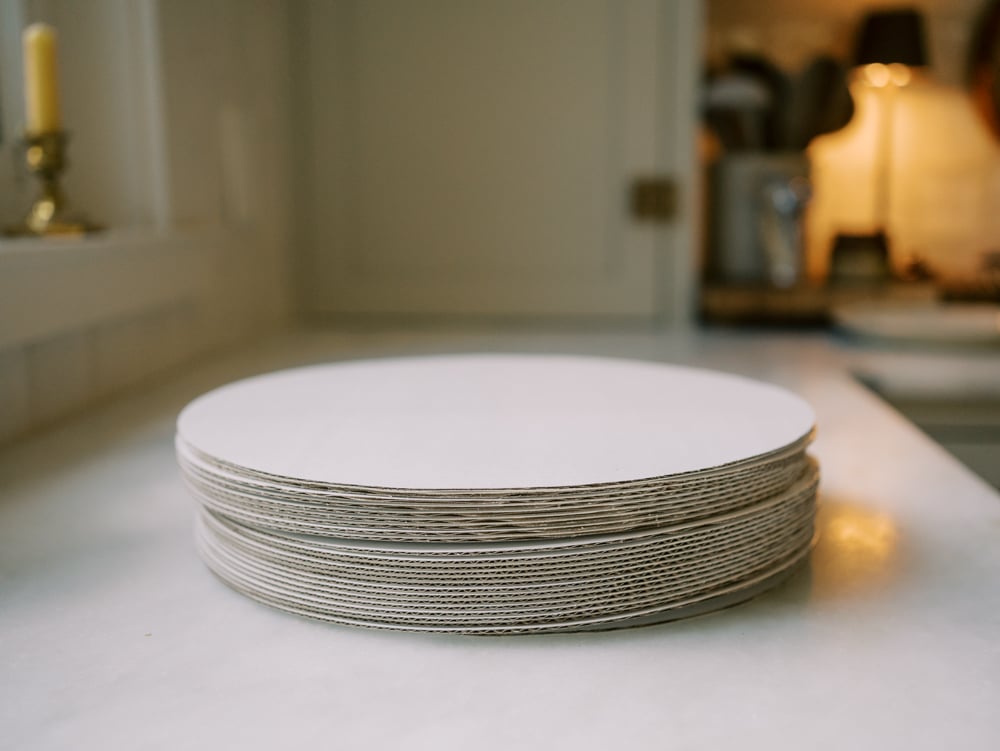
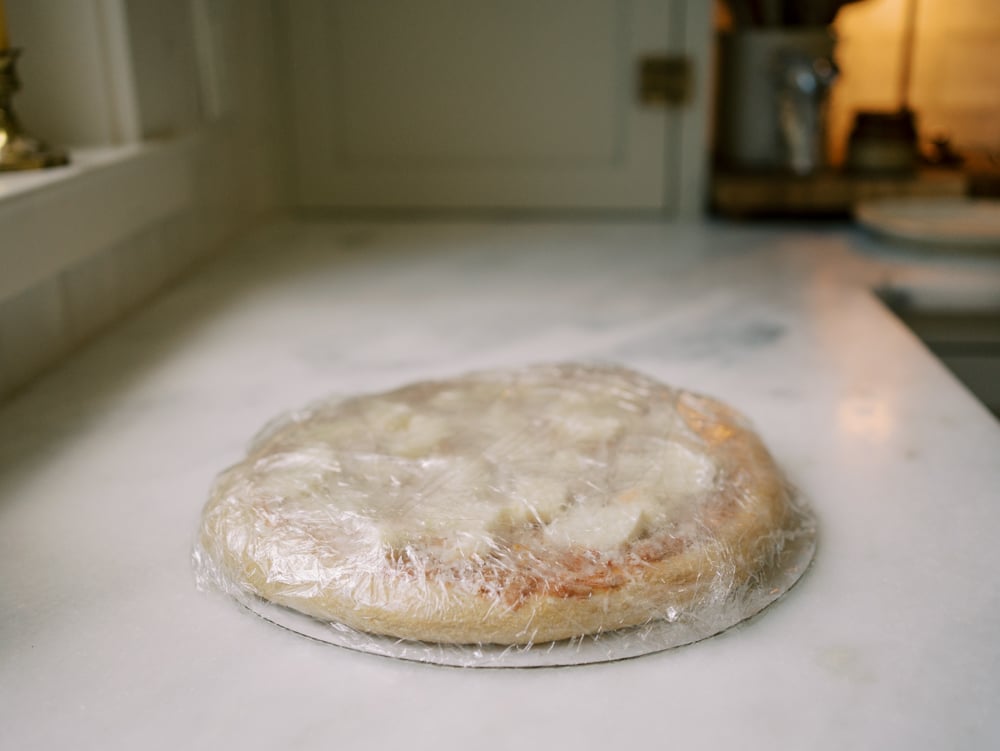
Once the pizza is frozen, place it on a cardboard pizza round before wrapping it tightly in plastic wrap. The board keeps the crust supported and makes the pizza easier to stack and store in the freezer. Make sure the entire pizza is covered and press out as much trapped air as possible.
For extra protection during longer storage, you can add a second layer of plastic wrap or an outer layer of foil. You can also get these pizza boards
Label the pizza with the type of toppings and the date, then place it flat in the freezer.
How to Bake Pizza from Frozen
Preheat the oven to 375°F, or about 190°C.
Remove all plastic wrap and packaging from the frozen pizza. Place it directly on a pizza pan, pizza stone, or oven rack, depending on how crisp you like the bottom.
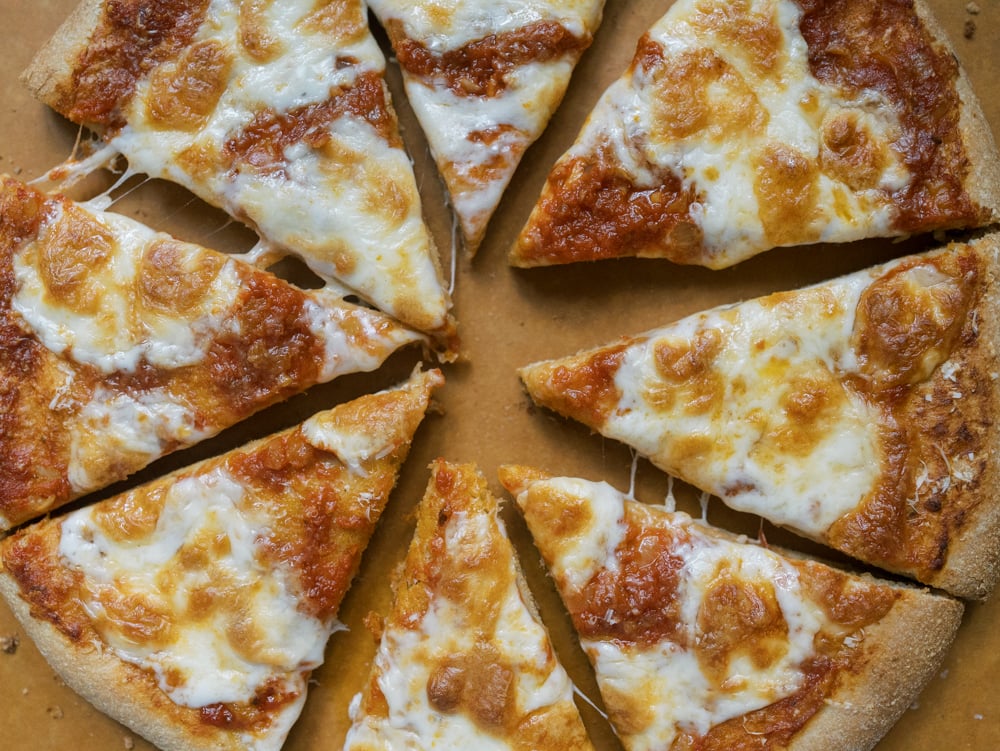
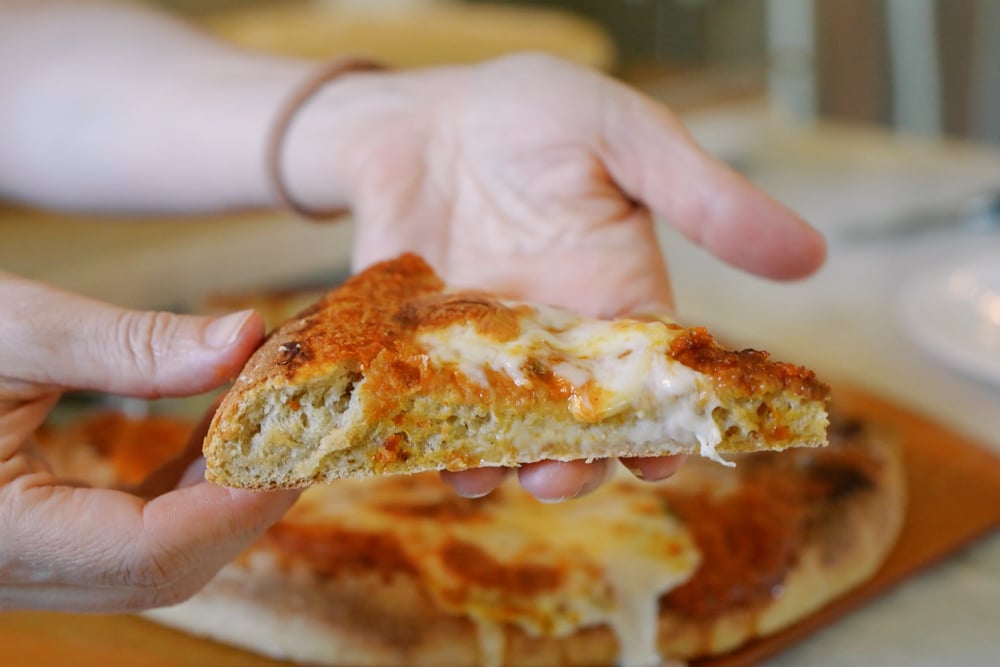
Bake the pizza directly from frozen for about 20 minutes. It is ready when the crust is heated through and crisp, and the cheese is melted and beginning to brown.
Every oven cooks a little differently, so begin checking the pizza toward the end of the baking time.
Tips for the Best Frozen Pizza
- Allow both the parbaked crust and the vodka sauce to cool completely before assembling the pizzas. Any trapped heat can create condensation and lead to a soggy crust.
- Use a thin layer of sauce. The flavor is rich, so you do not need much.
- Choose low moisture mozzarella from a block. Fresh mozzarella balls contain considerably more water and can make the pizza wet as it bakes.
- Flash freeze the pizza until the toppings are firm before wrapping it. Otherwise, the cheese and sauce may stick to the plastic wrap.
- Wrap the pizza tightly to protect the crust and toppings from freezer burn.
- Bake the pizza directly from frozen. There is no need to thaw it first.
Watch my YouTube video below to see me make the dough, parbake the crusts, add the toppings, and prepare these homemade pizzas for the freezer.
Making pizza from scratch does require a little extra work upfront, but having a completely homemade pizza waiting in the freezer is absolutely worth it. On a busy night, I can unwrap one, put it in the oven, and have a crisp, cheesy pizza on the table in about 20 minutes.
Creamy Vodka Red Sauce
Ingredients
Notes
- This recipe makes enough sauce for several pizzas, depending on how much sauce you prefer.
- Use a thin layer on pizza to keep the crust from becoming soggy.
- Store leftover sauce in an airtight container in the refrigerator for up to 5 days.
- Extra sauce is delicious served with pasta, meatballs, or warm bread.
Method
- Heat the olive oil and butter in a medium saucepan over medium high heat. Once the butter has melted, add the onion and cook for about 3 minutes, until softened but not browned.
- Add the garlic, oregano, and red pepper flakes. Cook for 1 minute, stirring frequently.
- Crush the tomatoes by hand, cut them with kitchen scissors directly in the can, or break them down with an immersion blender or potato masher. Add the tomatoes and their juices to the saucepan. Simmer for about 30 minutes, or until the sauce has reduced by about an inch and thickened.
- Turn off the heat and add the heavy cream and vodka. Blend with an immersion blender until creamy and smooth. You can also carefully transfer the sauce to a high powered blender.
- Return the sauce to the saucepan and simmer for another 10 to 15 minutes to develop the flavor and thicken it further. Taste and add salt as needed. Let the sauce cool completely before using it on frozen pizzas.
Video
Sourdough Discard Pizza Crust with Freshly Milled Flour
Ingredients
Notes
- For the most accurate results, weigh the freshly milled flour. Cup measurements can vary depending on the grain and how tightly the flour is packed.
- If using all purpose flour instead of freshly milled flour, you may need to add a little more flour until the dough reaches the proper consistency.
- If you do not have sourdough starter or discard, combine 60 grams water with 60 grams flour. Use this mixture in place of the 120 grams of discard. It will not provide the same sourdough flavor or fermentation benefits, but it will allow you to make the recipe without a starter.
- For homemade frozen pizzas, parbake the crust for 5 minutes and let it cool completely. Add the sauce, cheese, and toppings, then flash freeze before wrapping and storing.
Method
- Add the water, sourdough discard, cane sugar, olive oil, yeast, and salt to the bowl of a stand mixer. Turn the mixer on and gradually add both flours, mixing until a dough forms. Let the dough rest for about 10 minutes so the freshly milled flour can absorb the water.
- Knead the dough for about 15 minutes, until it becomes smooth and elastic. Cover the bowl and let the dough rise for 45 minutes to an hour, or until doubled in size.
- Once dough has doubled, divide the dough into two equal portions. Shape each portion into a ball, creating tension across the surface. Place each dough ball in a lightly oiled bowl, covered. Refrigerate the dough for 30 minutes to 1 hour before shaping. For more developed flavor, refrigerate it overnight and reduce the yeast to ½ teaspoon.
- Preheat the oven to 500°F, or 260°C, with a cast iron pizza pan or pizza stone inside.
- Sprinkle a pizza peel with semolina flour. For easier transferring, place a sheet of parchment paper on the peel and sprinkle the parchment with semolina. Place one dough ball in the center and gently stretch it outward, about 12 inches wide, taking care not to flatten all the air bubbles around the edges.
- Transfer the dough to the hot pizza pan or stone. Parbake for 5 minutes, until the crust is set and almost fully baked. (For freezer pizza, stop here, let it cool down, add your toppings and flash freeze before wrapping it up for the freezer.)
- Remove the crust from the oven and add the sauce, cheese, and desired toppings. Return it to the oven and bake for about 10 more minutes, until the crust is fully cooked and the cheese is melted and browned. Repeat with the remaining dough ball.
Video
This post may contain affiliate links, which means I may earn a small commission at no additional cost to you. Thank you for supporting me and my family!

