English Muffins with Fresh Milled Flour
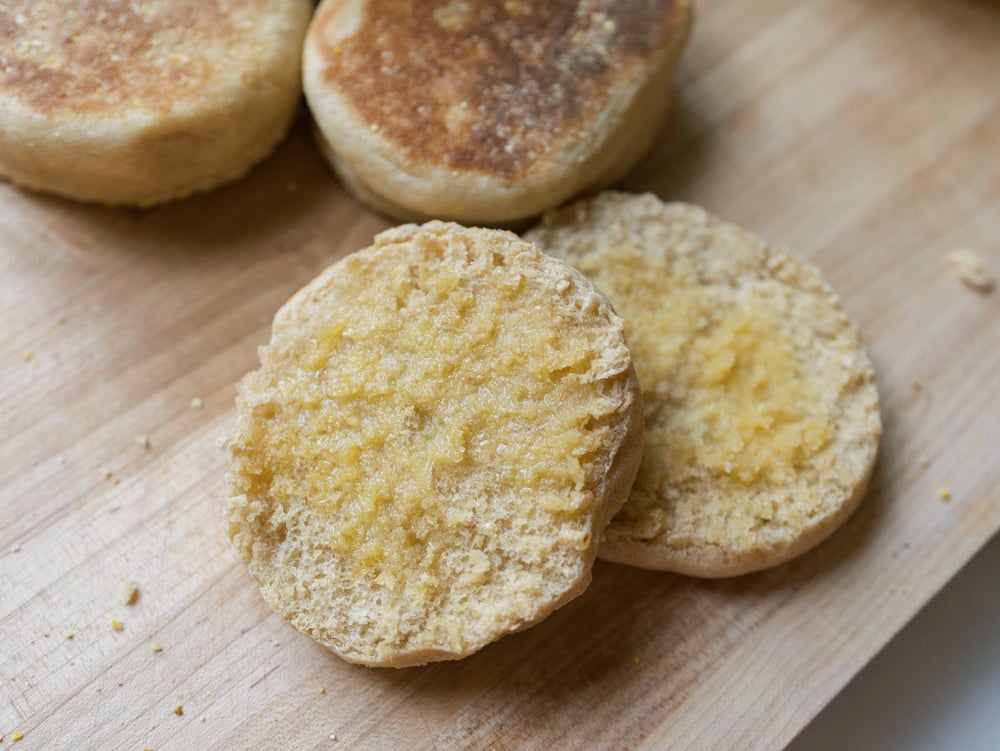
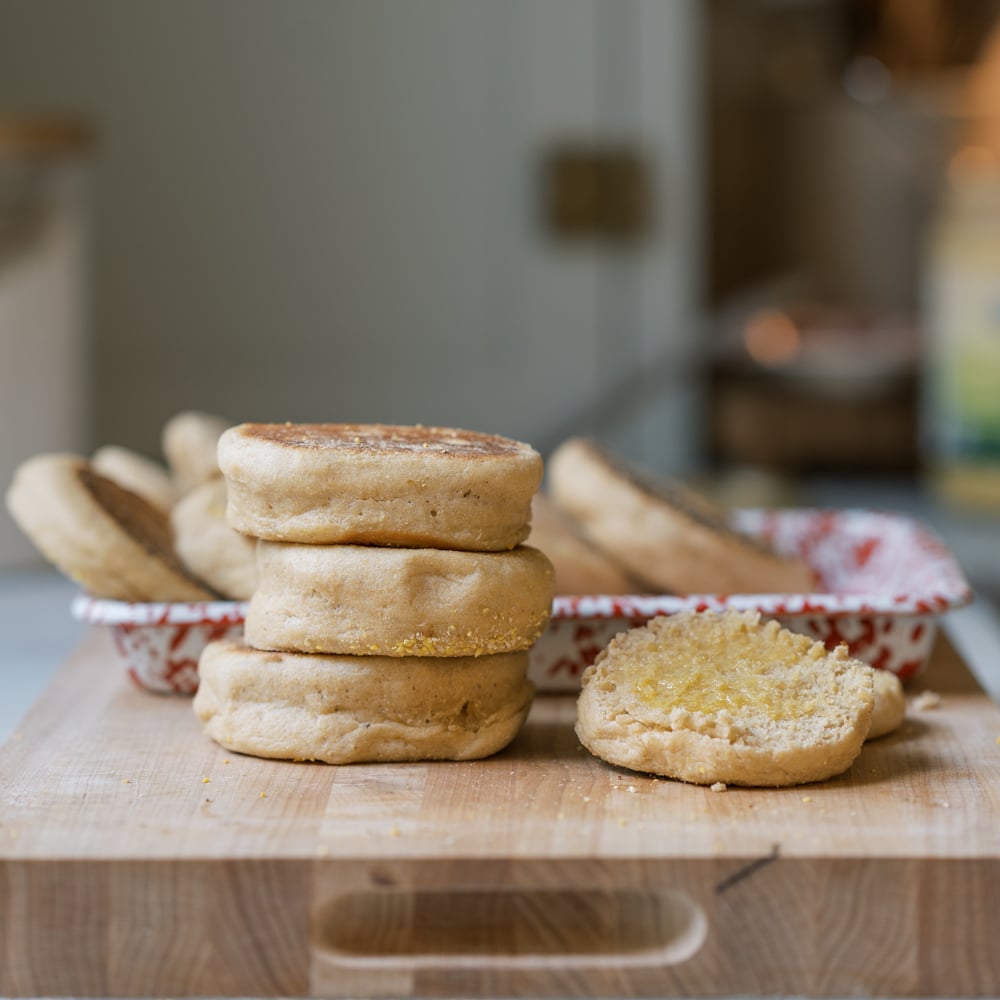
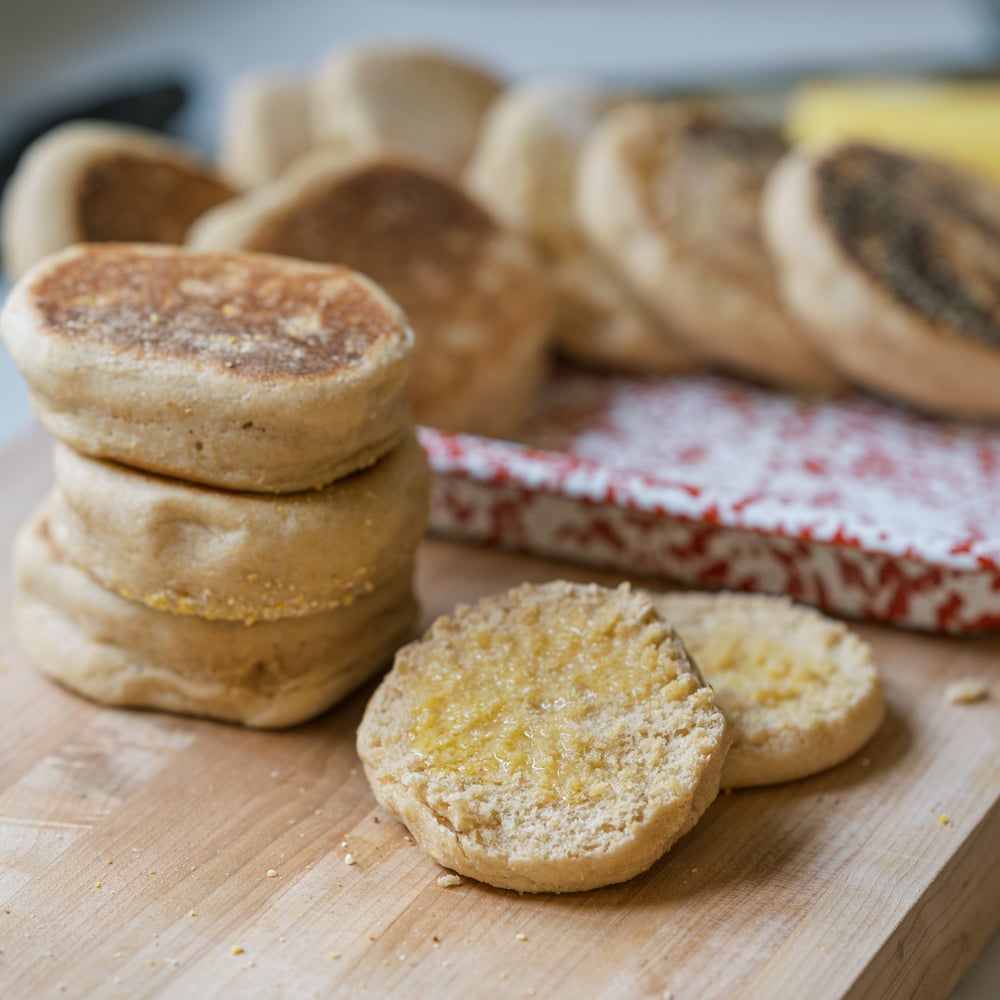
Homemade English muffins made with fresh-milled hard white wheat, cooked on a skillet with cornmeal and a touch of ghee. Crisp and buttery on the outside, soft and tender inside—truly addicting!
I’ve spent months perfecting my English muffin recipe—testing different flours, adjusting rise times, and burning more than a few batches along the way! If you follow my YouTube channel, you’ve probably seen some of these experiments. After all that trial and error, I finally landed on a method that checks all the boxes: incredible flavor, a crisp exterior, a soft, airy interior with those signature nooks and crannies, and a process that’s straightforward—ready in just about 90 minutes, all on the stovetop. Here’s exactly how I make them at home.
Ingredients & Substitutions
(Makes about 10 muffins)
- 510 grams hard white wheat berries, freshly milled (or 200 grams khorasan and 310 grams hard white for extra nutrition) All purpose flour can also be used, see note.
- 220 grams (scant 1 cup) warm whole milk
- 165 grams (3/4 cup) water
- 1 1/4 tsp fine salt
- 1 egg
- 2 tbsp sugar (32 grams)
- 43 grams (3 tbsp) salted butter, melted
- Cornmeal, for dusting
- Ghee, for cooking (or use avocado oil or another high-smoke-point fat)
Can I use all purpose flour if I don’t mill my own flour? Absolutely! While I love teaching you how to use freshly milled grains, I also want you to feel absolutely free to make this recipe with the ingredients you have on hand. You may need to add just a little bit extra all-purpose flour if the dough is too sticky to work with. This is a sticky dough, so don’t add too much extra!
Equipment I Use
- Grain Mill: This is the mill I use to turn wheat berries into freshly milled flour.
- Mixer: Any mixer will do, but this Ankarsrum mixer is especially wonderful for all fresh milled flour baking.
- Cast Iron Skillet: I like a 12 inch skillet for this. Any lid will do, but I use the lid from my staub braiser, which would also work for this recipe.
- Biscuit Cutter: I like to use a 3.15 inch biscuit cutter, but the 2.76 inch cutter will work well also! In a pinch, you can also use a cup turned upside down or a mason jar lid. However the biscuit cutter will work the best here!
How I Make English Muffins
First, Prep Your Ingredients: Mill your wheat berries and set aside to cool. Combine the warm milk and water. (You can also do this right in the mixing bowl set on top of a scale to save some dishes) Add 2 teaspoons yeast and 2 tablespoons sugar, stir to combine. Let the yeast bloom for 5 minutes.
Melt the butter and let it cool slightly.
Mix Your Dough: In a stand mixer, add the milk-and-water mixture, melted butter, and egg. With the mixer on low, slowly add the flour. Mix until just combined, then let the dough rest for 10–15 minutes so the flour can absorb the liquid.
Knead the dough for about 15 minutes, until smooth and elastic. Freshly milled flour may require longer kneading than all-purpose flour to develop the gluten.
Proof Your Dough: Scrape down the bowl, cover, and let the dough rise until doubled in size, about 45 minutes. Line a sheet pan with parchment paper and generously sprinkle with cornmeal. Set aside.
Cut Out Your English Muffins: When the dough has risen, lightly flour your work surface and gently turn the dough out onto it. Flour the top of your dough and rolling pin as well. Avoid overworking or deflating the dough. Roll it out to about 1-inch thick. Cut out rounds using a biscuit cutter or mason jar lid and place them on the prepared sheet pan and sprinkle the tops of the english muffins with cornmeal.
What to do with the extra dough: Gather the scraps together and gently re-roll the dough to cut out more English muffins. With the last bit of dough, shape it into a ball, flatten it slightly, and use the biscuit cutter to gently clean up the edges. This way, you won’t have any dough left over.
Short Proof: Cover with a towel or lid and let rest for 10-15 minutes, meanwhile prepare your skillet. If you let these rest and proof too long, they will start to deflate when you cook them, creating a thin and wide english muffin. This is why I try to move things along pretty quickly during this second rise.
How To Cook English Muffins
Heat a large cast iron skillet over medium and add 1 teaspoon ghee to coat. Once hot, lower to medium-low and add a few English muffins. Cover with a lid to trap heat and cook for 5 minutes per side.
Keep An Eye On The Heat: This step is crucial. If the heat is too high, the outsides will burn before the insides are cooked. If it’s too low, the muffins may deflate and won’t develop a golden crust. Adjust heat as needed for your stove, and check the bottoms to avoid burning. Keeping the lid on helps cook the muffins evenly. If your English muffins start to burn, remove them from the skillet early and finish baking in the oven at 350°F for 10 minutes, tented with foil.
Split and Serve: To split an English muffin, poke a fork all the way around the side until it opens up. Toast and enjoy with butter. For the signature nooks and crannies, avoid cutting with a knife—using a fork preserves the texture!
How to Store Homemade English Muffins
These store well at room temp for 3-4 days in a 9.6-cup airtight container. You can also store them in the fridge to extend their shelf life. Toast before serving and they will be like new! You can also split and freeze these and toast as needed.
We’re absolutely addicted to these salty, buttery English muffins. If you try them, let me know how it goes—I hope you love them as much as we do!
More Fresh Milled Recipes
If you’re enjoying baking with sourdough, here are a few more recipes you might like:
- Einkorn Carrot Applesauce Muffins
- Fresh Milled Sandwich Bread
- Pumpkin Banana Muffins
- Healthy Double Chocolate Banana Muffins
English Muffins with Fresh Milled Flour
Ingredients
Notes
Method
- Mill the wheat berries and set the flour aside to cool. In a liquid measuring cup or bowl, combine the warm milk and water. If weighing your ingredients, place the measuring cup or mixing bowl directly on your kitchen scale and weigh the milk and water as you add them. Add the yeast and sugar, stir to combine, and let the yeast bloom for 5 minutes. Melt the butter and set it aside to cool slightly.
- Pour the milk mixture into the bowl of a stand mixer. Add the melted butter and egg. With the mixer on low, gradually add the flour and mix until combined. Let the dough rest for 10–15 minutes to allow the flour to absorb the liquid.
- Add the salt and knead for about 15 minutes, until the dough is smooth and elastic. Freshly milled flour may need a little extra kneading to develop the gluten.
- Scrape down the sides of the bowl, cover, and let the dough rise until doubled in size, about 45 minutes.
- Line a baking sheet with parchment paper and generously sprinkle with cornmeal. Flour your work surface well and gently turn out the dough. Flour the top of your dough and rolling pin as well. Roll to about 1 inch thick and cut into rounds using a biscuit cutter, upside down cup, or mason jar lid. What to do with the extra dough: Gather the scraps together and gently re-roll the dough to cut out more English muffins. With the last bit of dough, shape it into a ball, flatten it slightly, and use the biscuit cutter to gently clean up the edges. This way, you won't have any dough left over.Place the rounds on the prepared baking sheet, sprinkle the tops with cornmeal, cover, and let rest for 10-15 minutes.
- Heat a large cast iron skillet over medium heat and add 1 teaspoon ghee. Once hot, reduce the heat to medium-low and add a few English muffins, leaving space between them. Cover with a lid and cook for about 5 minutes per side, adjusting the heat as needed.
- Keep a close eye on the heat so the outside doesn’t brown before the inside is cooked. The English muffins are done when they are golden brown, puffed, and the sides feel set rather than doughy. If the muffins begin to brown too quickly, remove them from the skillet and finish baking in a 350°F oven for about 10 minutes, tented with foil.
- Let the English muffins cool slightly, then use a fork to split them around the sides. Toast and serve with butter. Using a fork rather than a knife helps create those classic nooks and crannies.
Video
This post may contain affiliate links, which means I may earn a small commission at no additional cost to you. Thank you for supporting me and my family!

