Fudgy Protein Snack Bars with Dates & Walnuts
This no-bake chewy chocolatey protein bar recipe comes together in minutes using simple, real ingredients, dates, walnuts, cocoa powder, and egg white protein. The result? A chewy, chocolatey healthy protein bar that tastes like dessert but fuels your day. This recipe was inspired by my love for RX Bars. If you love RX Bars but want a cheaper, cleaner, and even tastier version, you’ll love these homemade copycat RX Bars.
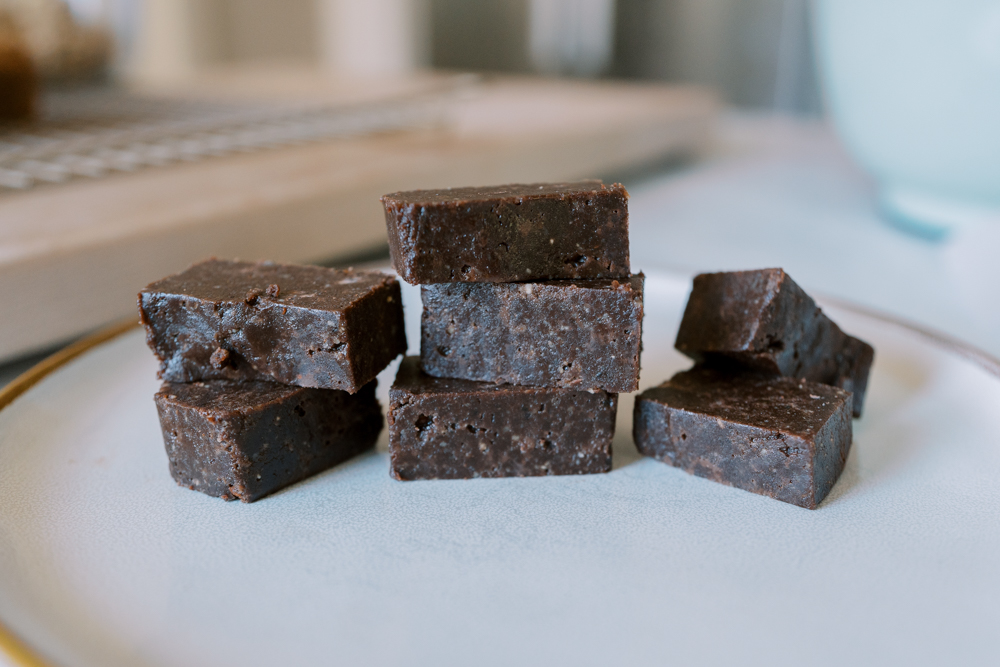
These fudgy high protein snack bars have that same signature chewy texture and rich cocoa flavor as the store-bought kind, but with no added sugar, preservatives, or fillers. They’re loaded with clean protein, healthy fats, and natural sweetness from Medjool dates, the perfect post-workout snack or grab-and-go breakfast.
👉🏻I use this food processor (it’s powerful enough to handle sticky dates and nuts without overheating.)
Why Make RX Bars at Home? (Cost + Quality)
Store-bought RX Bars are convenient, but at around $2.50–$3.00 per bar, the cost adds up fast. Making them yourself at home costs closer to $0.75–$1.00 per bar, depending on your ingredients and where you shop.
That means a batch of 10 bars can cost less than a single box from the store, and you get to control exactly what goes into them. No fillers, no hidden sugars, just real food and simple ingredients you can pronounce.

These homemade protein snack bars are also a great option for families, since you can easily double the recipe, store extras in the freezer, and always have a budget-friendly protein bar ready to go.
Tips for Perfect Homemade RX Bars
- For a firmer texture, use fewer dates.
- Swap walnuts for almonds or cashews for a flavor change.
- Sprinkle sea salt on top for that classic RX Bar taste.
- Mix in mini chocolate chips or shredded coconut for variety.
Blueberry Variation
To make this a blueberry flavor, add 1/2 cup dried blueberries instead of chocolate chips. Omit the cocoa powder and add 1/2 cups almonds at the end. Pulse the almost just enough so there are still come almond chunks. You probably won’t need to add any water for this version!
Storage
Keep your copycat RX Bars in an airtight container wrapped in parchment paper. These can get sticky so the parchment paper is very helpful here. In my opinion, these are best eating COLD out of the freezer or fridge.
- Fridge: up to 2 weeks
- Freezer: up to 3 months
Fudgy Protein Snack Bars with Dates & Walnuts
Ingredients
Method
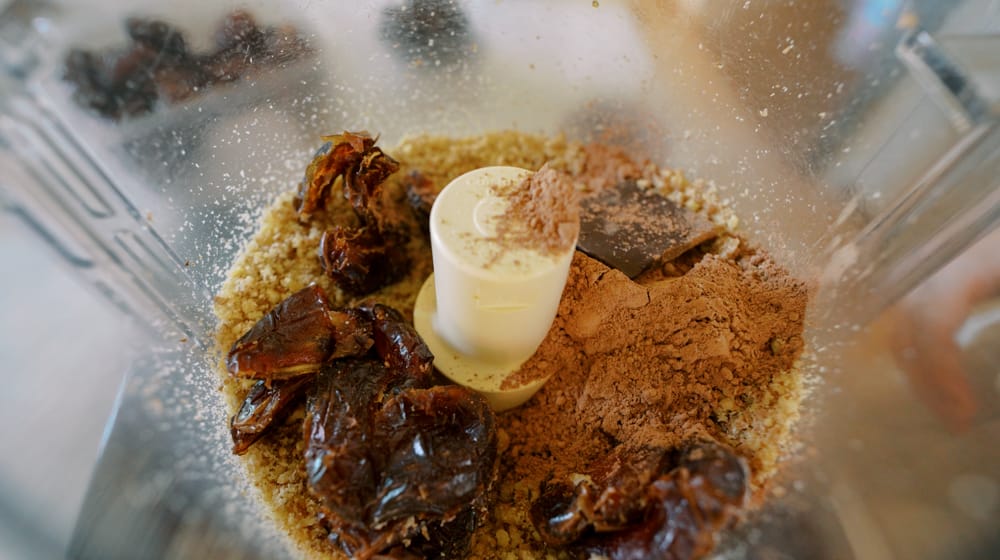
- Add 2 cups of walnuts to a food processor and pulse until they form fine crumbles.
- Add 2 cups of pitted Medjool dates and process until the mixture begins to clump and stick together and there are no more large chunks of dates.
- Add 1/2 cup cocoa powder, 1/2 teaspoon vanilla bean paste, pinch of salt, and pulse a until thoroughly combined.
- Add 1 cup of egg white protein powder and process until combined. If the mixture looks dry, add 1–2 tablespoons of water until a thick dough forms.
- The dough should be moldable and stick together when you press it with your hands. It should not be overly crumbly that it falls apart and doesn't stick. If it's too dry, add a tiny bit more water, or dates, or just keep pulsing until it comes together. If you over process, the oils will begin to release from the nuts, so be careful here.
- Lastly, add in the chocolate chips and pulse until combines there are still come chunks of chocolate.
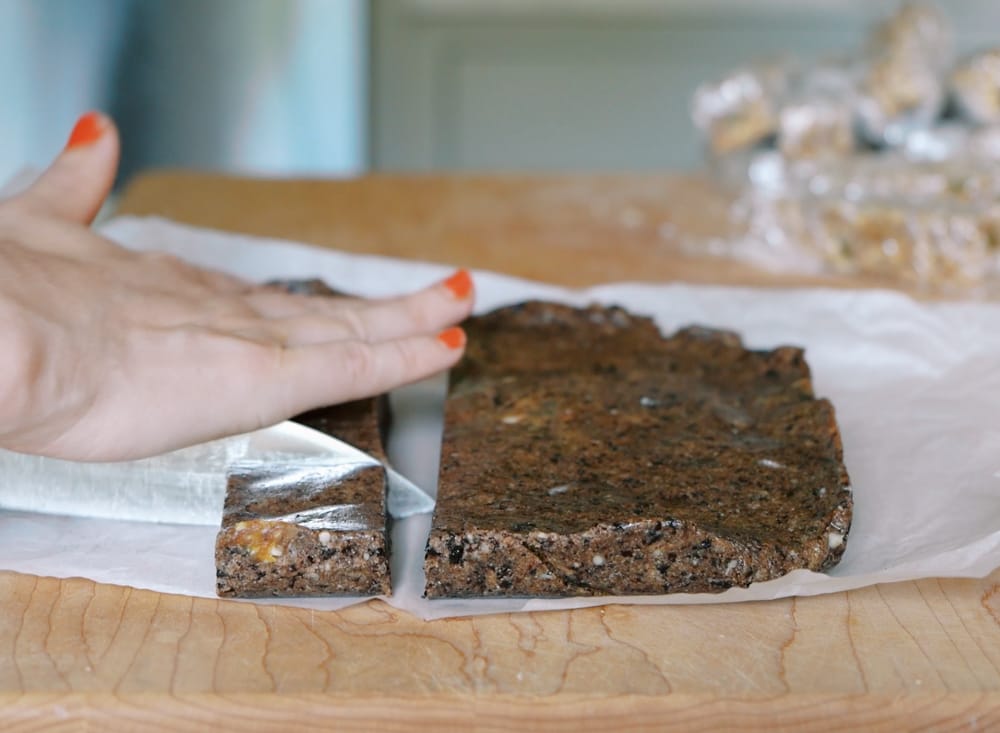
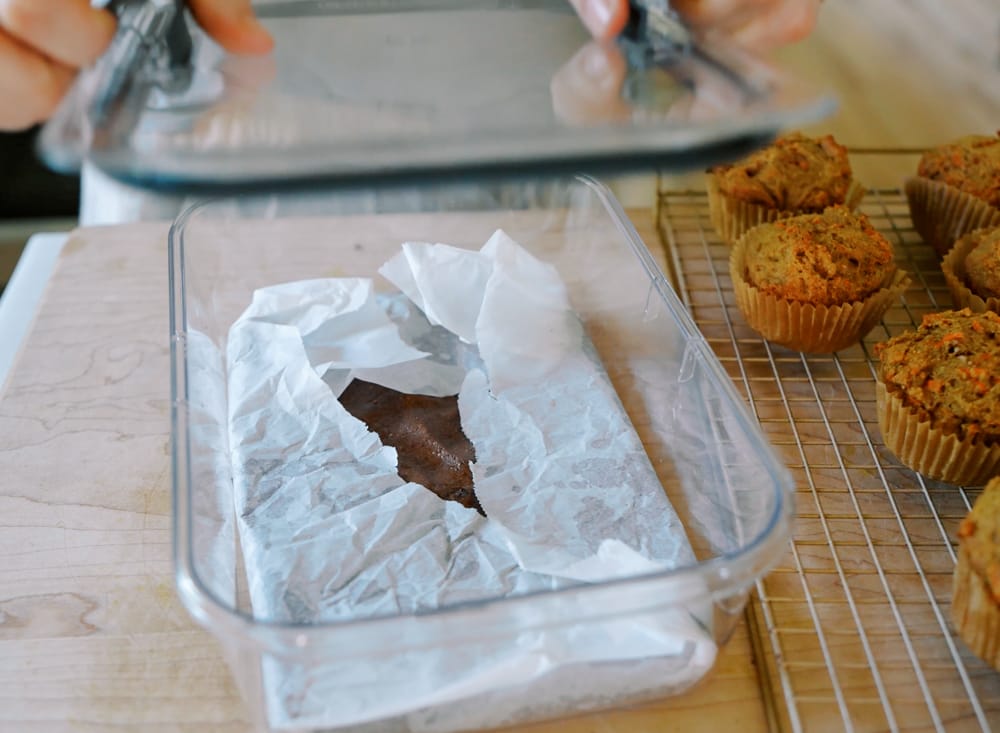
- Line a 8×8 baking dish with parchment paper and press the dough firmly and evenly into the pan. Fold the parchment paper over the top to flatten and shape it.
- Freeze for 1–2 hours, then cut into bars. Store them in the fridge or freezer wrapped in parchment for a chewy, grab-and-go snack.
These were tasty! I didn’t have egg white protein powder so I added some Isopure whey protein powder, and it turned out great. I also made your version of the seed cycling bars with peanut butter. Both are very flavorful and make great healthy snacks and/or dessert!
Love these!! So I used my Ninja blender and followed the recipe exactly. It wasn’t the best tool for the job, but I worked with what I had. I probably added slightly more water than recommended to make it fully incorporate, but they came out so good! I used a silicone baking pan and skipped the parchment paper- Don’t skip the parchment paper lol! I put the pan in the freezer for about 3 hours before cutting, put them on parchment and in a plastic bag, and I’m storing them in the freezer. They don’t actually freeze, so they’re perfect to eat straight from the freezer. 10/10 recommend trying these bars- even though it’s a bit messy, they’re so worth it!!
I love your videos Christine, thank you so much!!