Crusty Sourdough Bread in a Loaf Pan
Learn how to make crusty sourdough bread in a loaf pan using freshly milled wheat flour. This easy overnight sourdough recipe makes two beautiful loaves with a crisp golden crust and soft, chewy center.
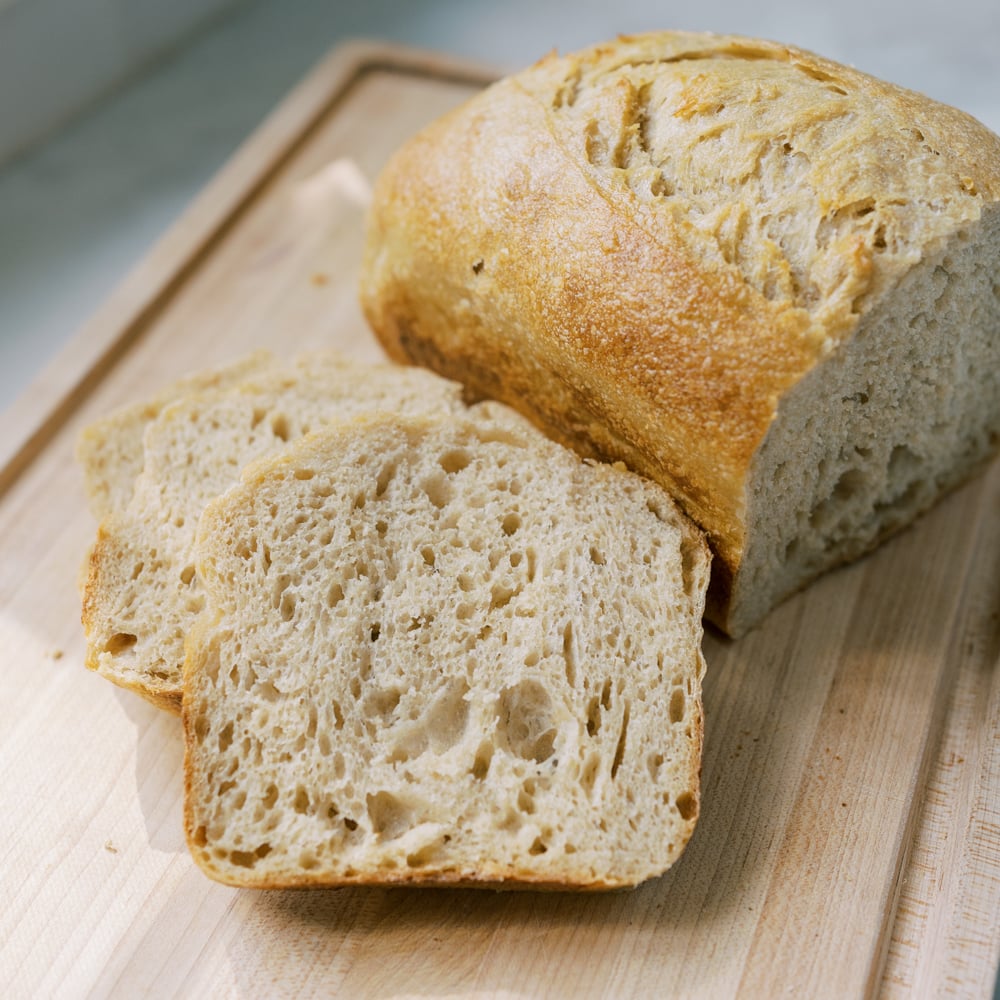
How to Make Sourdough Bread in a Loaf Pan
If you love the flavor of sourdough but want an easy-to-slice loaf for sandwiches, toast, and everyday family meals, this sourdough bread in a loaf pan is a great recipe to have in your kitchen. This recipe combines freshly milled hard white wheat with bread flour, giving the bread plenty of flavor while still keeping the loaf light enough for sandwiches.
Because it bakes in a loaf pan, you don’t need a Dutch oven or any special bread-baking equipment. I usually make this dough in the afternoon, let it bulk ferment while I’m going about my day, shape it in the evening, and let the loaves ferment in the refrigerator overnight. The next morning, they’re ready to bake.
Why I Love This Sourdough Loaf
There are a few reasons this has become one of my favorite ways to make sourdough bread. It’s made with freshly milled flour for extra flavor, and baking it in a loaf pan makes it perfect for sandwiches and toast. The dough is also very forgiving, and the overnight fermentation makes it easy to fit into a busy schedule. You can make two loaves at once, so you can enjoy one now and freeze the other for later.
Ingredients
- 600 grams hard white wheat berries, freshly milled
- 400 grams bread flour
- 700 grams filtered water
- 200 grams active sourdough starter
- 20 grams salt
- 50 grams water
A Note About the Flour
You’ll start with 600 grams of wheat berries and mill them into flour. Depending on your grain mill, you may lose a few grams during the milling process, so the important number for this recipe is 1,000 grams of total flour. After milling the wheat, weigh the freshly milled flour and add enough bread flour to bring the total amount of flour to 1,000 grams. For me, this is usually 600 grams of freshly milled flour plus 400 grams of bread flour, but weighing the flour after milling keeps the recipe consistent.
Can I use all purpose flour if I don’t mill my own flour? Absolutely! While I love teaching you how to use freshly milled grains, I also want you to feel absolutely free to make this recipe with the ingredients you have on hand. For this recipe specifically, I have tested it will all purpose flour and achieved beautiful results.
What if I don’t have a sourdough starter? If you do not have sourdough starter, it’s time to get one! I got my starter from a baker and have kept it alive ever since. You can purchase starters online and rehydrate them as well! Here is a video on how to maintain your sourdough starter.
My Sourdough Baking Timeline
This is the general timeline I use when making these loaves:
- Morning: Feed sourdough starter
- Afternoon: Mix the dough
- 30–45 minutes later: Add salt and remaining water
- Next 4 hours: Bulk fermentation with stretch and folds
- Evening: Divide, pre-shape, and shape the loaves
- Overnight: Refrigerate
- Next morning: Bake
Your timing may look a little different depending on the temperature of your kitchen and how active your sourdough starter is. With sourdough, I always recommend watching the dough rather than following the clock exactly.
How to Make Sourdough Bread in a Loaf Pan
Mix the Dough
First, mill 600 grams of hard white wheat berries and set the freshly milled flour aside. Add 700 grams of filtered water to a large mixing bowl, then add 200 grams of bubbly, active sourdough starter and mix until the water looks milky. Add the freshly milled flour along with 400 grams of bread flour. I like to do this directly on a kitchen scale because you can sometimes lose a few grams of flour during the milling process. If needed, add a little extra bread flour until you have 1,000 grams of total flour. Mix everything together with a large wooden spoon until a shaggy dough forms. A bowl scraper is helpful for incorporating any dry bits of flour left around the sides or bottom of the bowl. Cover the bowl and let the dough rest for 30–45 minutes.
Add the Salt
After the dough has rested, add 20 grams of salt and 50 grams of water. Using your hand, gently squish the salt and water into the dough until the water is mostly incorporated, then give the dough a gentle stretch and fold. Cover the bowl and begin the bulk fermentation.
Bulk Fermentation
Your dough will now sit at room temperature for about 4 hours, although the exact amount of time will depend on the temperature of your kitchen and how active your starter is. For the first part of bulk fermentation, give the dough a stretch and fold about every 30 minutes.
To stretch and fold the dough, wet your hand and reach underneath one side of the dough. Gently scoop it up and stretch it slightly before folding it back over itself. Turn the bowl and repeat on all four sides, almost as if the dough were shaped like a square. Cover the dough and repeat every 30 minutes. Don’t worry if you miss a stretch and fold. This is a very forgiving process, and your dough will still continue to ferment and develop strength.
How Do I Know When Bulk Fermentation Is Finished?
This is one of those parts of sourdough baking where it’s better to watch the dough than the clock. Your dough should have risen noticeably in the bowl, developed some air pockets, and have a more smooth, puffy, appearance. The exact timing will change with the temperature of your kitchen. Your dough may take longer in a cool kitchen and less time in a warm kitchen. Once the dough has risen some and looks lighter and airy, it’s ready to shape.
Divide and Pre-Shape the Dough
Gently turn the dough out onto a lightly floured surface. Divide the dough in half, then shape each half into a loose round. To do this, cup your hands around the dough and gently pull it toward you, creating tension across the surface and leaving you with a smooth, rounded top. Let the dough rest for 20 minutes. This short rest gives the dough a chance to relax before its final shaping.
How to Shape Sourdough for a Loaf Pan
The shaping process is much easier to understand when you can see it. Here is how I shape sourdough loaves, either for an oval proofing basket or a loaf pan. The recipe in that video is for a boule, but the shaping process is the same. For this loaf-pan version, simply place the shaped loaf on a piece of parchment paper and lower it into a 9×5-inch loaf pan. Repeat with the second piece of dough.
Overnight Fermentation
Cover the loaf pans with a clean towel or other covering and place them in the refrigerator overnight. I usually let these loaves ferment in the refrigerator for about 12 hours, but the exact timing can vary depending on your schedule. By morning, the loaves are ready to bake. I bake them cold straight from the refrigerator and cover the loaves with foil for the first 30 minutes to trap steam and promote oven spring.
How to Store Homemade Sourdough Bread
Once the loaves have cooled completely, store them at room temperature in a bread bag or other breathable container. For longer storage, I like to slice the bread and freeze it. You can pull out individual slices as you need them and toast them straight from frozen. This is especially convenient when you bake two loaves at once.
Can I Make This Sourdough Bread Without a Loaf Pan?
Yes. You can use the same dough to make a boule or another free-form loaf. The main difference is the shaping and baking method. A loaf pan provides support for the dough as it rises, which is one reason I love this method for an everyday sourdough bread. If you’d rather make a boule, you can follow the shaping and baking instructions in my Sourdough Boule Recipe.
Can I Freeze Homemade Sourdough Bread?
Absolutely. Let the bread cool completely, then slice it before freezing. I like to freeze one loaf when I make a double batch so we always have homemade bread available without having to bake every few days.
More Sourdough Recipes
If you’re enjoying baking with sourdough, here are a few more recipes you might like:
Equipment I Use
- Grain Mill: This is the mill I use to turn wheat berries into freshly milled flour.
- Large Mixing Bowl with a Lid Having a large durable bowl with a lid make this process super easy. I linked this durable set with lids, which has a few different sizes, all of which would be very useful in the kitchen.
- Bowl Scraper & Bench Scraper
- Kitchen scale: Weighing the wheat berries before you mill is how I make all of my freshly milled flour recipes.
- Loaf Pan: I like a 9×5 loaf pan for this recipe. You will need 2 pans, I’m not picky about what you use but these are the ones I have.
- Parchment paper: Parchment makes transferring the loafs in and out of the pan super easy.
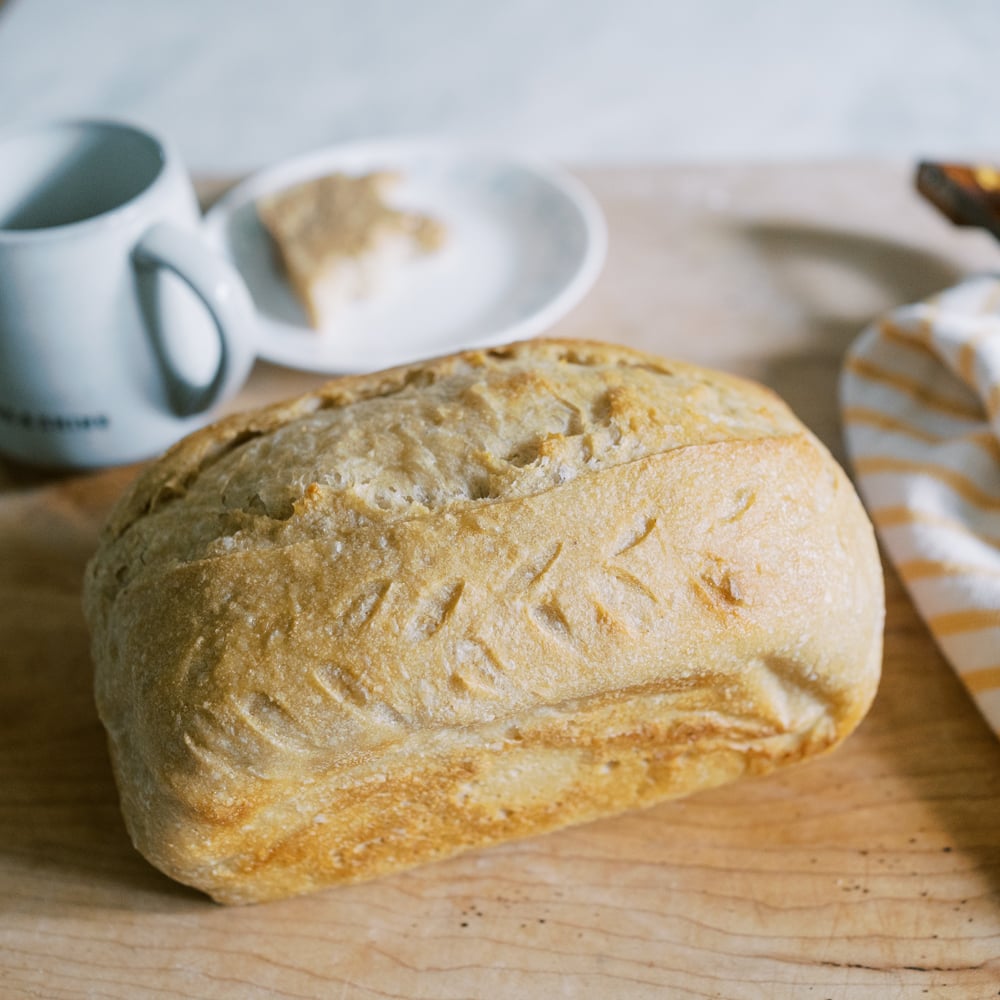
Watch my YouTube video below to see me make this exact recipe!
Crusty Sourdough Loaf in a Loaf Pan
Ingredients
Notes
Method
- Mill 600 grams wheat berries and set aside. Add 700 grams water and 200 grams active sourdough starter to a large bowl. Mix until milky.
- Add the freshly milled flour and 400 grams bread flour. Add a little extra bread flour if needed so you have 1,000 grams total flour. Mix until a shaggy dough forms. Cover and rest for 30–45 minutes.
- Add 20 grams salt and the remaining 50 grams of water. Use your hand to work the salt water into the dough, then give the dough a gentle stretch and fold.
- Cover and let the dough rise at room temperature for about 4 hours. Perform a stretch and fold every 30 minutes. The dough is ready when it has risen noticeably and looks smooth, billowy, and full of air bubbles.
- Turn the dough onto a lightly floured surface and divide in half. Shape each piece into a loose round and let rest for 20 minutes.
- For the final shape, flip the dough smooth-side down. Fold the bottom up about a third, then fold in the sides. Fold the top corners toward the center, then roll the dough toward yourself. Gently pull the loaf toward you to create surface tension.
- Place each loaf on parchment and lower into a 9×5-inch loaf pan. Cover with a towel and refrigerate overnight.
- In the morning, preheat oven to 400°F. Place a baking sheet on the bottom rack to protect the loaves from excessive browning underneath.
- Score the loaves and tent each pan with foil. Bake for 30 minutes. Remove the foil and bake for 15 minutes more, until golden brown.
- Remove from the pans and place on a cooling rack. Brush the warm loaves with butter for a glossy finish. Cool before slicing.
This post may contain affiliate links, which means I may earn a small commission at no additional cost to you. Thank you for supporting me and my family!

