Homemade Greek Yogurt – Vanilla Bean & Plain
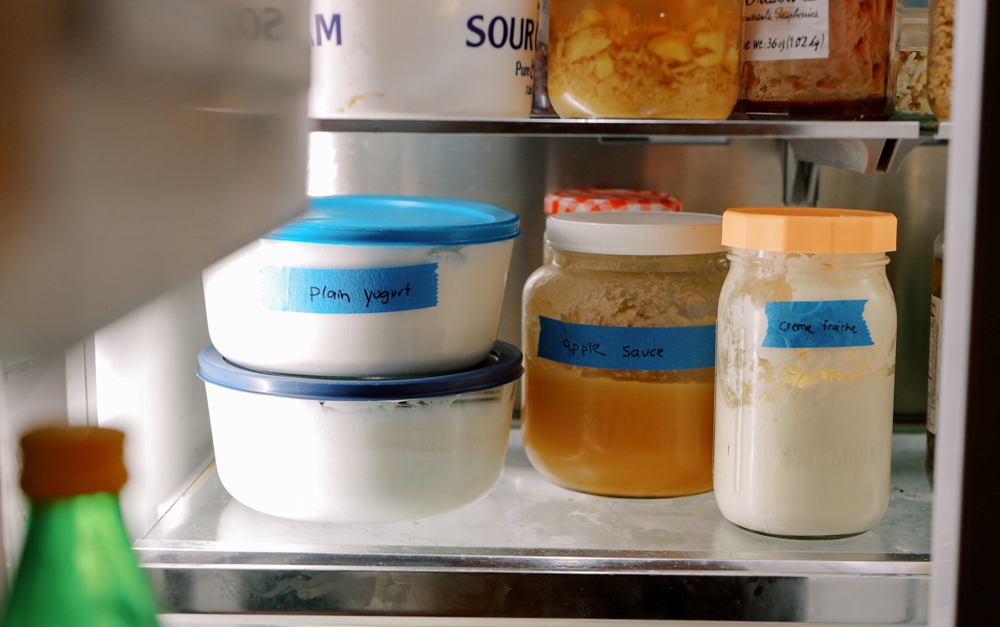
Making homemade yogurt is one of my favorite kitchen staples because it’s simple, economical, and so versatile. This recipe yields a full gallon of yogurt, which we strain into two 7-cup glass dishes for thick, creamy Greek-style yogurt.
We typically leave one batch plain for cooking, marinades, dressings, and baking. The other is flavored with vanilla bean and a touch of maple syrup for easy breakfasts and snacks throughout the week. Having both on hand means we’re always prepared for whatever uses we will need the yogurt for.

Tools For Homemade Greek Yogurt
- Instant Pot – This Instant Pot has a yogurt function which makes this process much easier.
- Greek Yogurt Strainer – There are other ways to strain your yogurt, but I’ve loved having this greek yogurt strainer. I’ve had it for years and I’de buy it again if I lost it.
- A Thermometer – A candy thermometer or a thermapen work well for this.
- 2 Glass 7-Cup Pyrex Jars with Lids – Optional, but it works perfect for this recipe.
Ingredients To Make Homemade Greek Yogurt
1 gallon whole milk – You can use any whole milk , but I’ve had the best success with organic A2 whole milk. (see notes for ultra-pasteurized or A2 milk options)
¼ cup plain Greek yogurt – (with live active cultures) You can also use a greek yogurt culture, but I’ve always just used fresh greek yogurt from the store. We eat the extra!
For Vanilla Maple Greek Yogurt
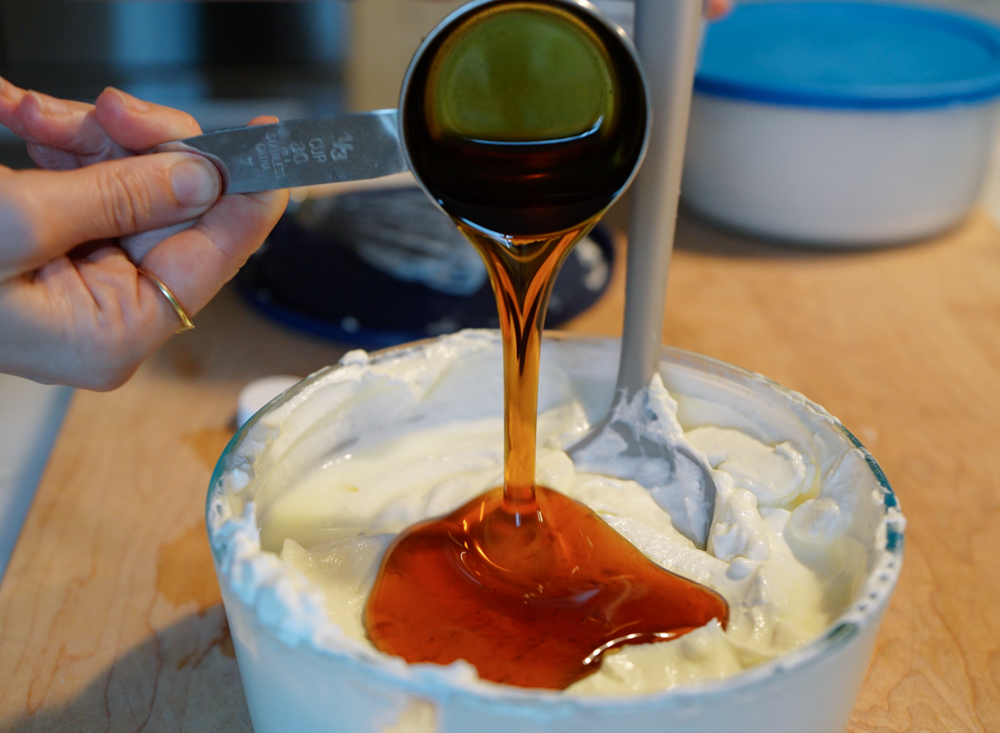
⅓ cup maple syrup – Any real maple syrup will do, but I love getting high quality maple syrup in bulk from azure standard. (affiliate link)
2 teaspoons vanilla bean paste – I love using this vanilla bean paste because of the flavor and I love the tiny flecks of vanilla seeds you’ll see in your finished yogurt.
How To Make Homemade Greek Yogurt
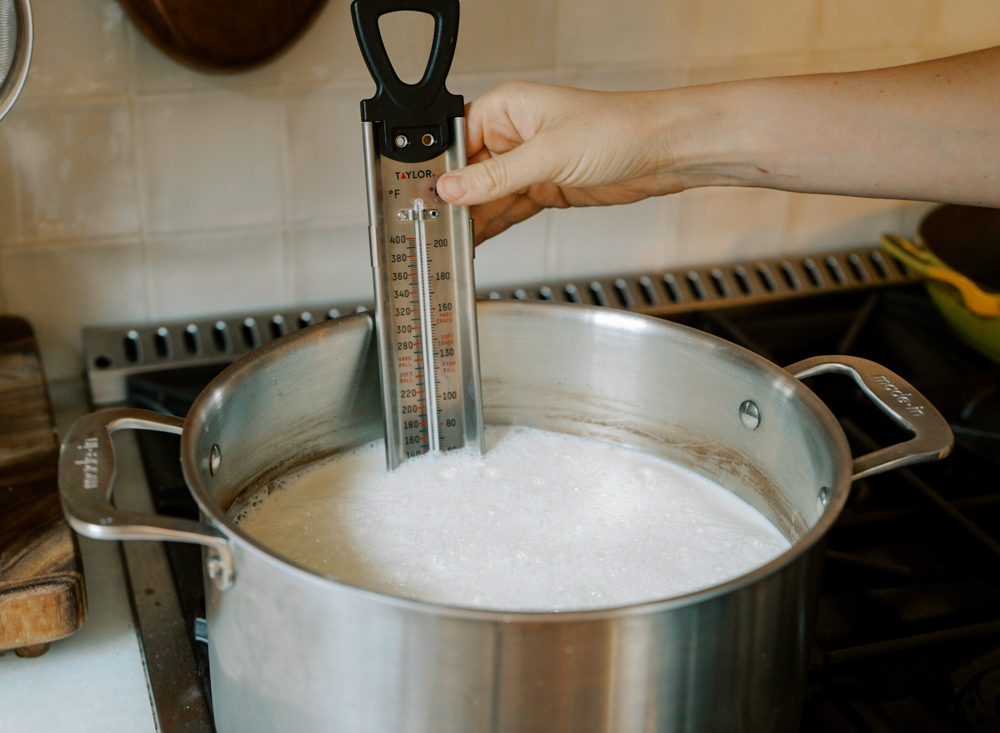
The process is pretty simple. First you heat up milk to 185 degrees and let it cook between 180-190 for 10 minutes. You can actually heat up your milk in the instant pot but I prefer to do this in a separate pot on the stove. Turn off the heat and let it cool down until it’s warm to the touch, no hotter than 110 degrees. Pour this milk into your instant pot.
Next you take some of that milk into a seperate bowl, add in 1/4 cup of plain greek yogurt or greek yogurt cultures, and whisk until completely combined. Add this back with the rest of the milk and whisk to combine well.
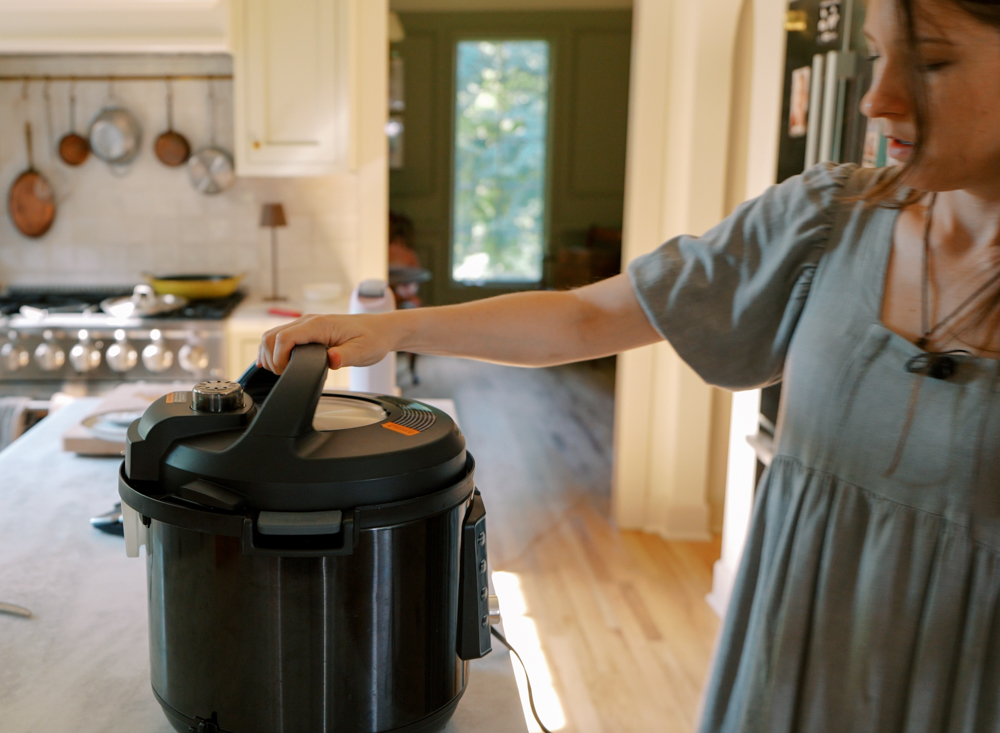
Place the lid on the instant pot and select the yogurt function. I like to customize the heat temperature here and select 109 degrees instead of the standard 110. I feel that the instant pot tends to run a little hot and can sometimes cause a sour runny yogurt if not careful. Set the time anywhere between 9-12 hours. The choice is yours. The longer it cultures, the tangier it becomes. I try to take mine out once it looks ‘set’ and not keep it culturing for too long, since my kids don’t like a sour yogurt.
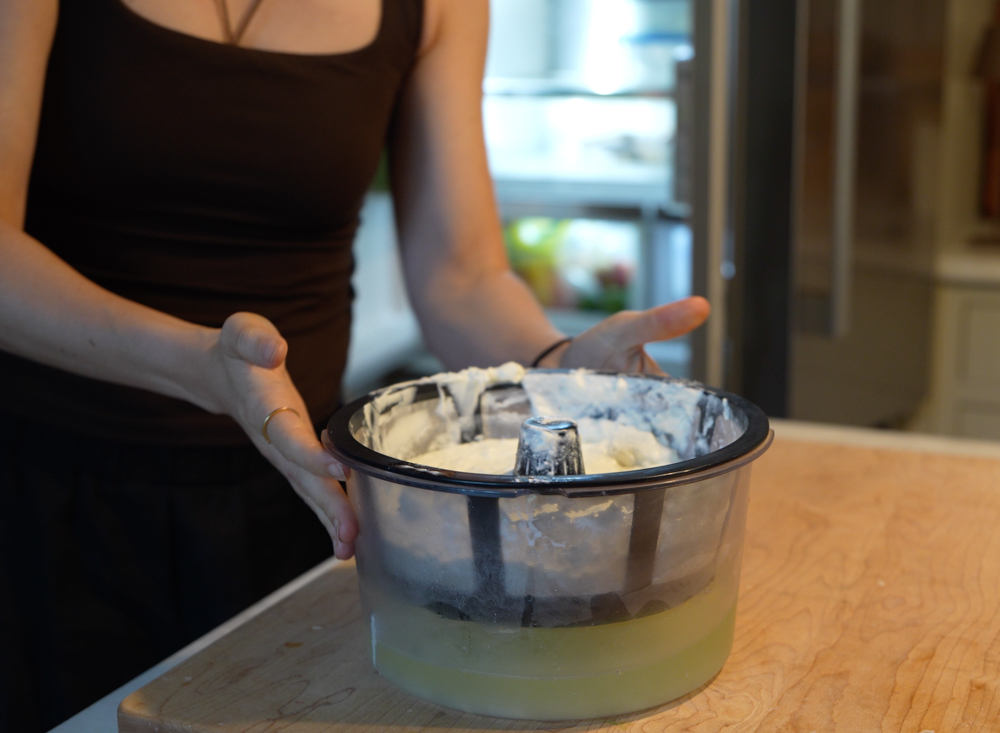
Place the entire instant pot bowl into the fridge, covered with a plate. Let this chill overnight. The next day I whisk the yogurt to make it creamy and then I pour half of this yogurt into my greek yogurt strainer. This strainer goes in the fridge for at least 3 hours, sometimes I leave it overnight. It get thicker and thicker the longer it sits in the straiger. Transfer this first batch into a container and repeat with the other half. This may seem like alot of steps, but most of it is pretty hands off.
Flavoring Your Homemade Yogurt
In the end, you should have two containers of greek yogurt. For half of the batch, I like to flavor it with 1/3 cup maple syrup and 2 tsps vanilla bean paste. It’s perfect.
I like to keep the other batch plain for my husband who just adds fresh fruit. Sometimes I choose the plain yogurt and flavor it with a little bit of blueberry compote or a superfood jam. I also like to add a dollop of peanut butter on the side. I love a good hearty bowl of yogurt!
You can now use the leftover plain greek yogurt to culture your next batch of homemade yogurt. After a few batches, if your yogurt is turning out runny, it’s time to buy a fresh container of greek yogurt or yogurt culture to continue your yogurt making journey : )
A Note on Organic, Ultra Pasteurized Milk
Ultra-pasteurized whole milk can technically be used without first heating and cooling the milk. Simply whisk in the yogurt starter and culture as directed. The yogurt may be slightly thinner than a traditionally heated batch, but this is usually not noticeable after straining into Greek yogurt.
Of all the milks I’ve tried, organic A2 whole milk has produced the creamiest homemade yogurt. The texture is rich and smooth, making it a family favorite. I personally don’t skip the heating process even when using ultra-pasteurized milk to guarantee a thick, creamy result.
Watch the YouTube video below to see exactly how I make my homemade greek yogurt in a real life kitchen:
Homemade Greek Yogurt – Vanilla and Plain Varieties
Ingredients
Equipment
Notes
- Shortcut: Ultra-pasteurized whole milk can technically be used without first heating and cooling the milk. Simply whisk in the yogurt starter and culture as directed. The yogurt may be slightly thinner than a traditionally heated batch, but this is usually not noticeable after straining into Greek yogurt.
- Of all the milks I’ve tried, organic A2 whole milk has produced the creamiest homemade yogurt. The texture is rich and smooth, making it a family favorite. I personally don’t skip the heating process even when using ultra-pasteurized milk.
Method
- Pour the milk into a large pot and heat over medium heat until it reaches 185°F (85°C). Maintain the temperature between 180–190°F for 10 minutes, stirring occasionally.
- Remove from the heat and allow the milk to cool to 110°F (43°C) or below. It should feel warm but not hot to the touch.
- Transfer the cooled milk to the Instant Pot insert.
- In a small bowl, whisk together about 1 cup of the warm milk and the ¼ cup Greek yogurt until completely smooth. Pour the mixture back into the remaining milk and whisk well to combine.
- Place the insert into the Instant Pot. Cover with the lid and select the Yogurt function. If your model allows temperature adjustment, set it to 109°F. Incubate for 9–12 hours, depending on how tangy you like your yogurt. The longer it cultures, the tangier it becomes.
- Once the yogurt has set, cover the insert and place the entire pot in the refrigerator overnight to chill completely.
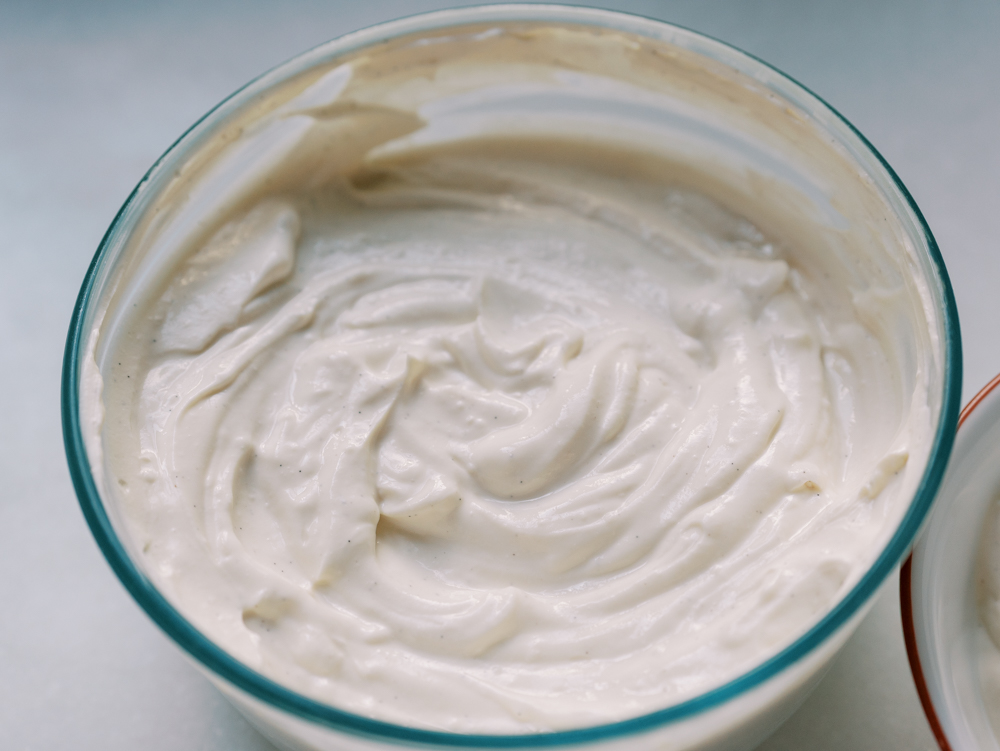
- The next day, whisk the yogurt until smooth and creamy.
- Pour half of the yogurt into a Greek yogurt strainer and place it in the refrigerator. Strain for at least 3 hours, or overnight for a thicker yogurt.
- Transfer the strained yogurt to a storage container and repeat with the remaining half of the yogurt.
- Store in the refrigerator for up to 2 weeks.
- Transfer one batch of strained Greek yogurt to a bowl. (about 6 cups)
- Add ⅓ cup maple syrup and 2 teaspoons vanilla bean paste.
- Stir until smooth and evenly combined.
- Leave the second batch plain for recipes, baking, smoothies, etc. Or repeat the vanilla flavoring. You can also use 1/4 cup of this plain yogurt as a starter culture for. your next batch of yogurt.
Video
This post may contain affiliate links. If you purchase through these links, I may earn a small commission at no additional cost to you. Thank you for supporting my blog and helping me continue to create recipes and content for your family.