Sourdough Pizza Crust with 100% Freshly Milled Flour
A hearty flavorful sourdough pizza crust made entirely with freshly milled flour for a homemade pizza night that feels both nourishing and delicious.
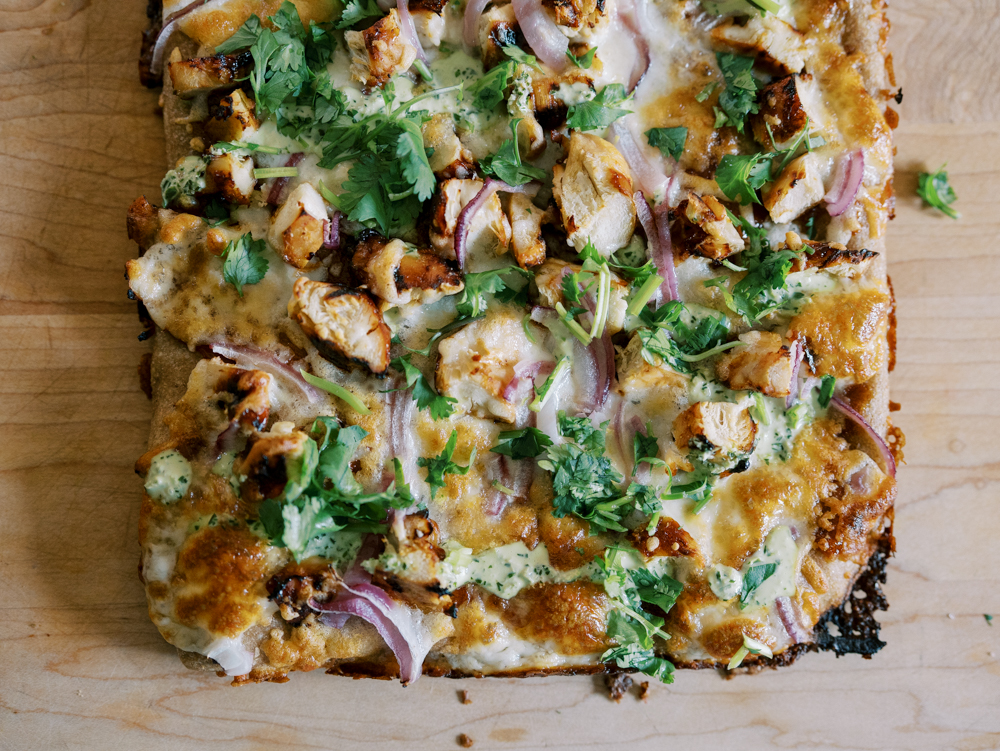
For a long time I kept experimenting with different versions of freshly milled sourdough pizza dough because I wanted something that used 100% whole grain flour but still worked well for easy family pizza nights. I wanted a dough that felt hearty and nourishing while still giving us that chewy crispy homemade pizza texture we all love. I also wanted it to be EASY.
This version finally became the one I’m coming back to. It uses the same flour combination I often use in my sandwich bread with hard red wheat and Kamut, and after testing different hydration levels and fermentation times, this dough turned out so flavorful and easy to work with.
What I love most is that you can prep the dough ahead of time and let the refrigerator do most of the work for you. Once the dough is ready, pizza night becomes incredibly simple. I especially love using this dough for pan pizzas because it makes dinner feel so low stress and easy to serve to a crowd. This recipe makes enough for 2 large pizzas. When I first tested this recipe in one of my weekly meal plan videos, I made enough for 4 medium sized pizzas, but I’ve modified this recipe to better suit two 9×13 pans.
Main Ingredients & Swaps
- Hard red wheat – this is my go to flour for structure and strength in bread doughs. It gives the pizza crust that hearty whole grain flavor and chewy texture.
- Kamut flour – I like adding Kamut because it softens the dough a little and gives the crust a more balanced flavor. It also works really well in freshly milled recipes.
- Active sourdough starter – this is what ferments and rises the dough naturally while adding that classic sourdough flavor.
- Sea salt – helps bring out the flavor in the dough and balances the sourdough flavor, also I like using sea salt over table salt for the additional minerals.
- Olive oil – I especially like using olive oil for pan pizzas because it helps the edges get crispy and golden in the oven.
First, Feed Your Starter
You’ll want to feed your sourdough starter early in the morning. For me, this usually means discarding all but 1-2 tbsp of the leftover sourdough starter, then I feed it a full cup of all purpose flour and a cup of filtered water. Stir this up and let it do it’s thing. I usually come back to it after lunch, around 1pm, to start mixing the dough. But you can also come up with a different baker’s timeline that suits your schedule better. Just keep in mind that your starter will need 4-8 hours to come back to life. My starter is pretty predictable and ready within 3-4 hours, but sometimes I let it go longer, even up to 8 hours, and that’s perfectly fine. As long as it doesn’t smell overly sour or seem watery or runny, you’re good. You are looking for lots of bubbles!
When your starter is bubbly, It’s time to mix the dough!
When my starter is ready, it’s time to mix the dough. I mill my flour fresh and add the flour and the salt into a large mixing bowl. Mix until incorporated and let the dough rest for 30-45 minutes minutes (however much time you have is fine) .
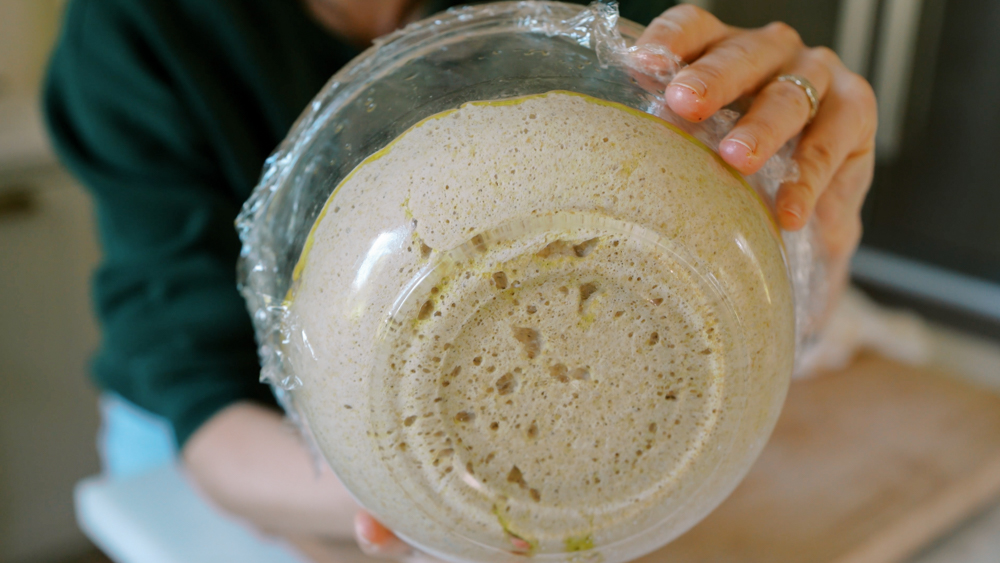
After resting the dough briefly, I like the oil my hands and knead the dough by hand for about 5 minutes right inside of one the mixing bowl. Then divide it into 2 portions. I like to place the dough into two lightly oiled bowls covered with plastic wrap. OR you can oil the same mixing bowl, and let the dough rise in that same bowl. This just means less dishes, but you’ll have to divide the dough later. Let it sit on the counter for about 4 hours so it can slowly ferment and rise. The longer it sits, the more bubbles and flavor it will develop. But don’t let it go too long, as it will be more sour the longer you let it sit on the counter.
Once the dough has risen slightly, I transfer it to the refrigerator for a longer cold fermentation. This is where the flavor really develops. The dough can stay in the fridge for several days, which makes it perfect for prepping ahead. Keep in mind that it will get slightly more sour each day in the fridge.
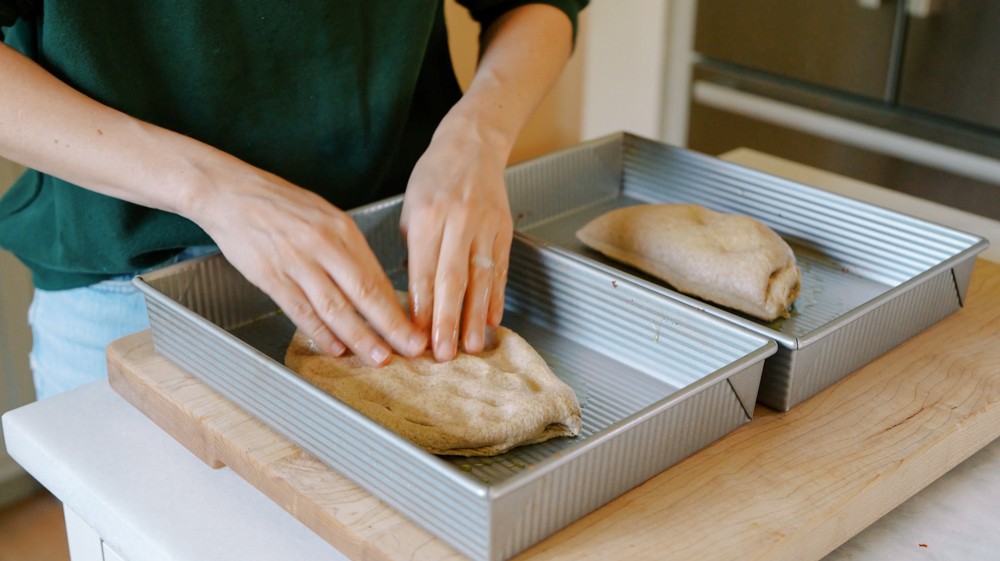
When it’s time to make pizza, one of my favorite methods is to take the dough out a couple hours before you plan to bake it, place each piece in a 9×13 pan coated with oil, and with oiled hands, dimple the dough gently outward to fill the pan. The dough will slowly relax and fill the pan during that time, and you can gently work the dough more towards the edges if it still hasn’t filled the pan. This allows the dough to rise some more and get more bubbles before it’s time to bake it.
How can I make this recipe as a round pizza instead of a pan pizza?
This dough can also be shaped into round pizzas. For this method, you don’t need to take it out 2 hours before you plan to bake. Instead take it out 30 minute prior. I find it’s easiest to grease parchment paper with oil and shape the pizzas on the parchment paper and then slide it onto a pre-heated cast iron pan. After 5 minutes, you can slide the parchment paper out from the bottom of the crust for a crispier result.
Follow the same instructions, par baking for 5 minutes, then topping. I love this cast iron round pan for this purpose. You’ll also need some good oven mitts to protect you when you are pulling out that heavy pizza pan. I also find this pizza peel very helpful necessary for this process. I cut my pizza right on top of the pizza peel after it comes out.
Tips for the best results!
- Freshly milled flour absorbs more water than all purpose flour, so the dough may feel slightly denser at first before it fully hydrates.
- This dough works especially well for pan pizzas because the olive oil helps create crispy flavorful edges.
- Par baking the crust for 5 minutes at 500 first helps prevent soggy pizza.
- If your kitchen is cooler, the dough may need extra fermentation time to rise properly. If your kitchen is warmer, be prepared for the fermentation to go faster and get it in the fridge sooner.
If you want to watch me make this recipe, you can check out my YouTube video below. Don’t forget that I used a larger batch of this recipe in the video:
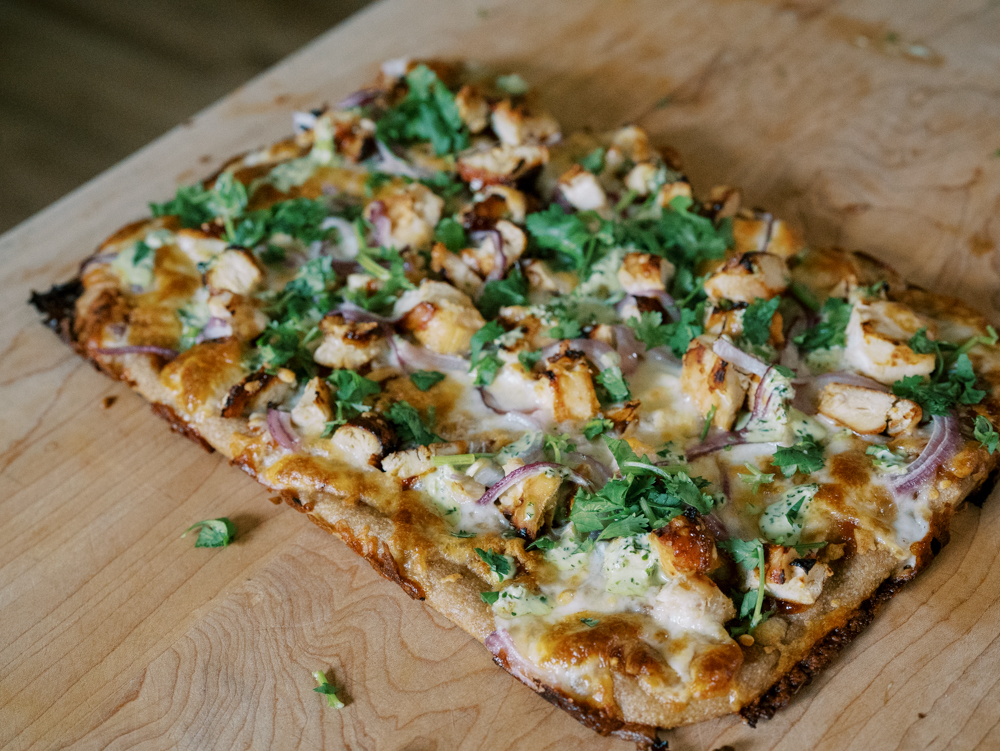
Sourdough Pizza Crust with 100% Freshly Milled Flour
Ingredients
Notes
- Approximate nutrition per serving (1 of 8 slices): 210 calories, 7g protein, and 5g fiber.
Method
- Mill the hard red wheat and Kamut berries into fresh flour.
- In a large bowl, combine the water and active sourdough starter and stir until milky.
- Add the freshly milled flour and sea salt and mix until a shaggy dough forms.
- Let the dough rest for about 45 minutes.
- Add some oil to your hands and knead the dough right in the bowl until smoother and more elastic.
- Divide the dough into 2 portions and place each into a lightly oiled container or bowl. Note: You could also keep this dough in one bowl and use the same mixing bowl, just scoop the dough out with one hand, oil the bowl with the other, and plop it back in there. This works better for those adverse to dishes. Separating into two bowls is nice if you want the dough already portioned and ready for shaping.
- Cover and let the dough rise at room temperature for several hours until slightly puffed.
- Transfer the dough to the refrigerator for 1 to 4 days for cold fermentation.
- About 2 hours before baking, remove the dough from the refrigerator. Divide the dough, if needed, and gently stretch the dough into 2 generously oiled 9×13 pizza pans. Cover, and let this dough relax and proof for two hours.
- Preheat the oven to 500°F (260°C).
- Par bake pizza for 5 minute, reduce the temp to 450, top with desired toppings, then bajke for about 15 minutes more until golden brown and bubbly.
Video
This post contains affiliate links, which means I may earn a small commission at no extra cost to you. I only share products I personally use and love.


Hi there, I am no longer able to see this recipe card. Was it removed?
I still see it on there. Perhaps it was a glitch.
Your presence on the page must have restored it… I can see it now! (: Thank you